Cooling
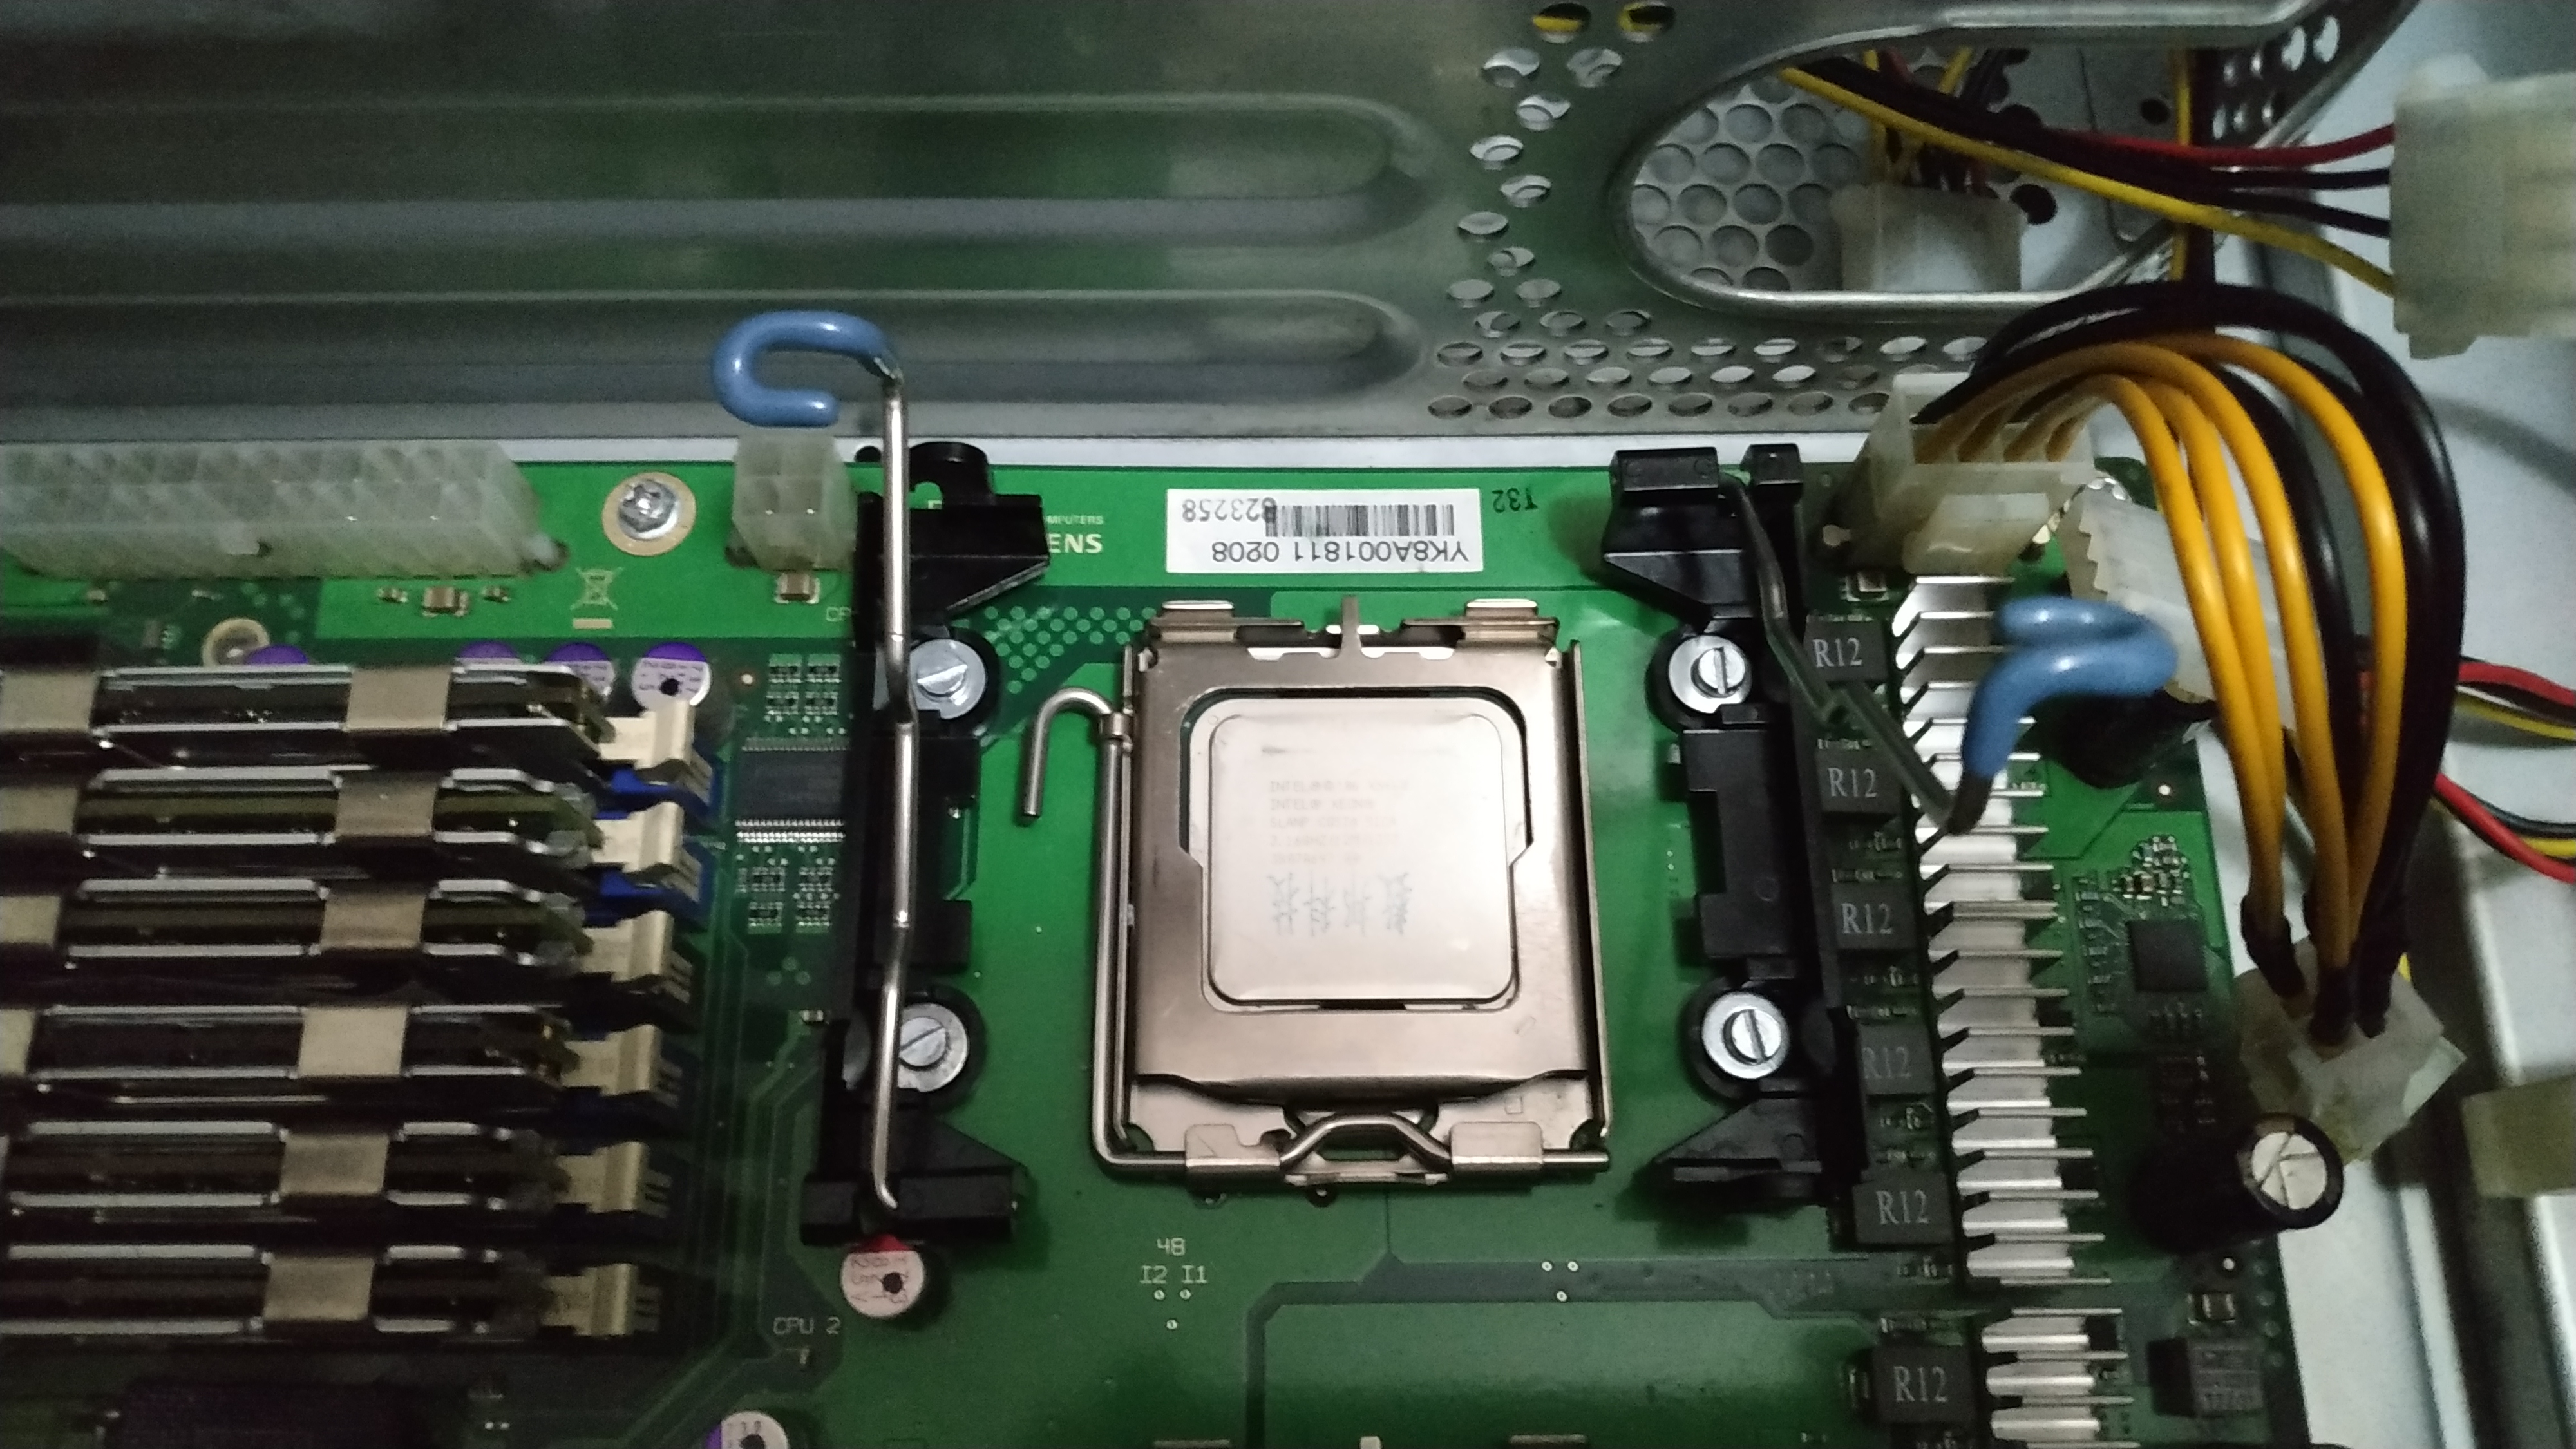
The server bundle came with the stock passive CPU cooler and without fans.
Since the second CPU didnt have a cooler I bought one for the socket LGA771 since the mounting holes are totally different from the LGA775. In LGA771 the cooler screws are directly attached to the case instead of a backplate like most nowadays motherboards.
The problem was server manufacturers make their products only compatible for their own servers, so the only way to obatain a replacement part is contacting the server manufacturer, unlike desktop PCs.
In my case, the first time I called Fujitsu’s support to check if the BIOS CPU microcode supported the X5460 they just told me to check the manual and that the server was old anyway, so I wasn’t even going to bother about asking if they would give me a cooler for the second CPU.
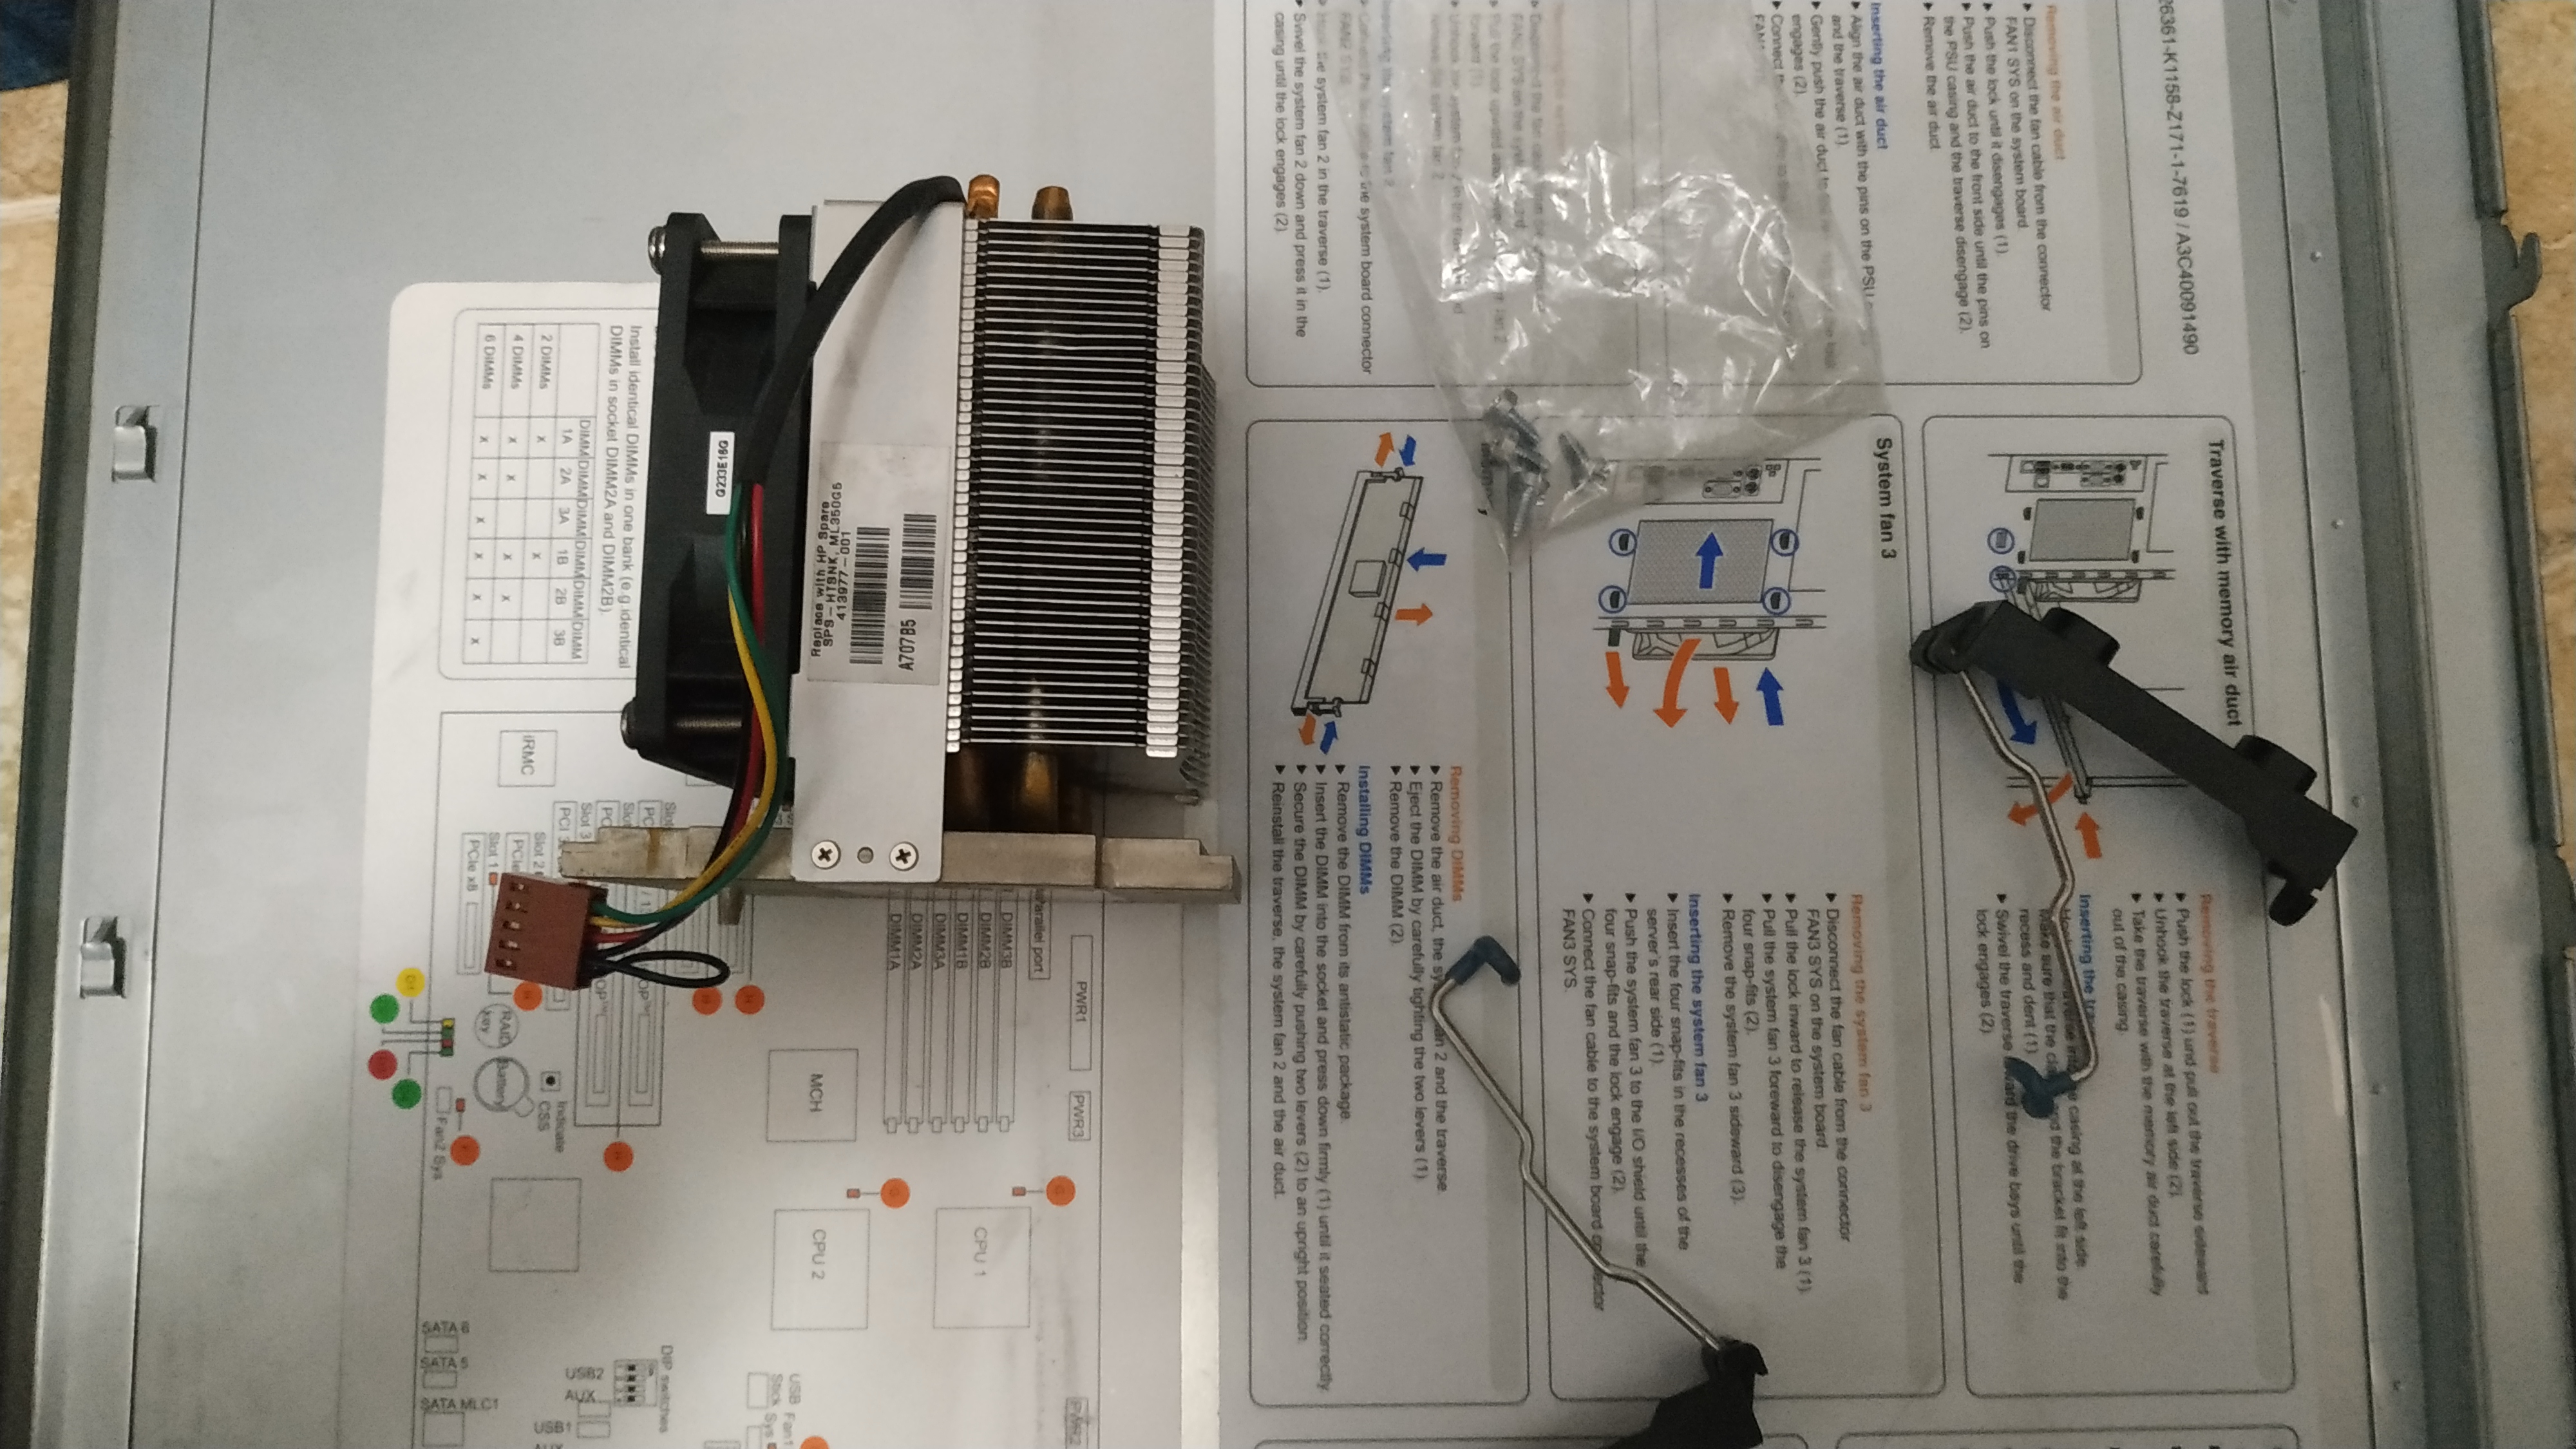
I found a cooler from an HP server and bought it, even tho I knew it was not going to be compatible.
The modding time began.
Cleaning
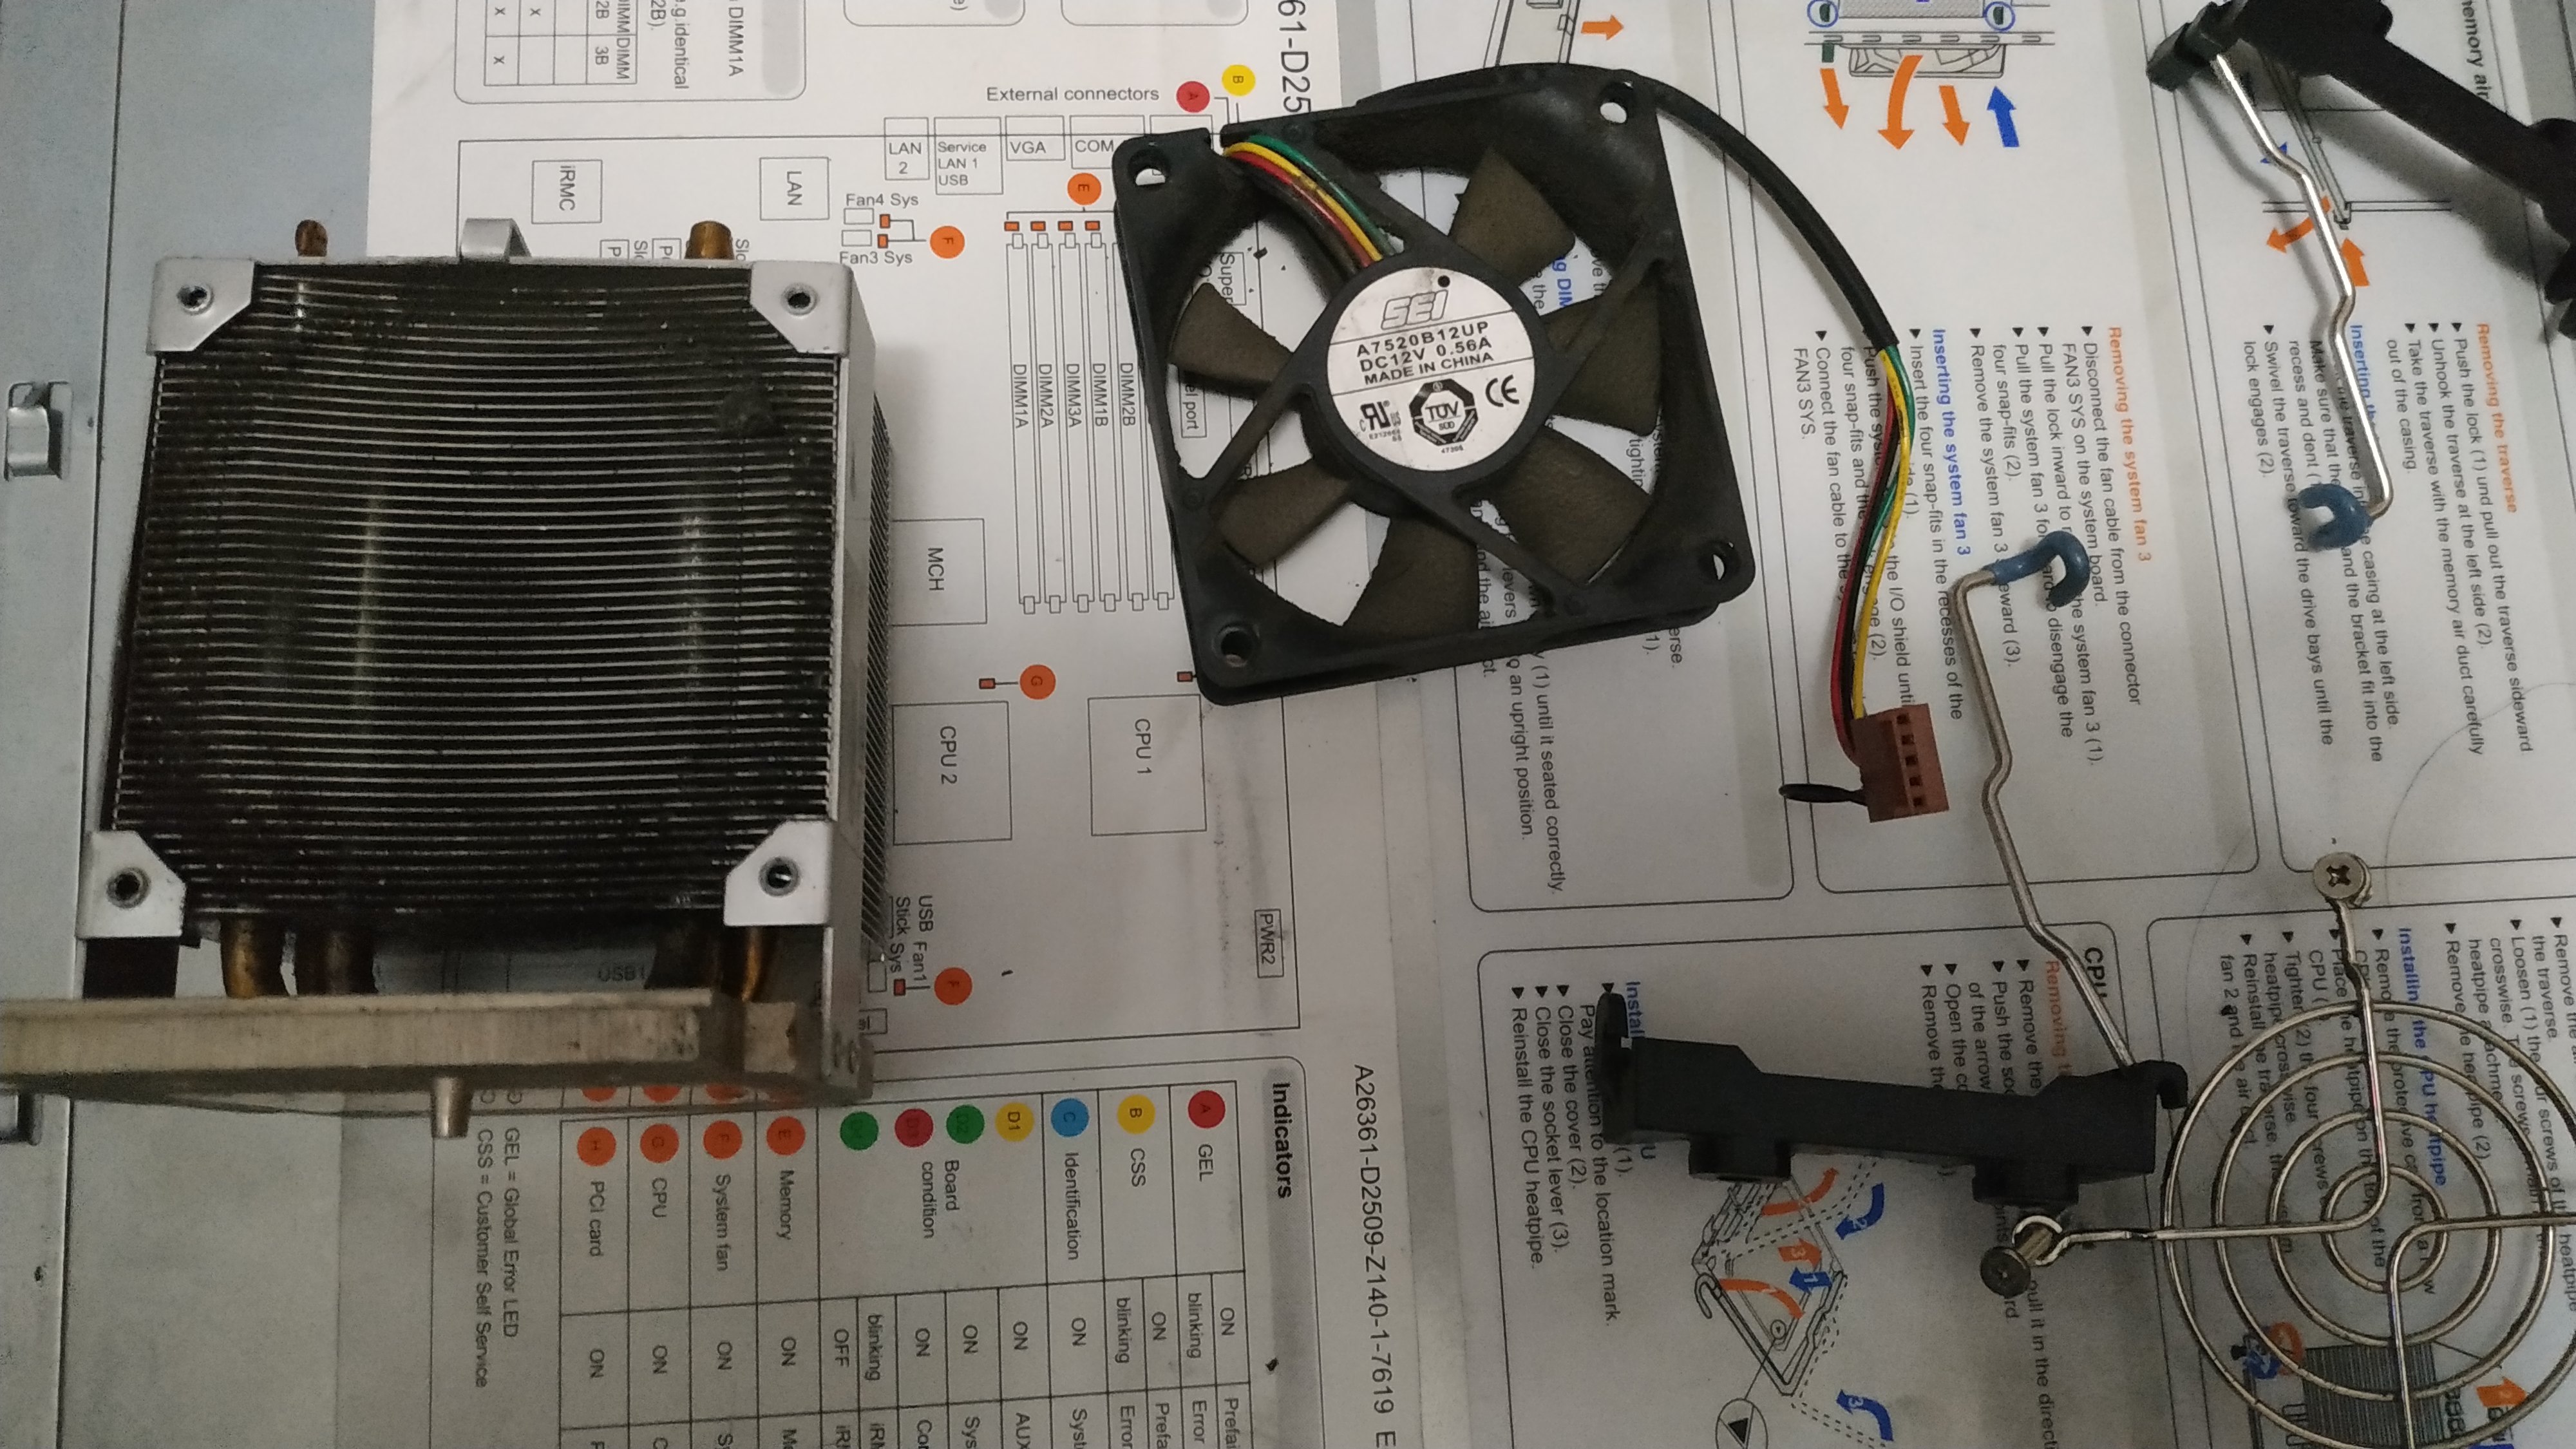
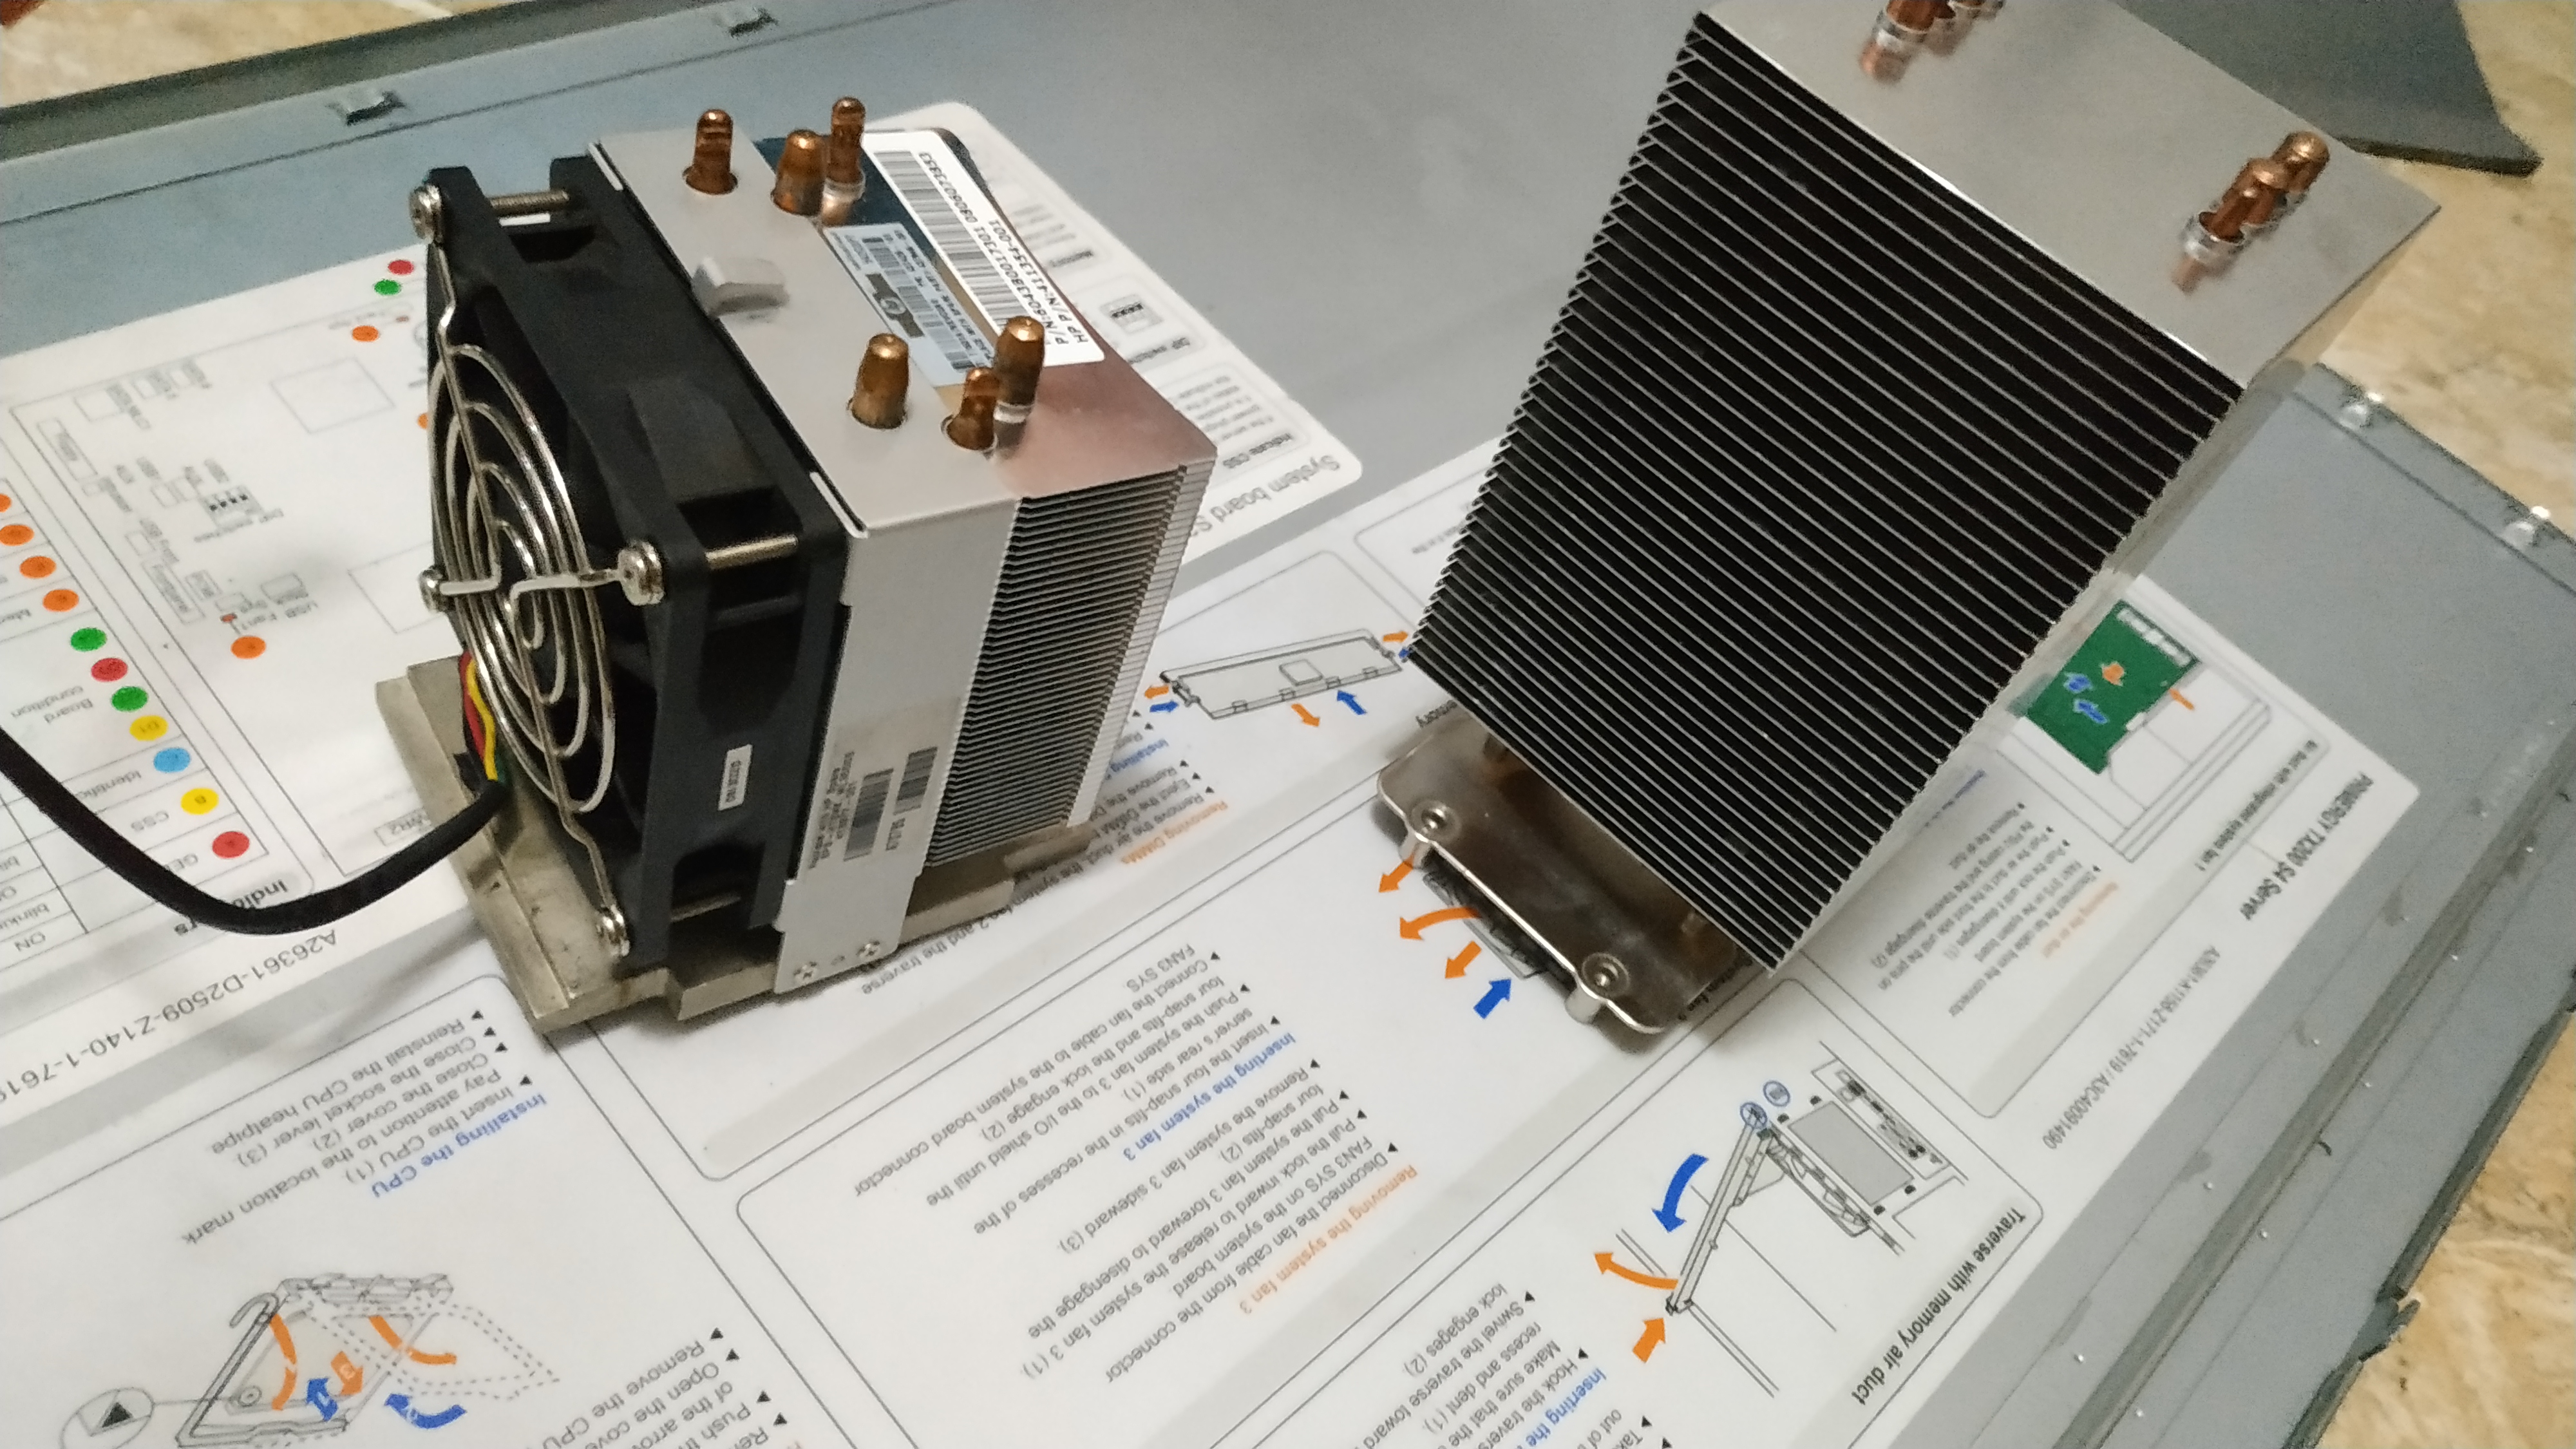
First of all I analized the parts that came with the cooler and its design.
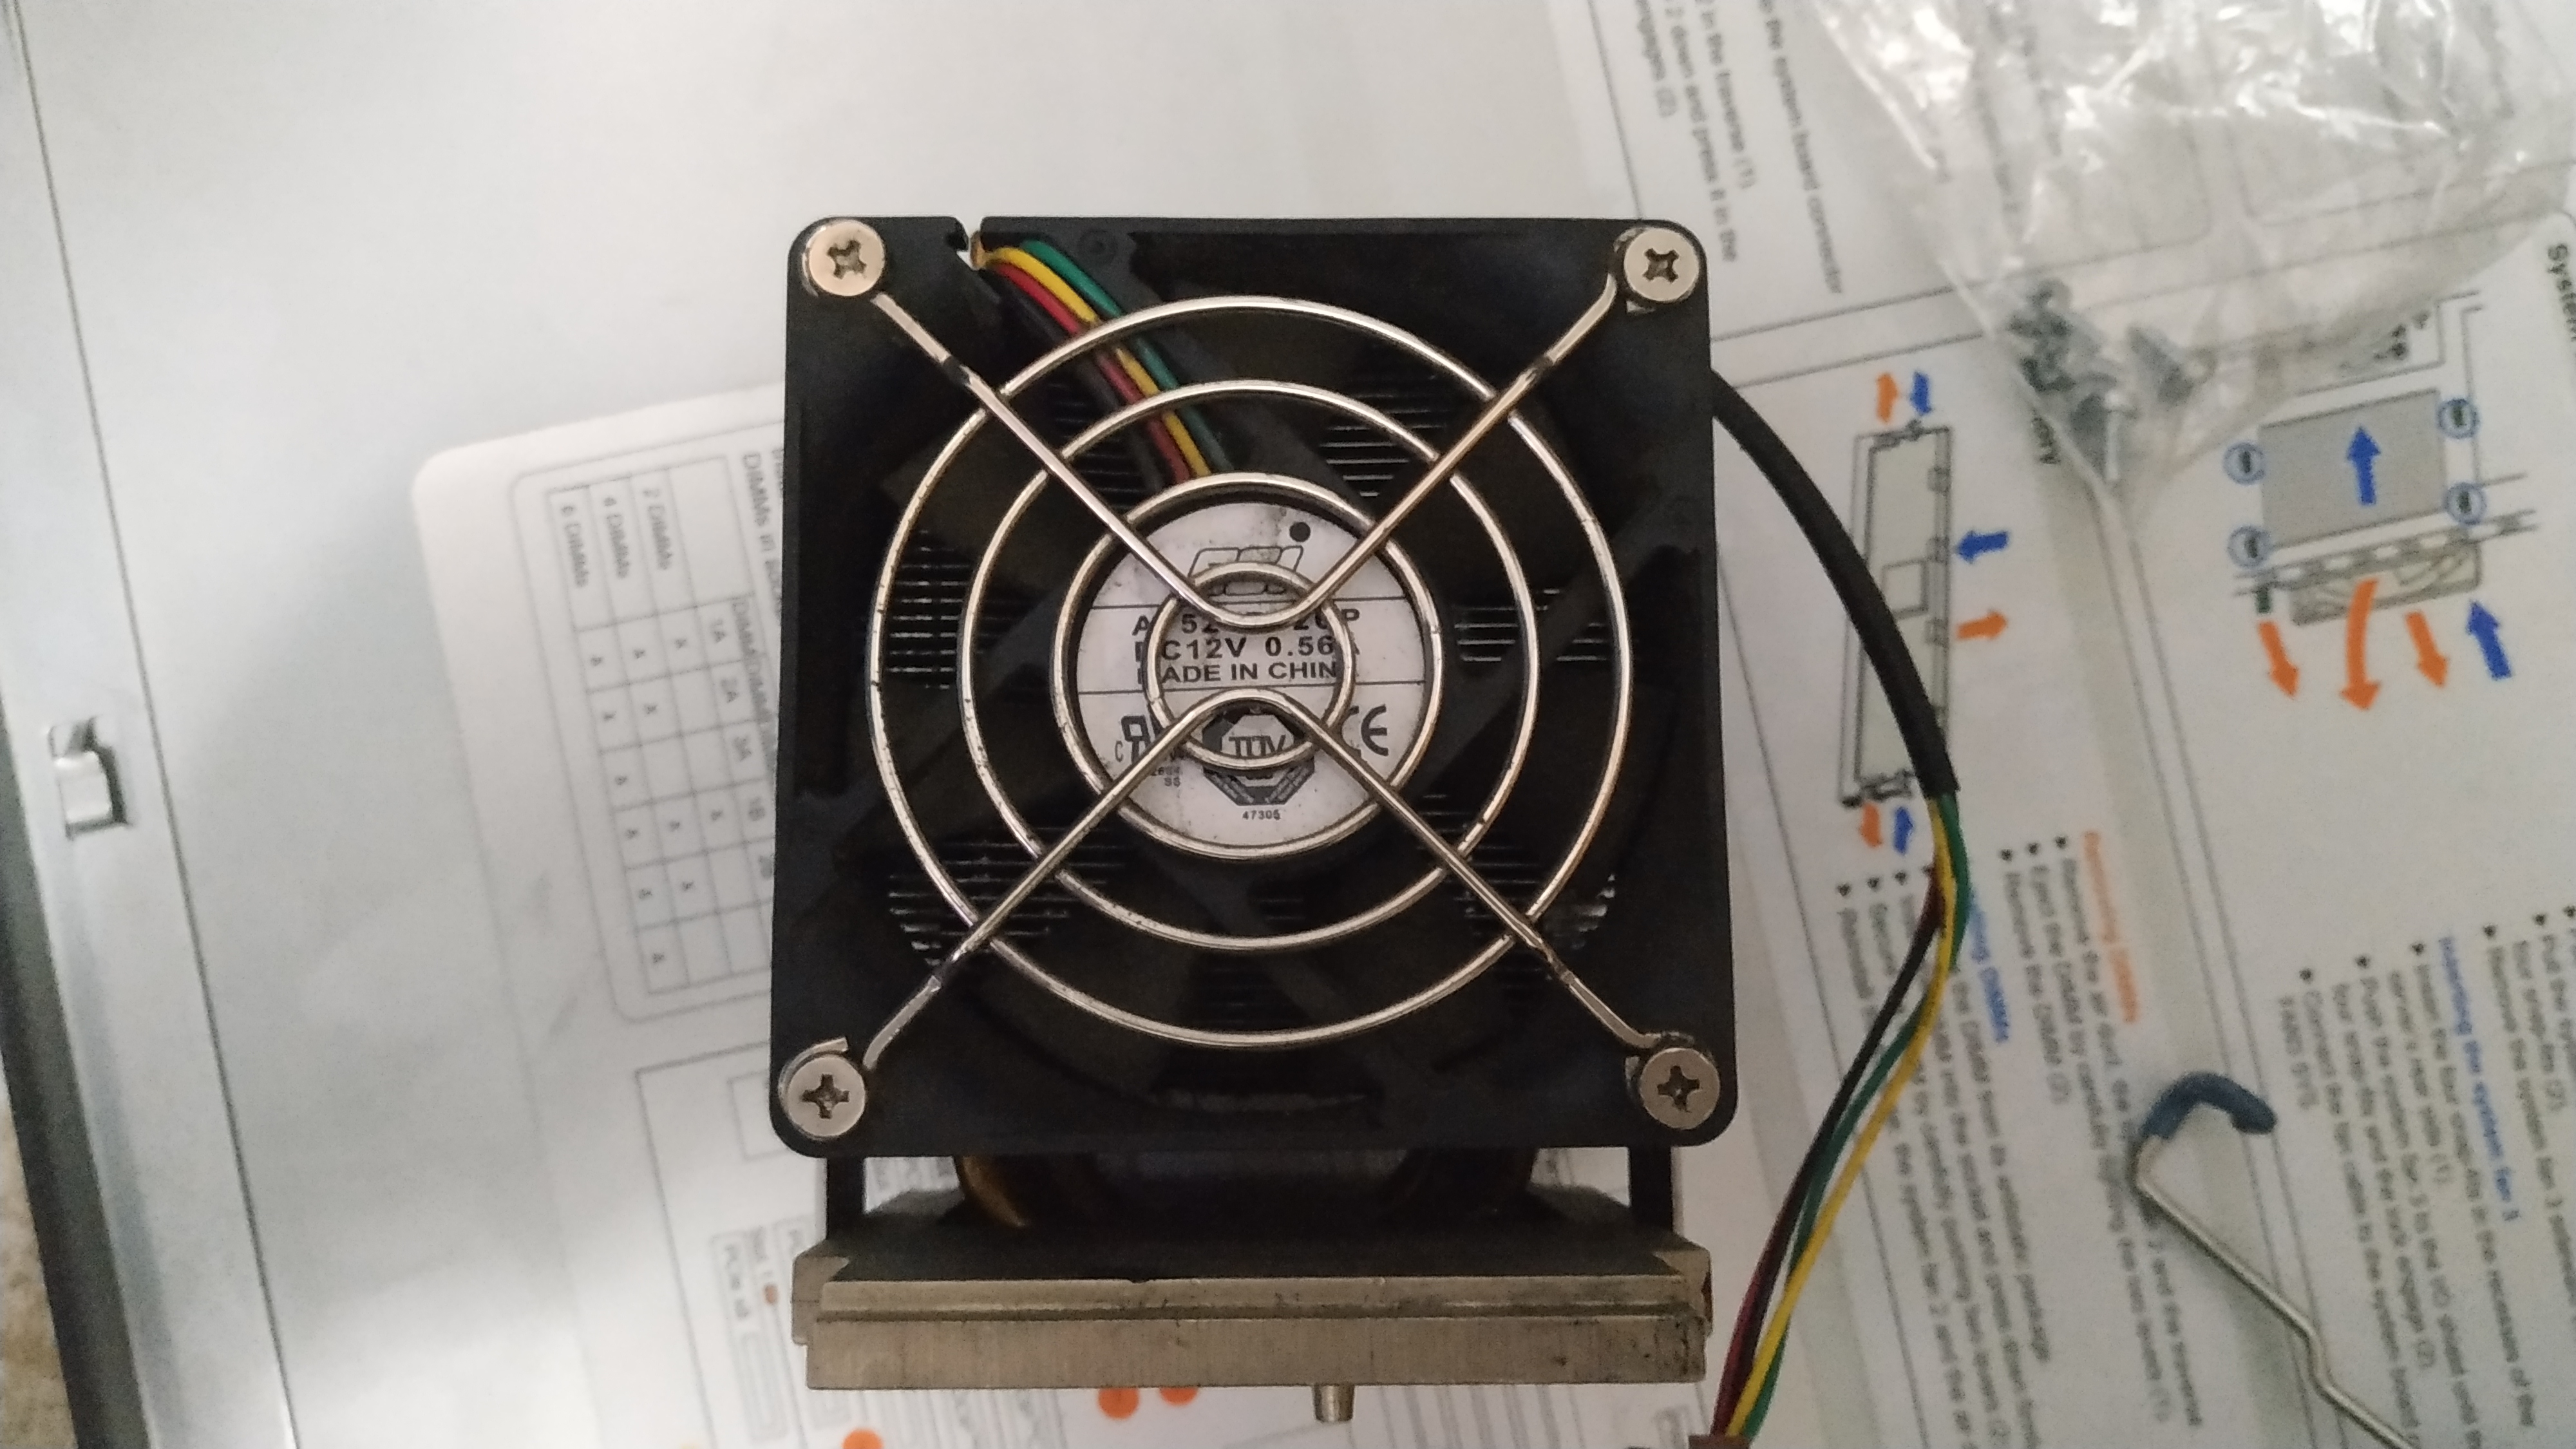
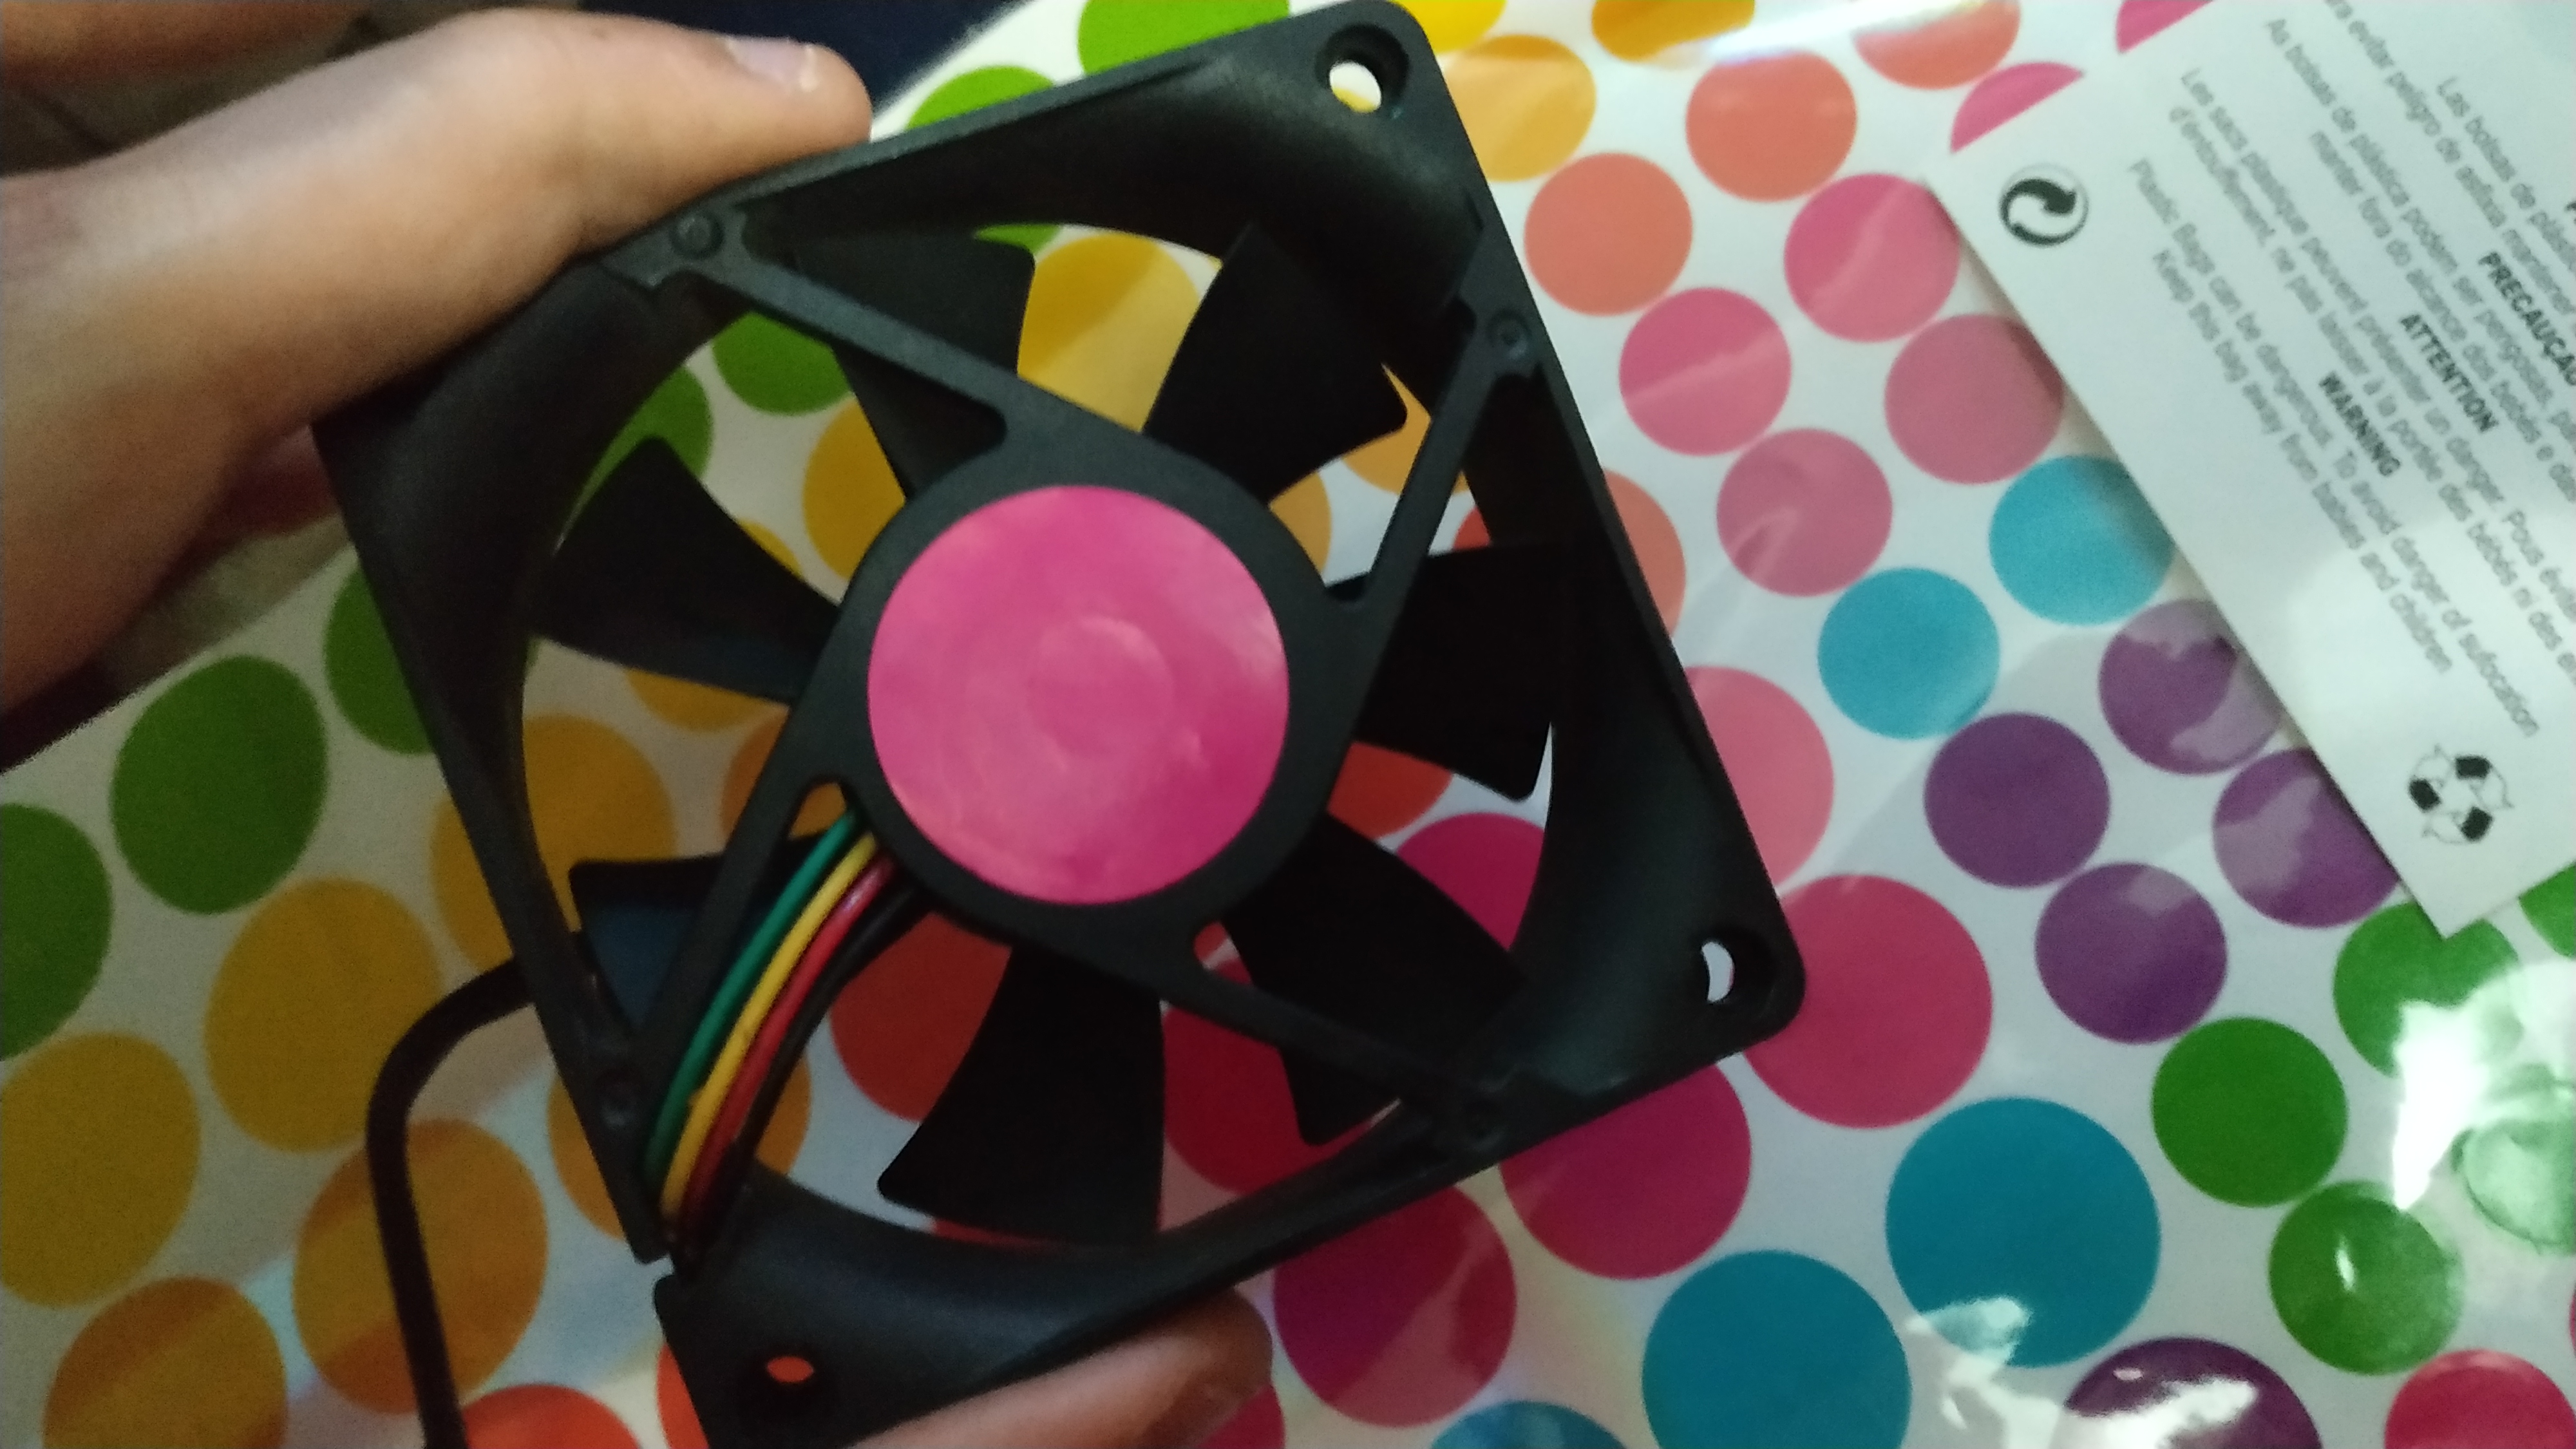
Then I removed the fan and cleaned it with a brush.
But the brush was not enough. I wanted it to be shining bright so…
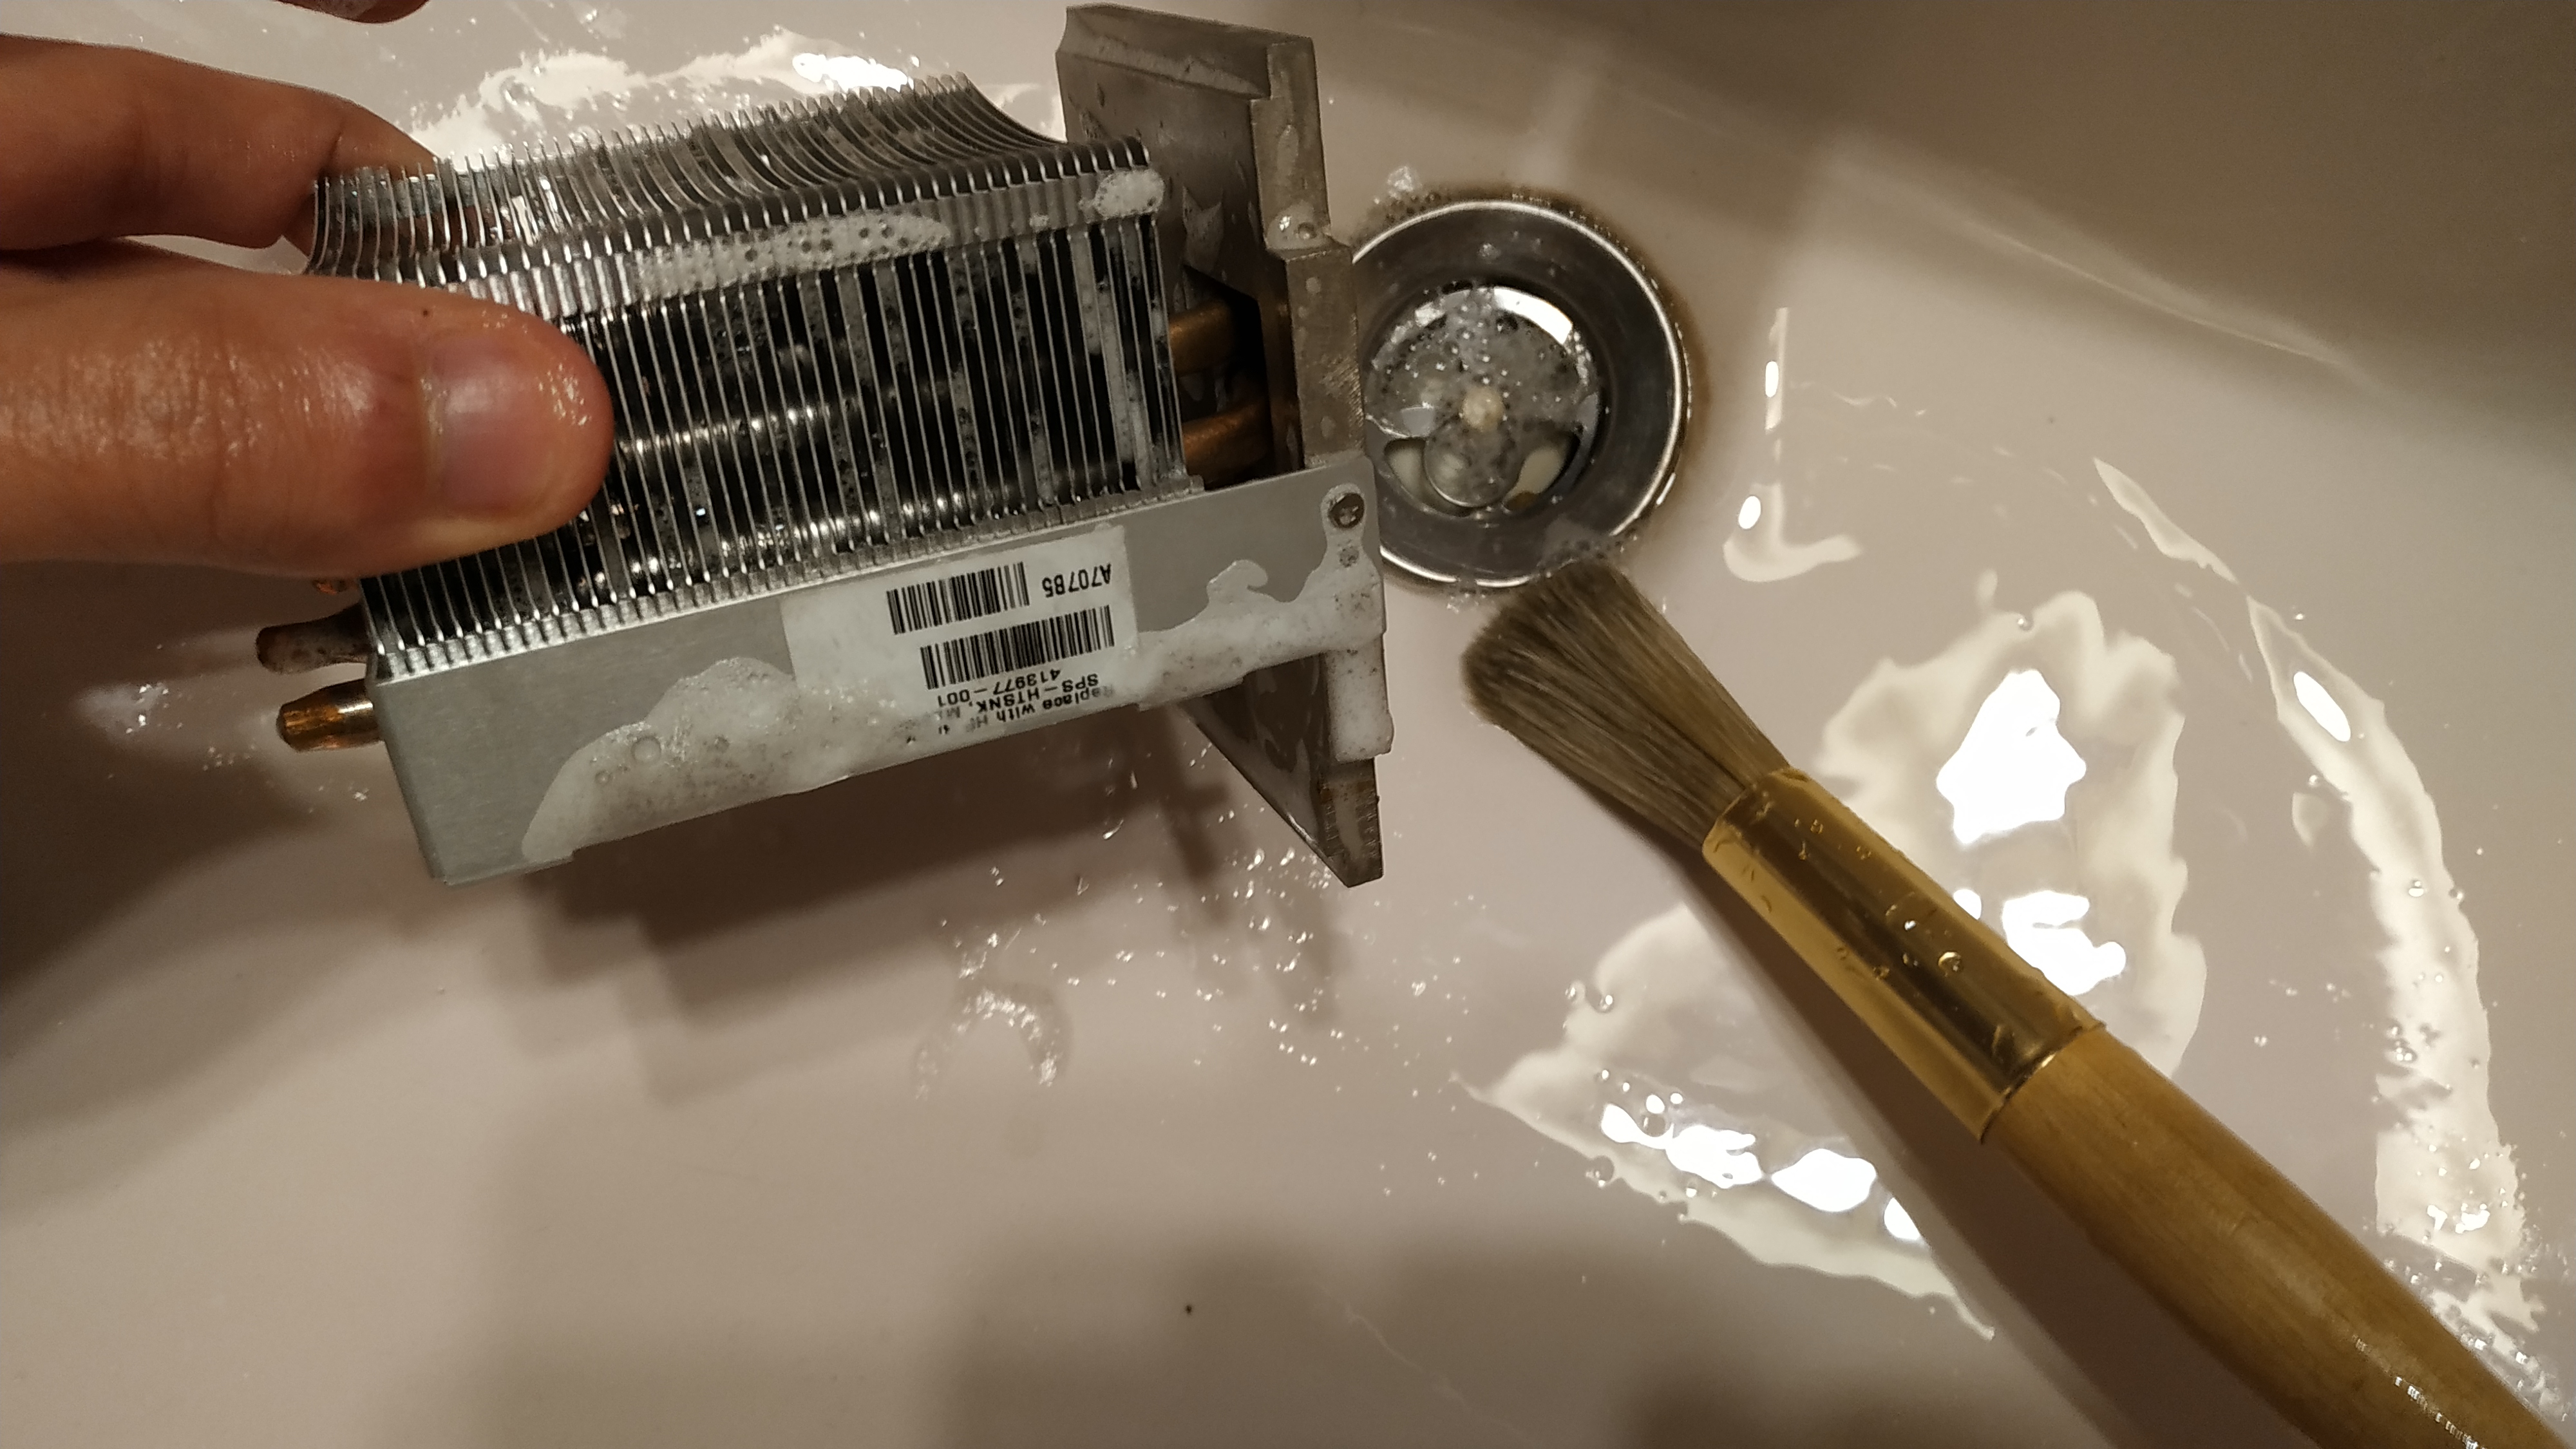
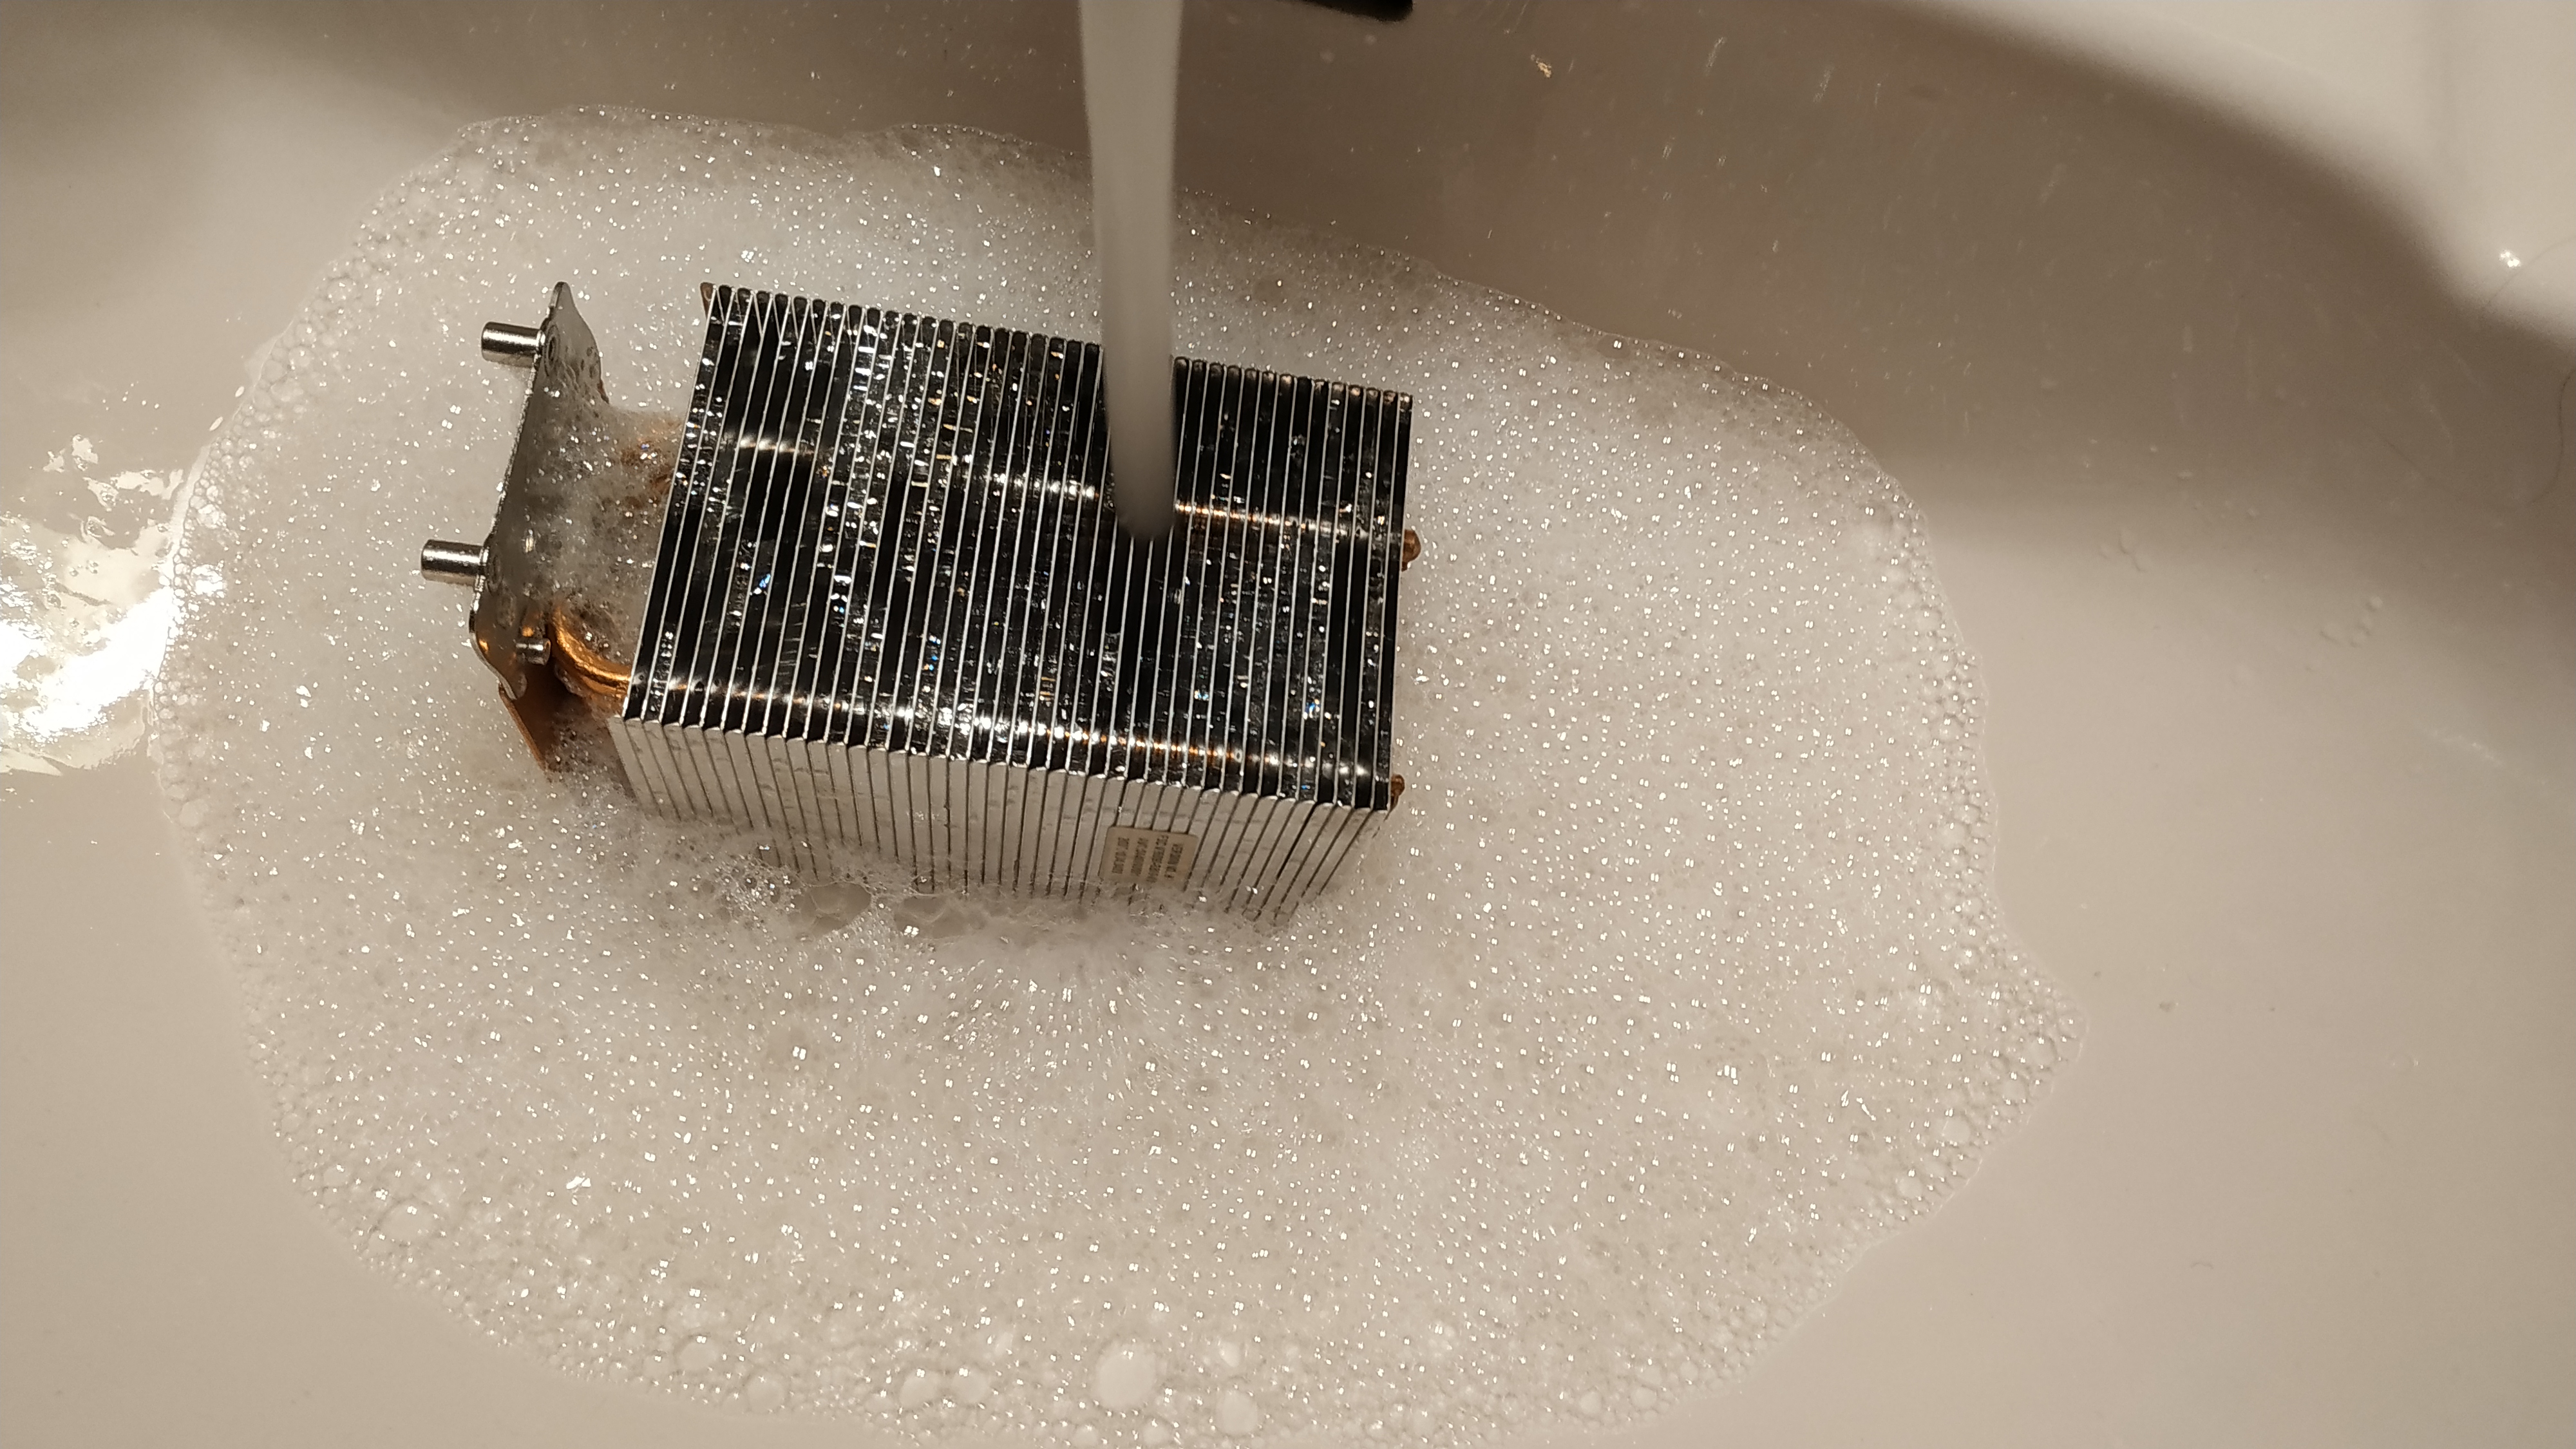
No need to worry about the water, they are rustproof.
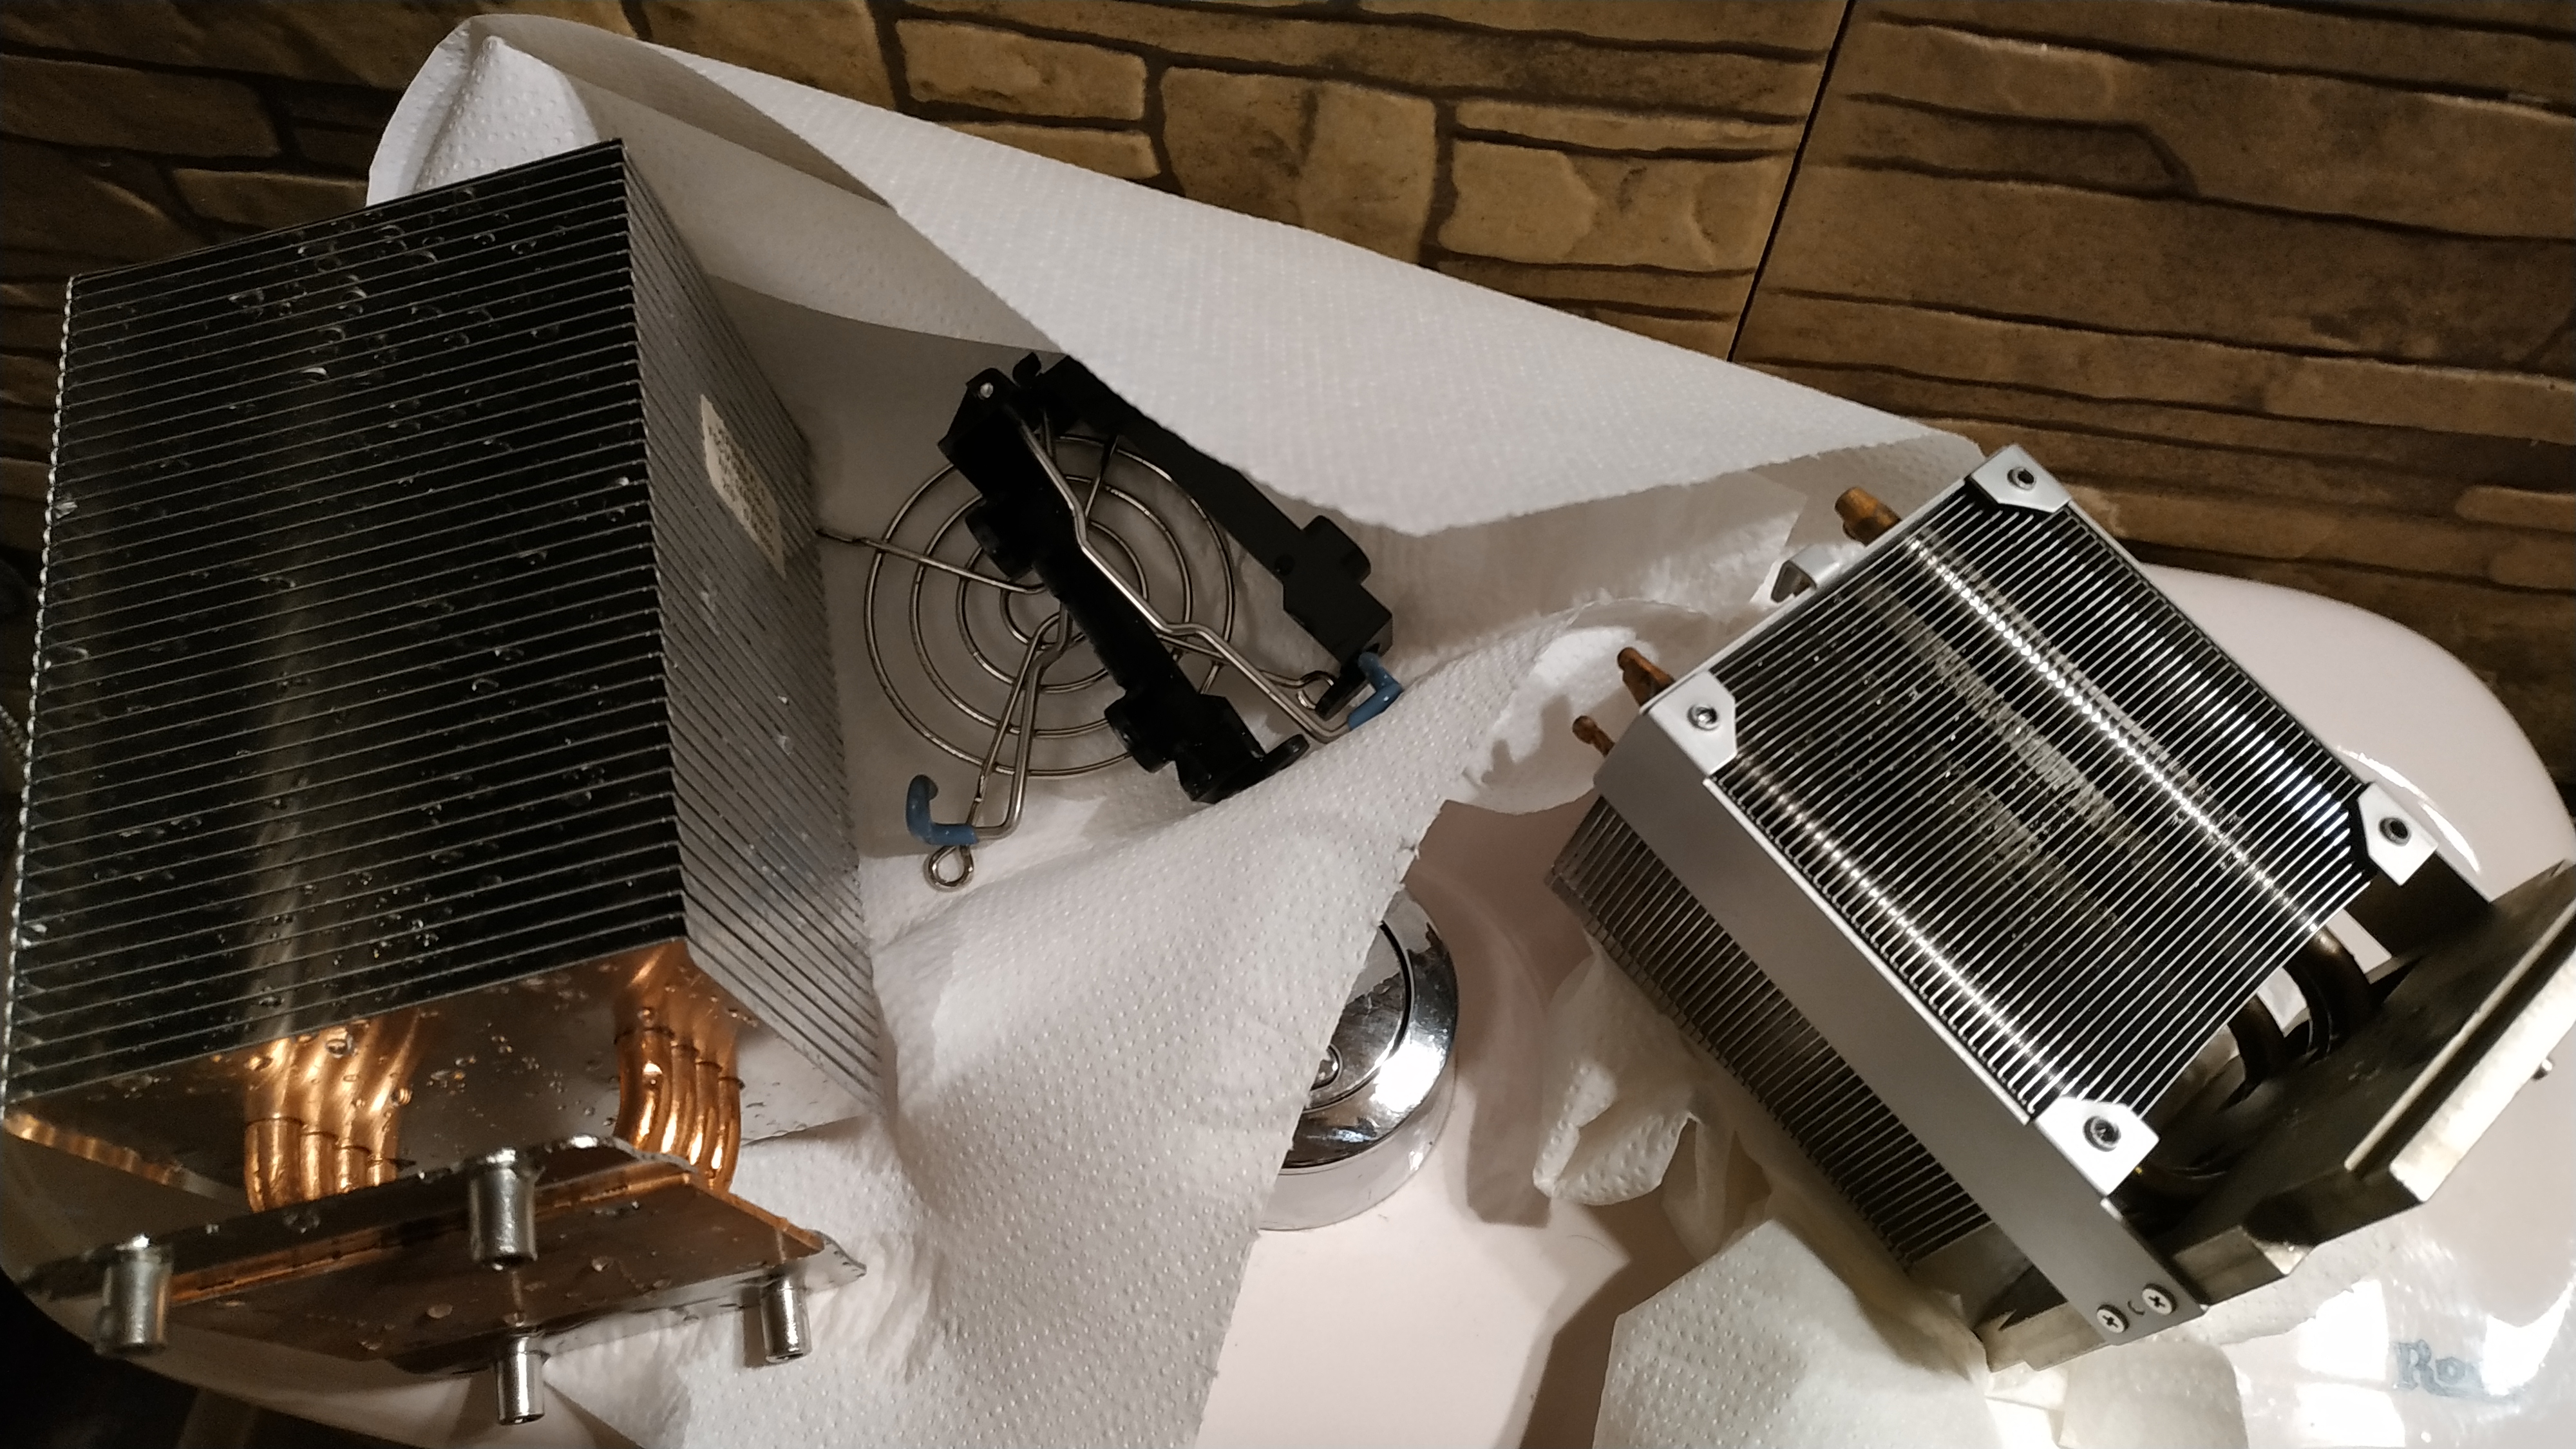
After my washing treatment both of the coolers were shining like they never did.
Modding
VRM
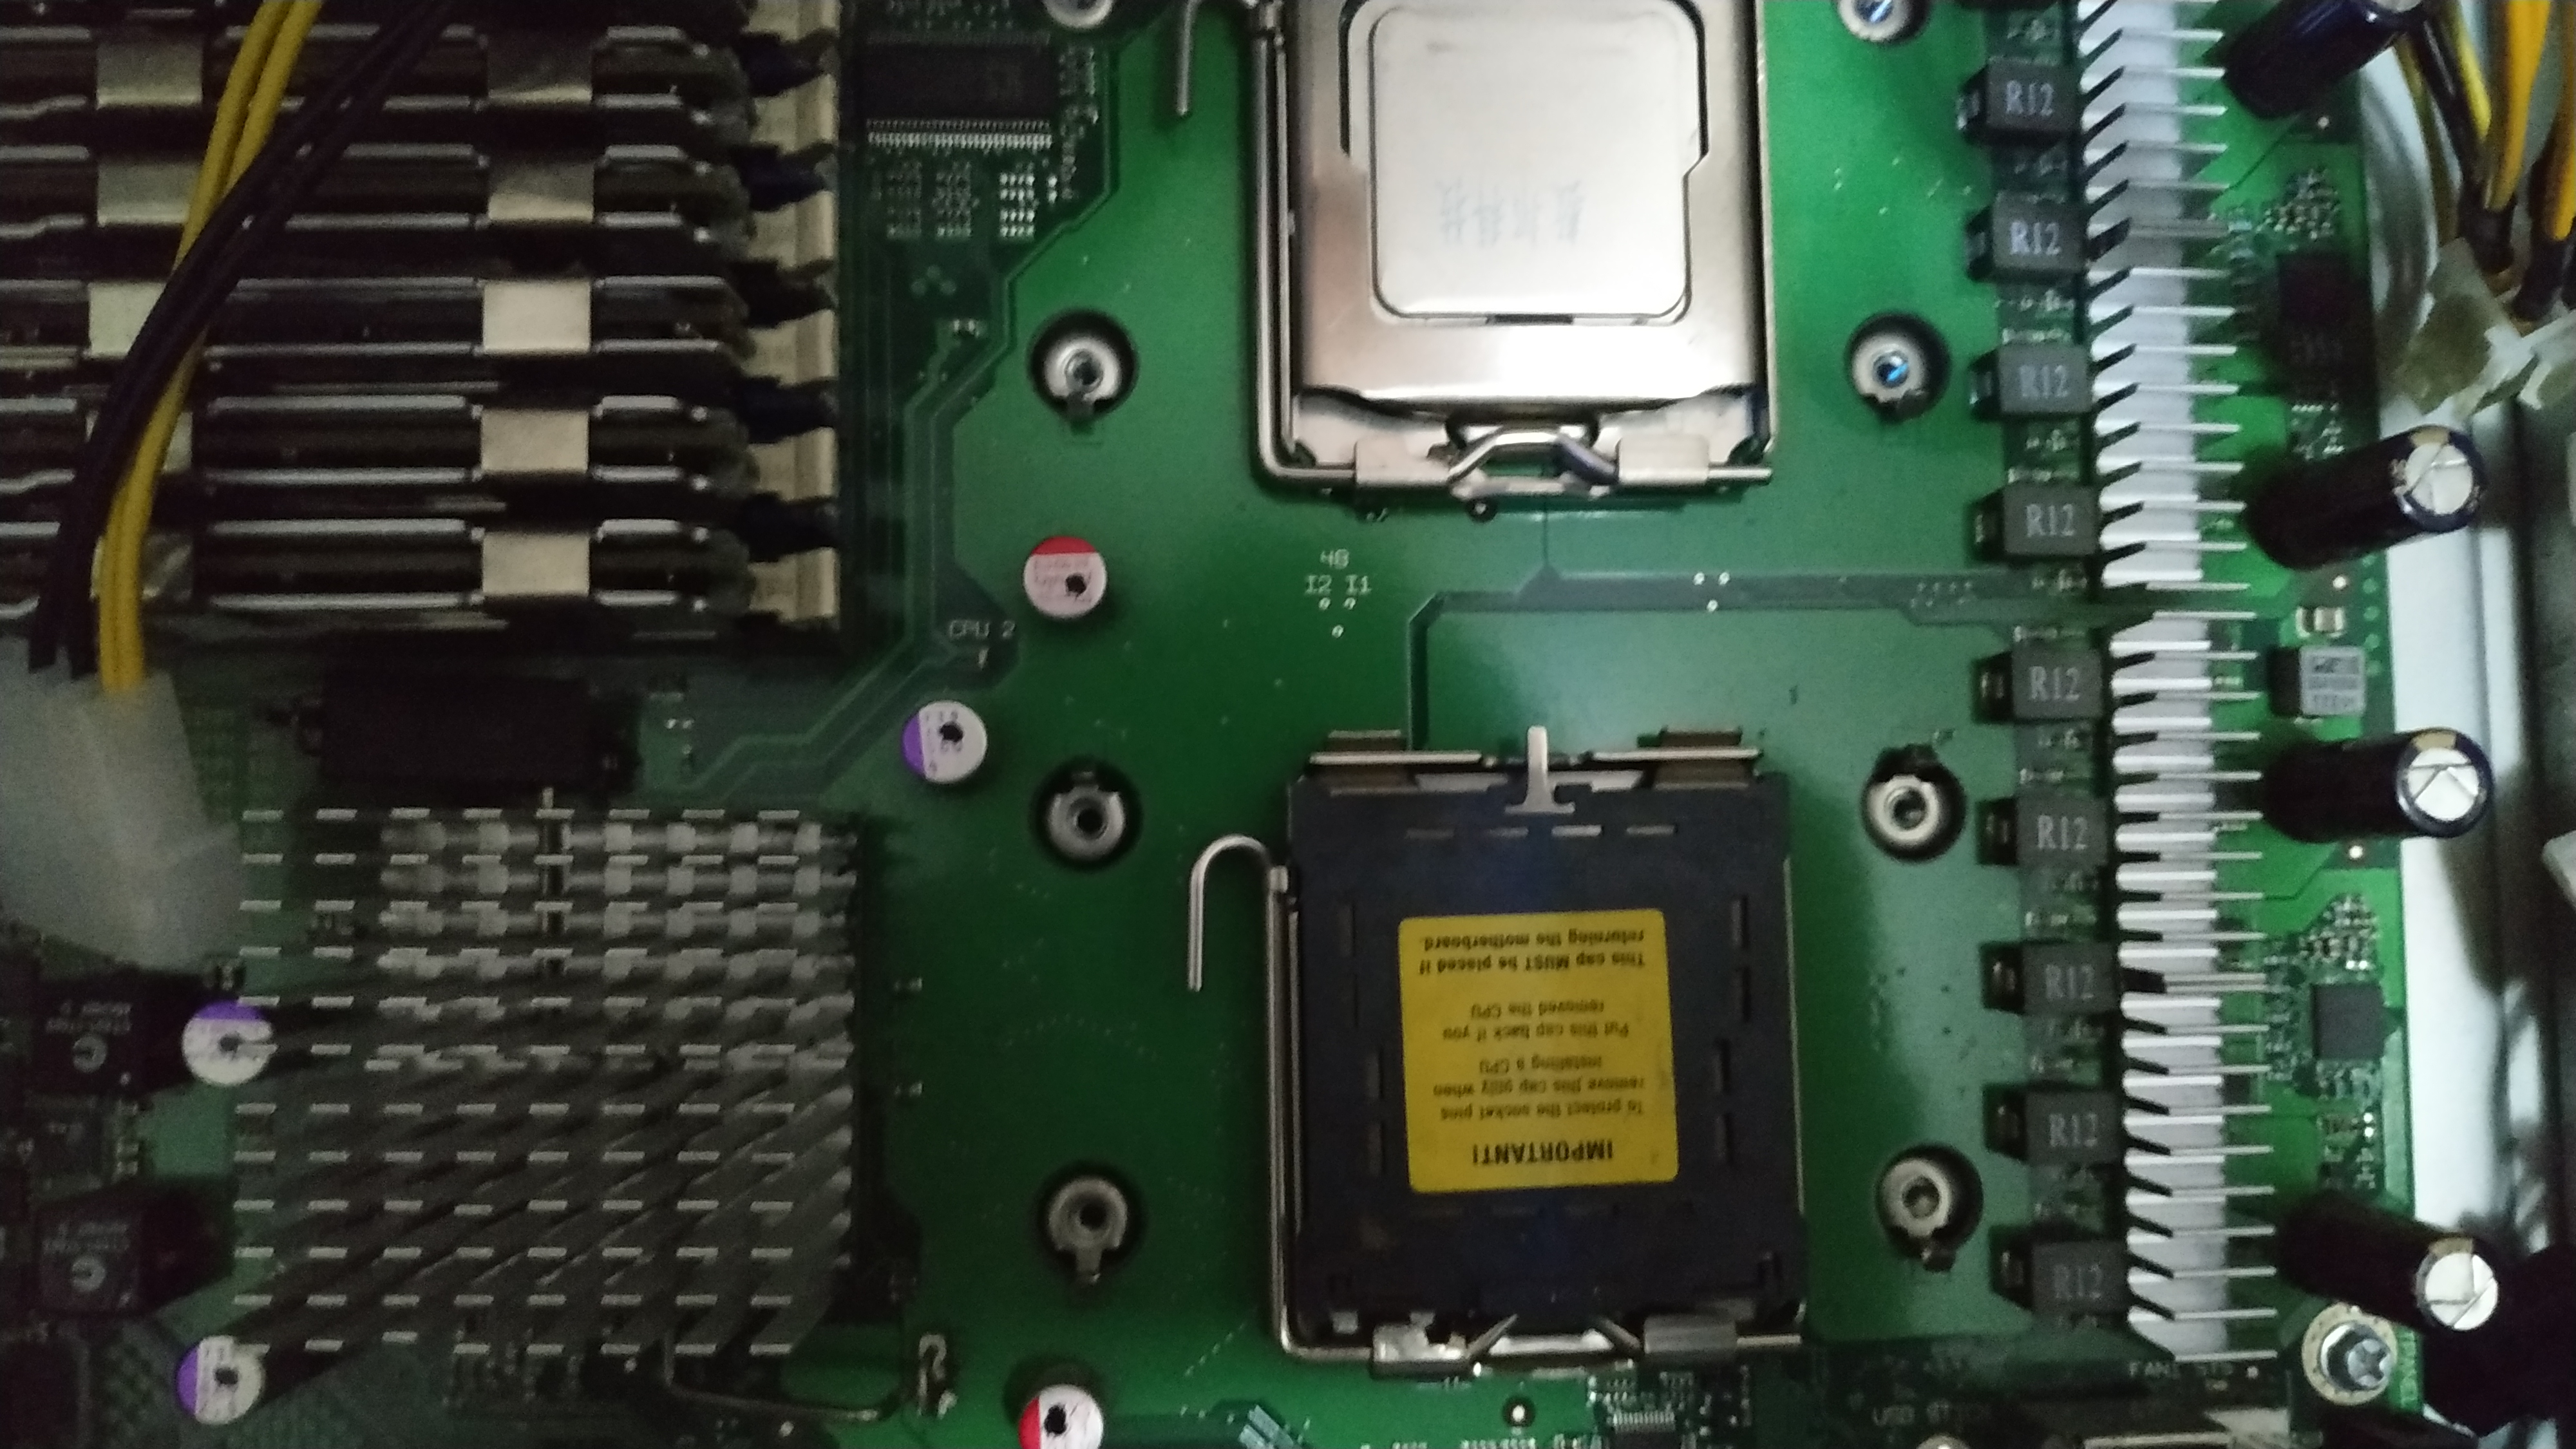
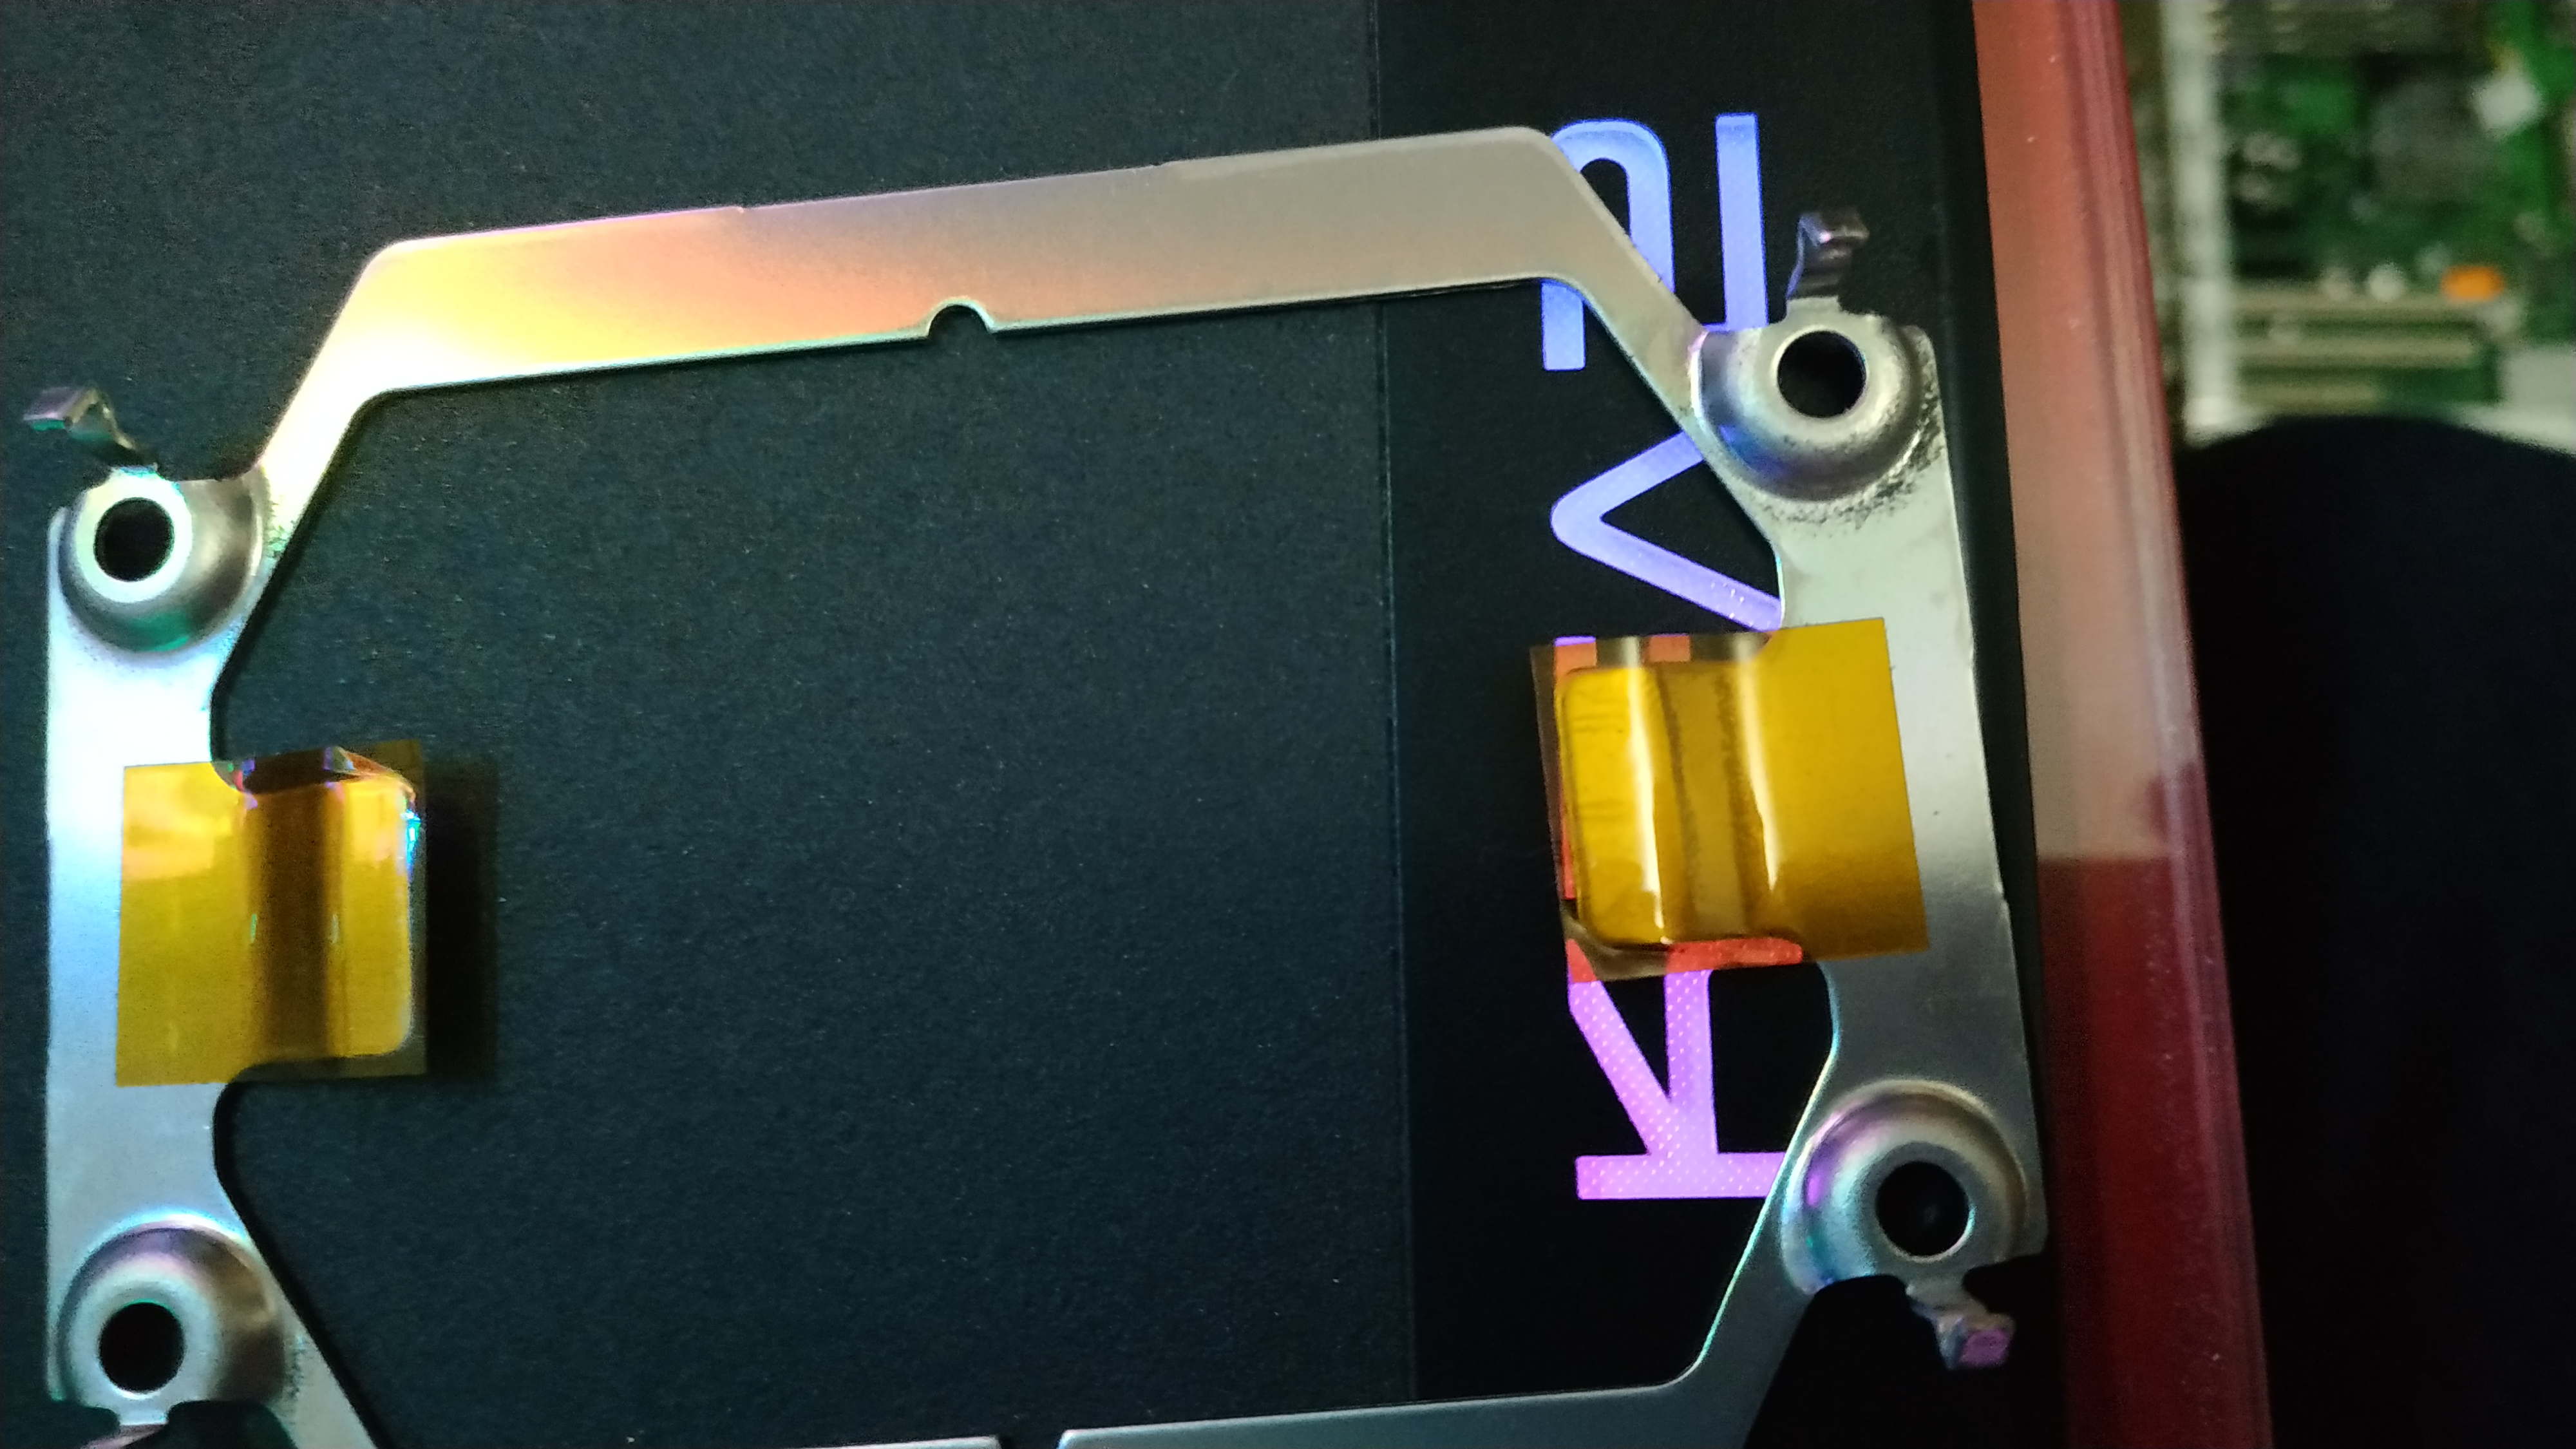
The server comes with no cooling on the VRM. I bought some heatspreeders with stickers that fit perfectly on top of the VRM MOSFETS [1] as seen in the picture.
Its a cheap and nice solution.
Cabling
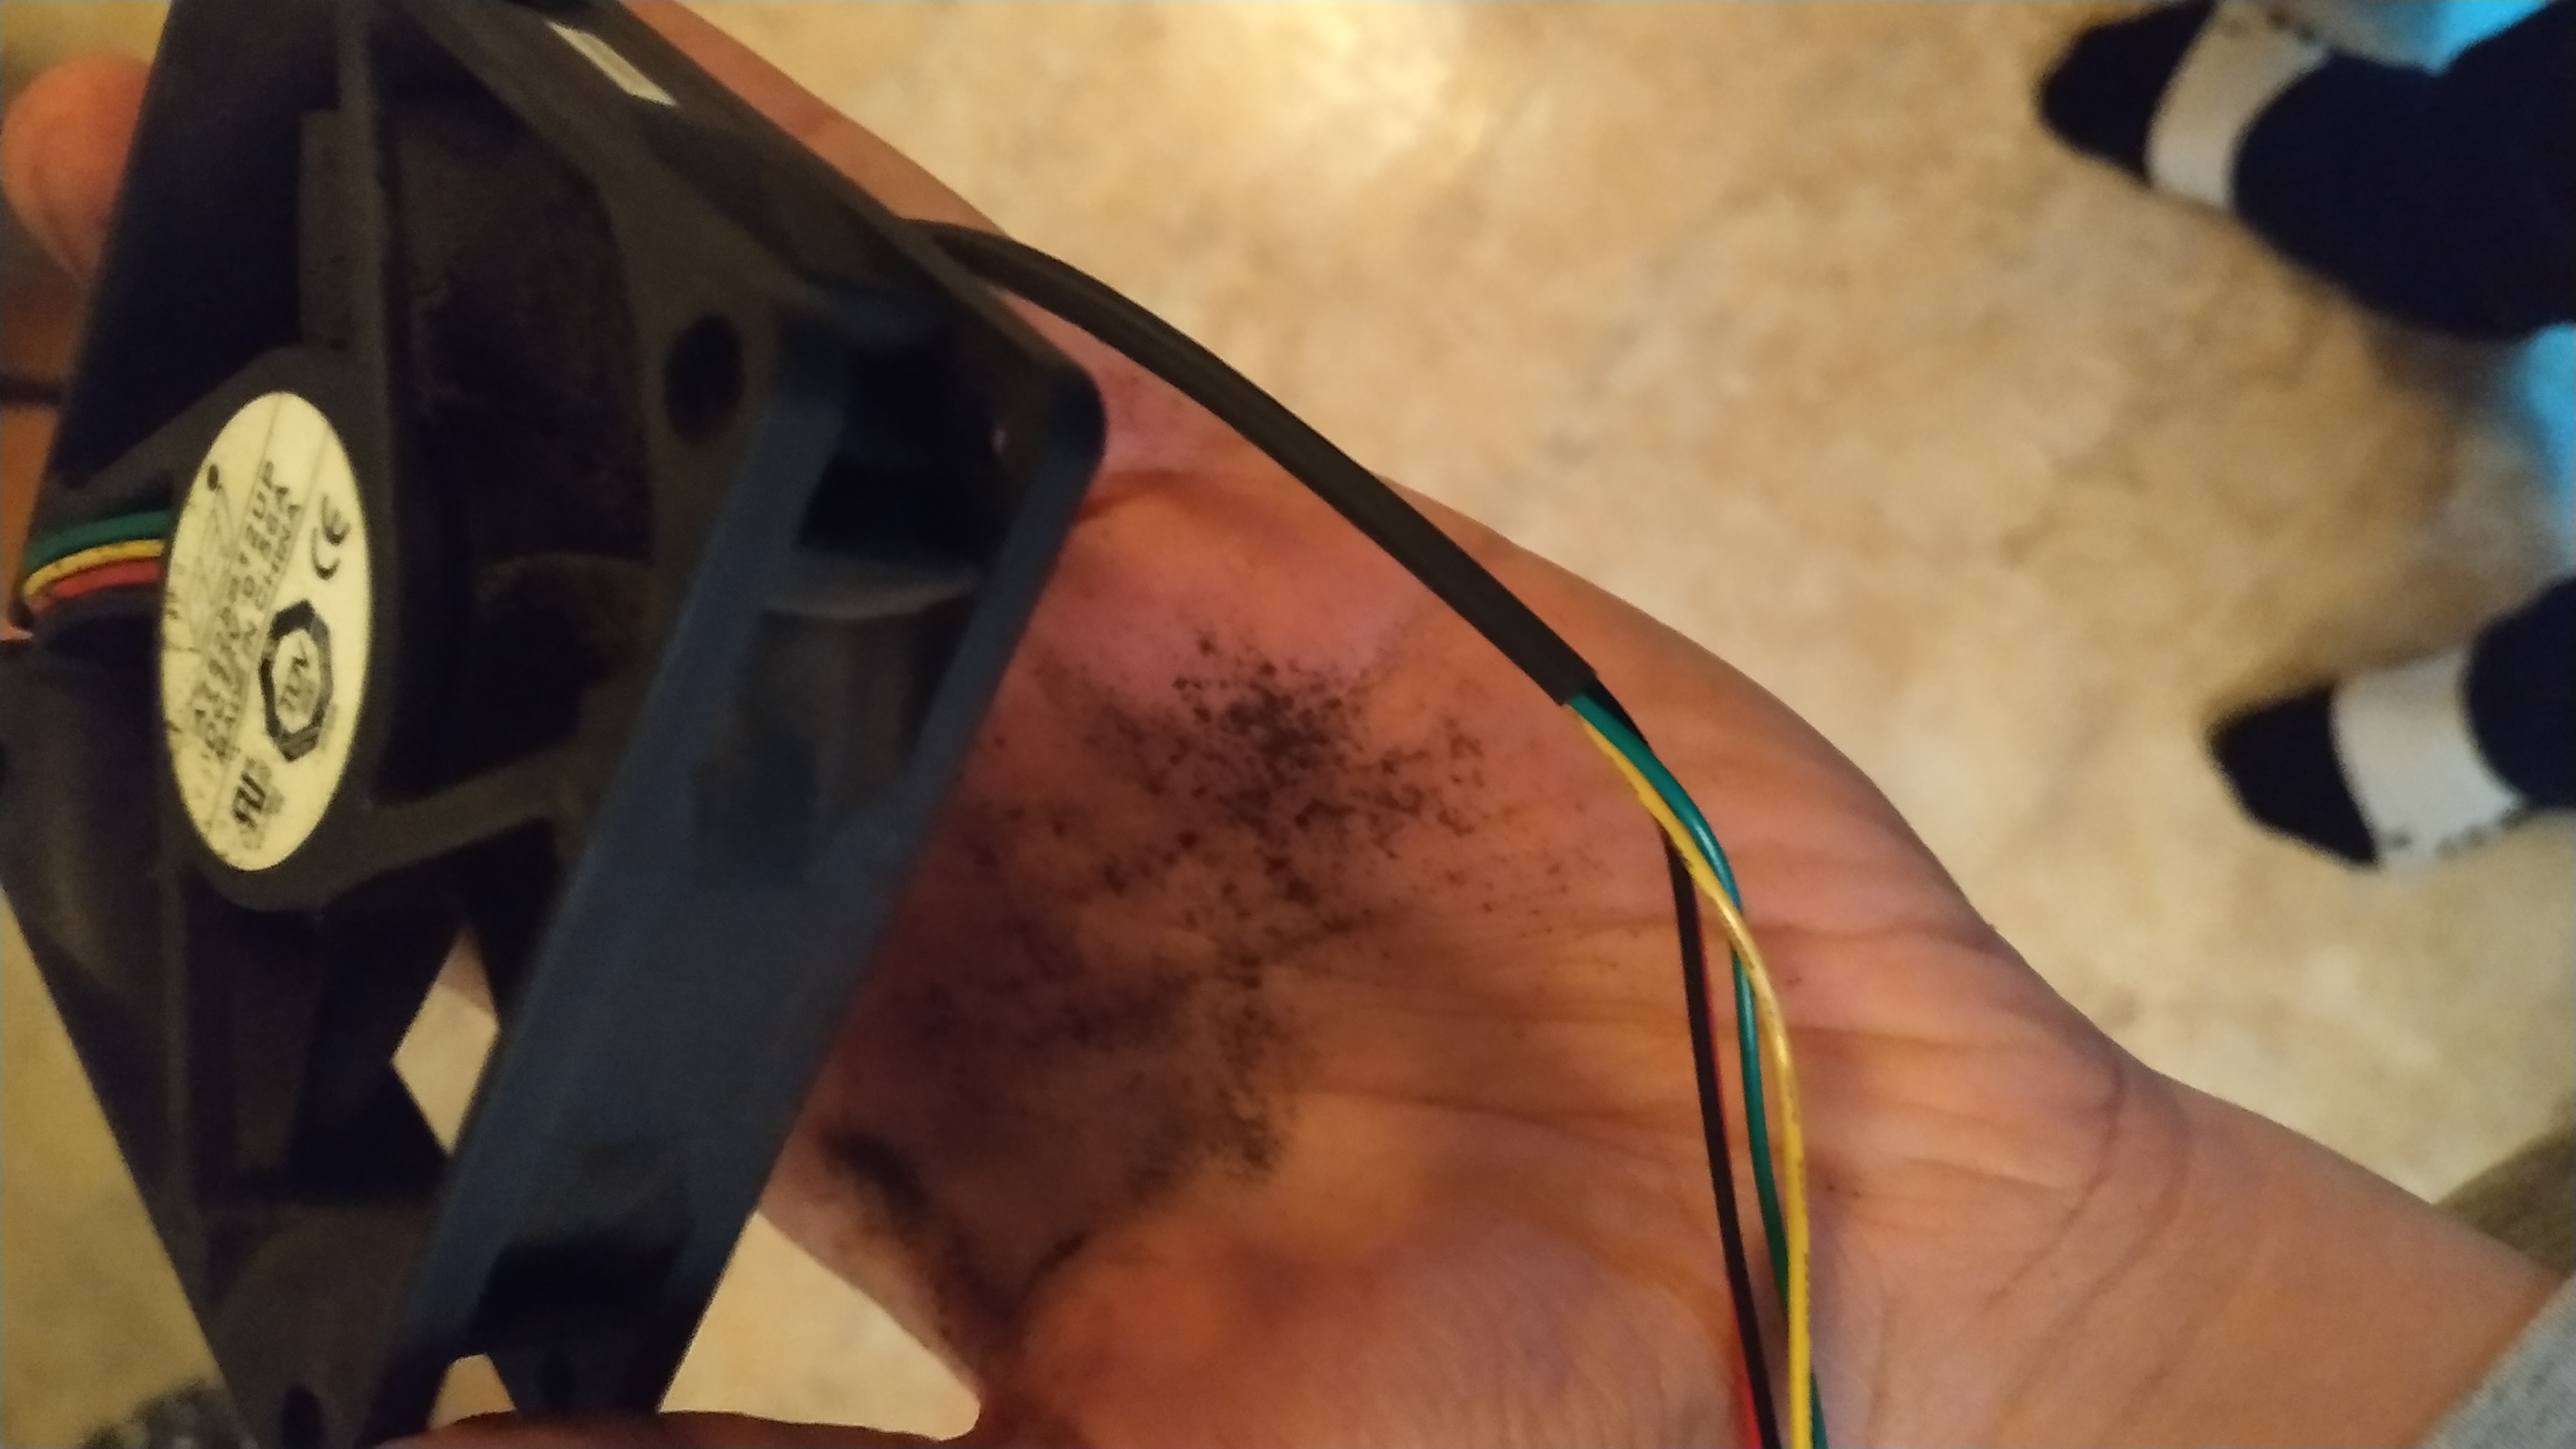
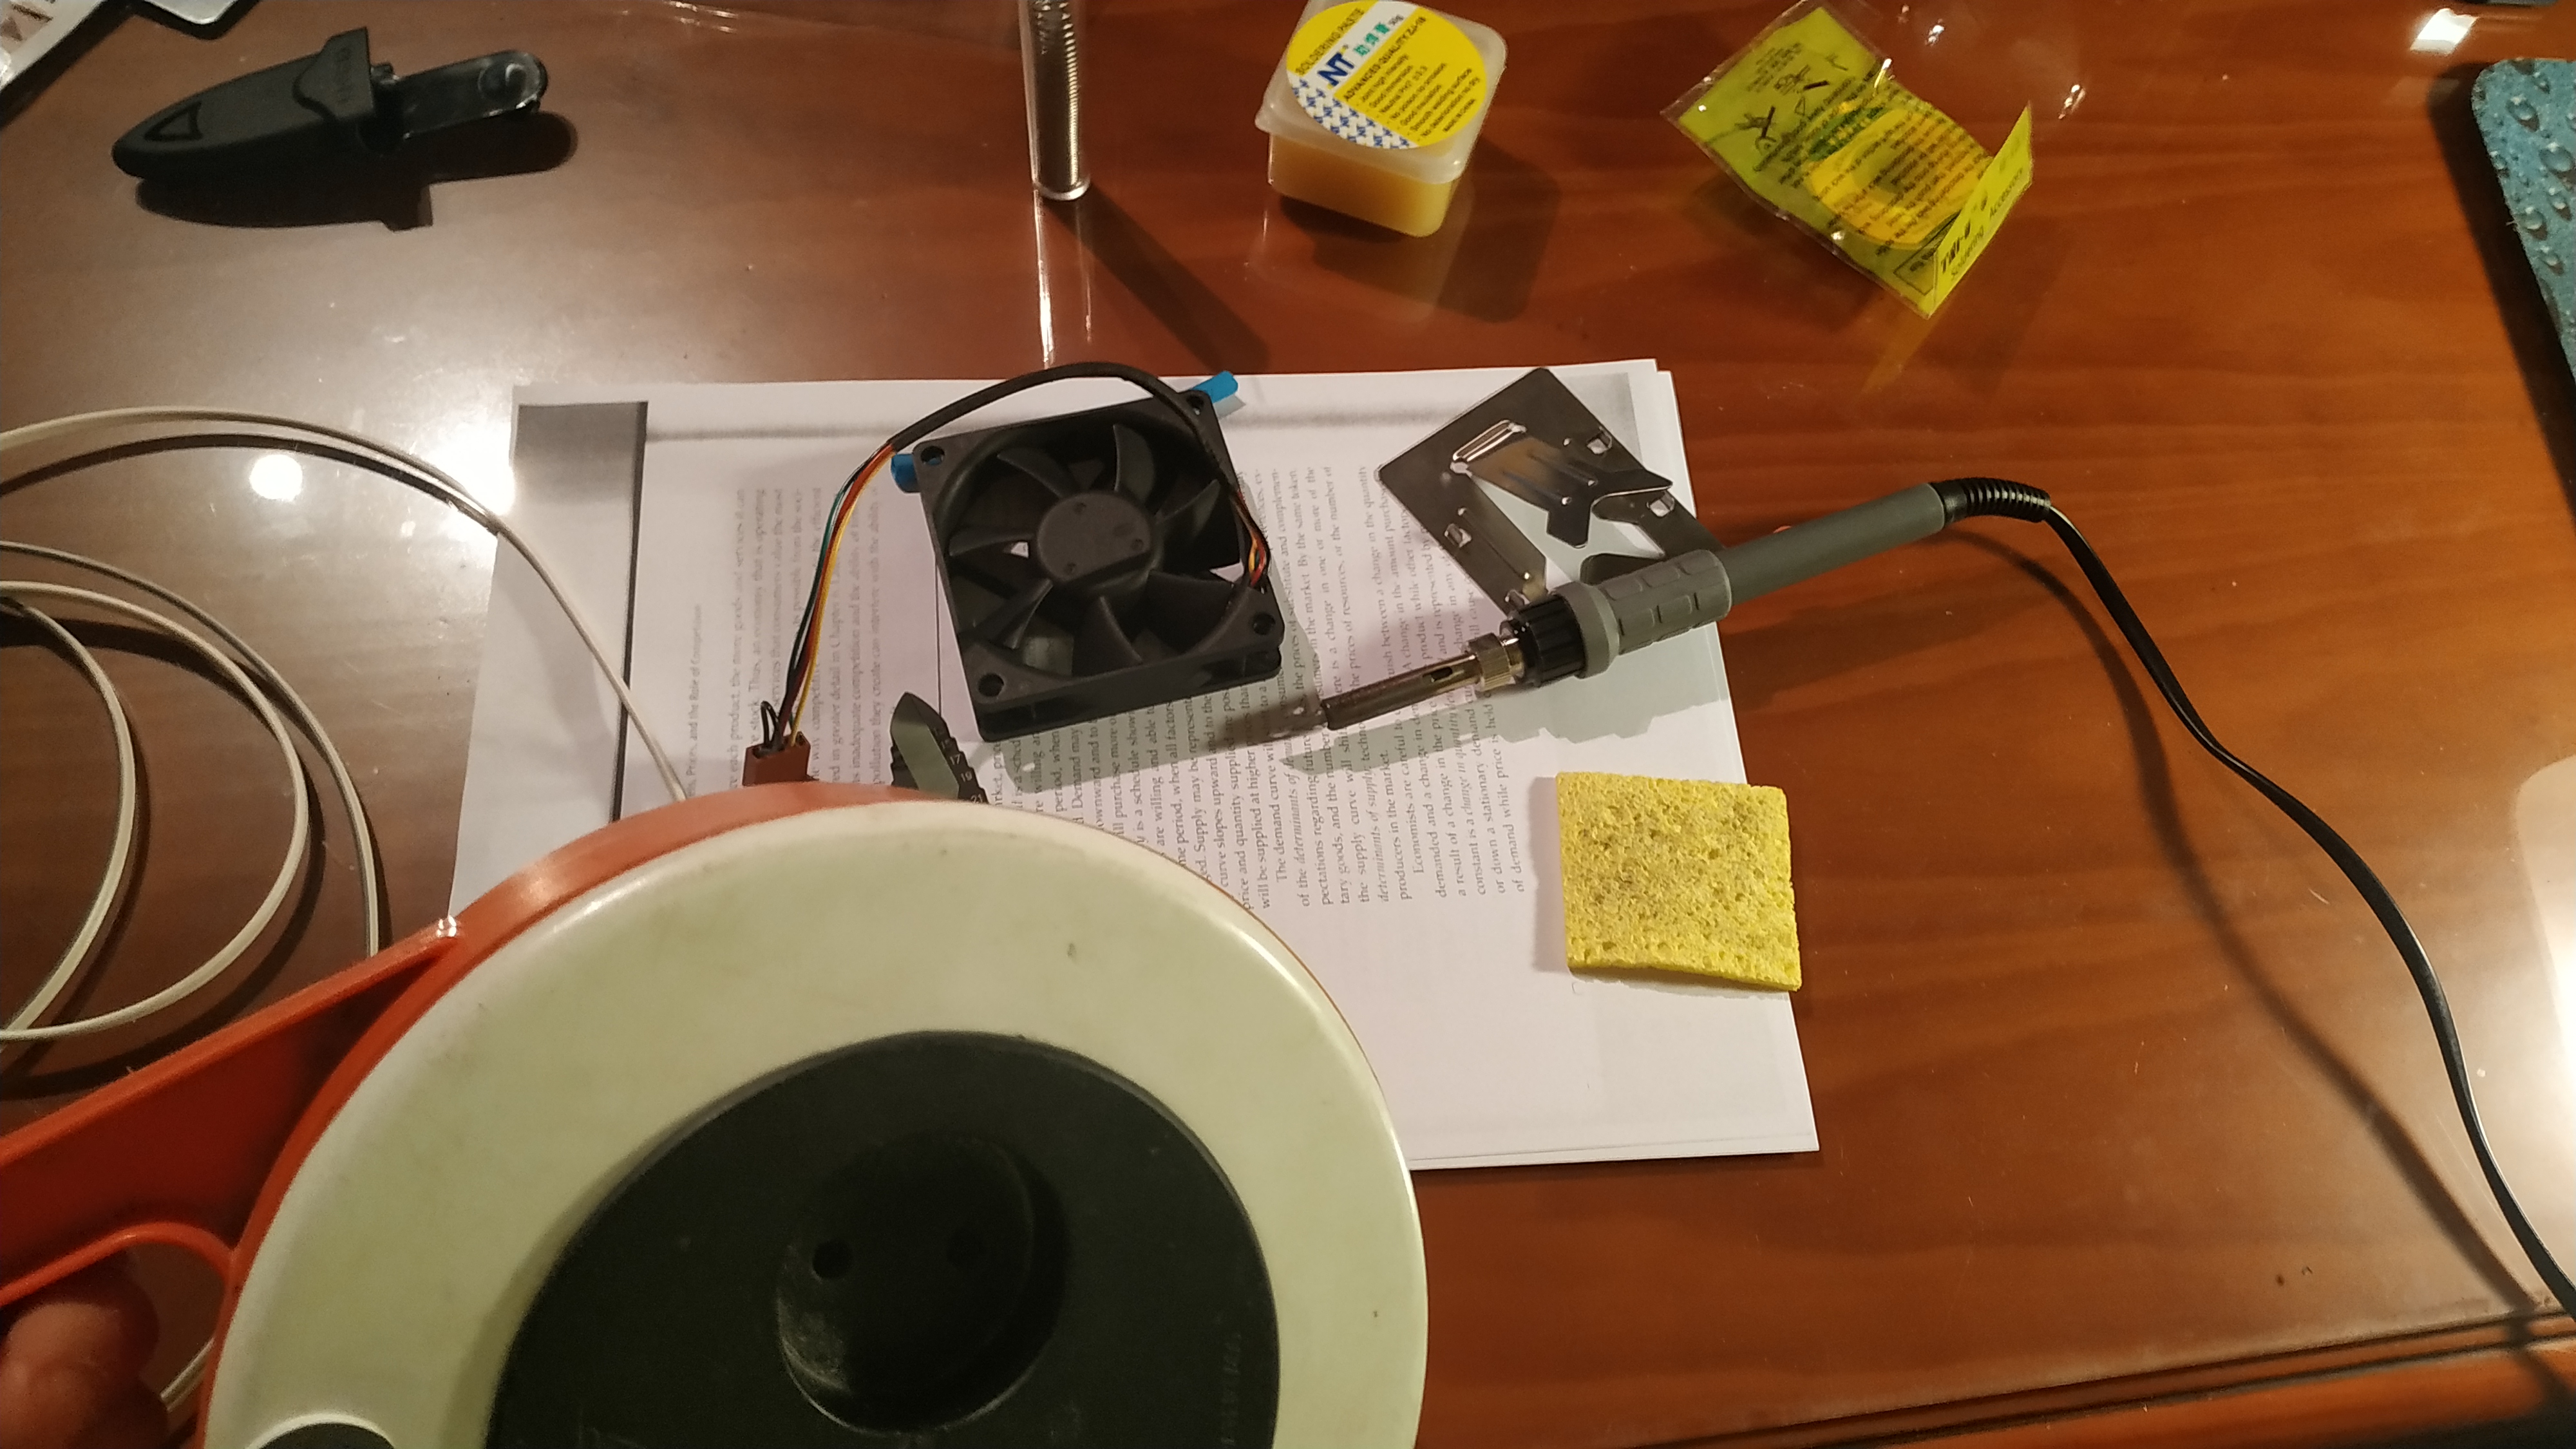
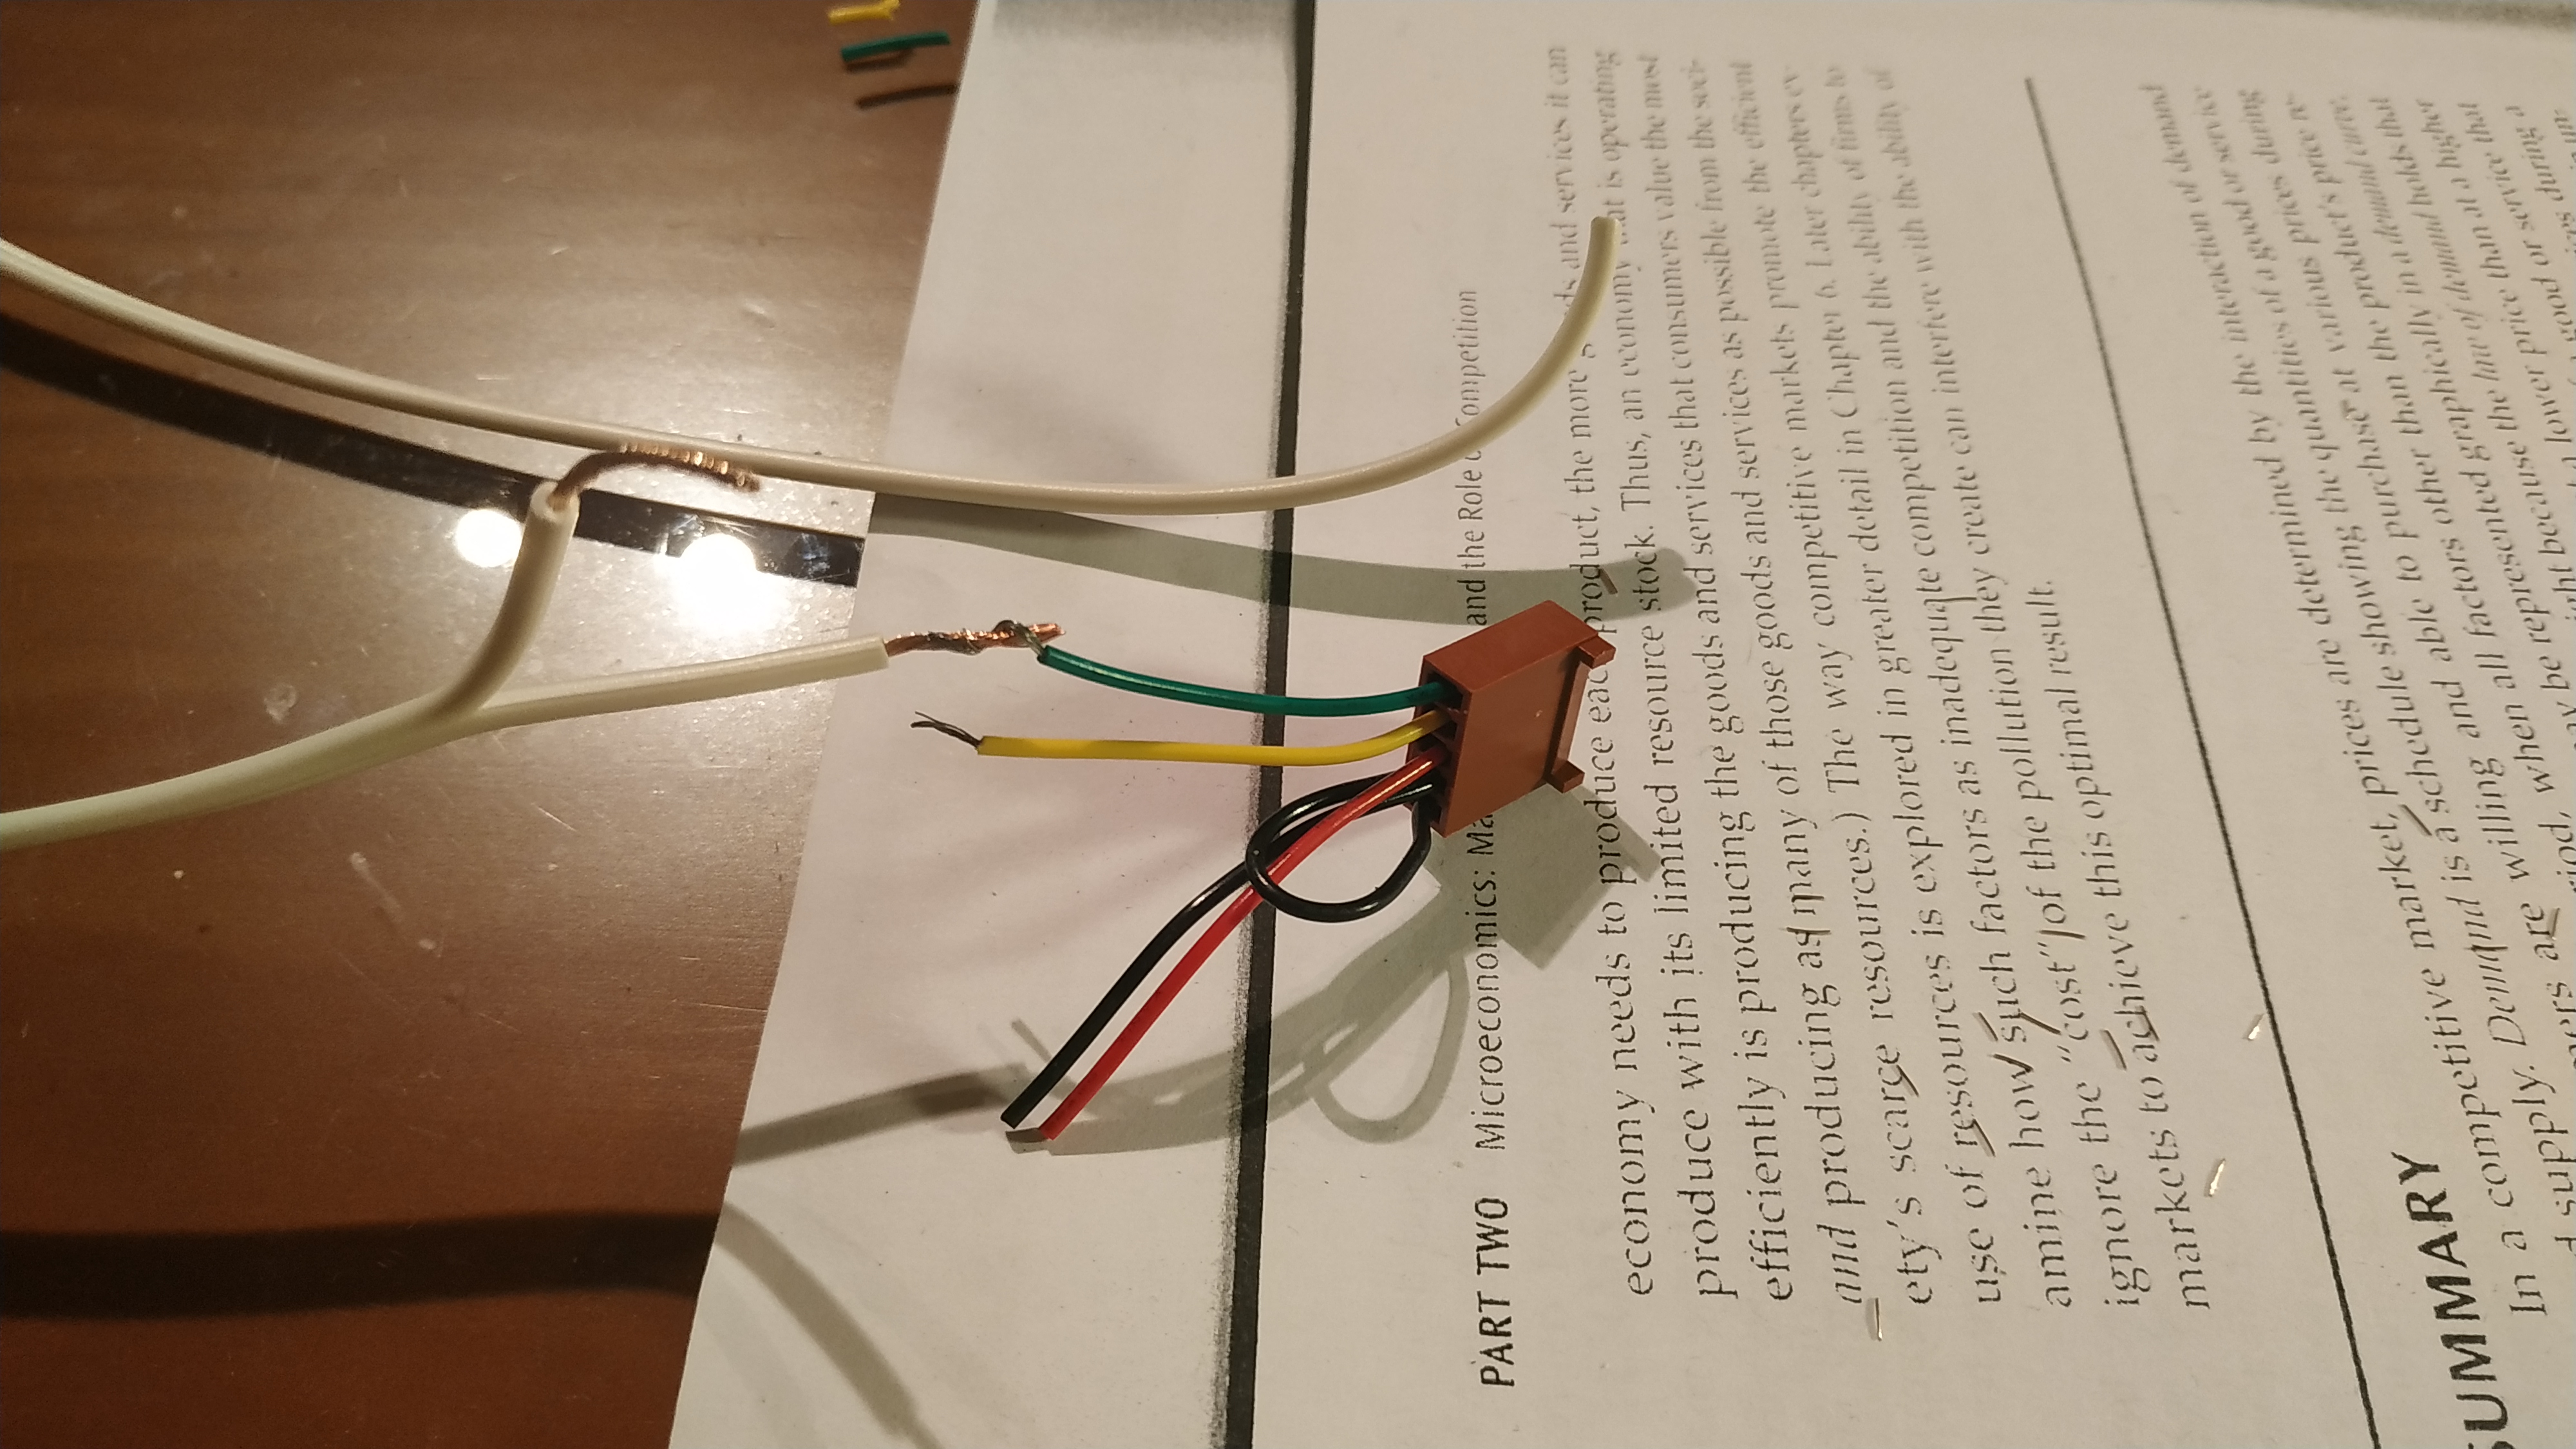
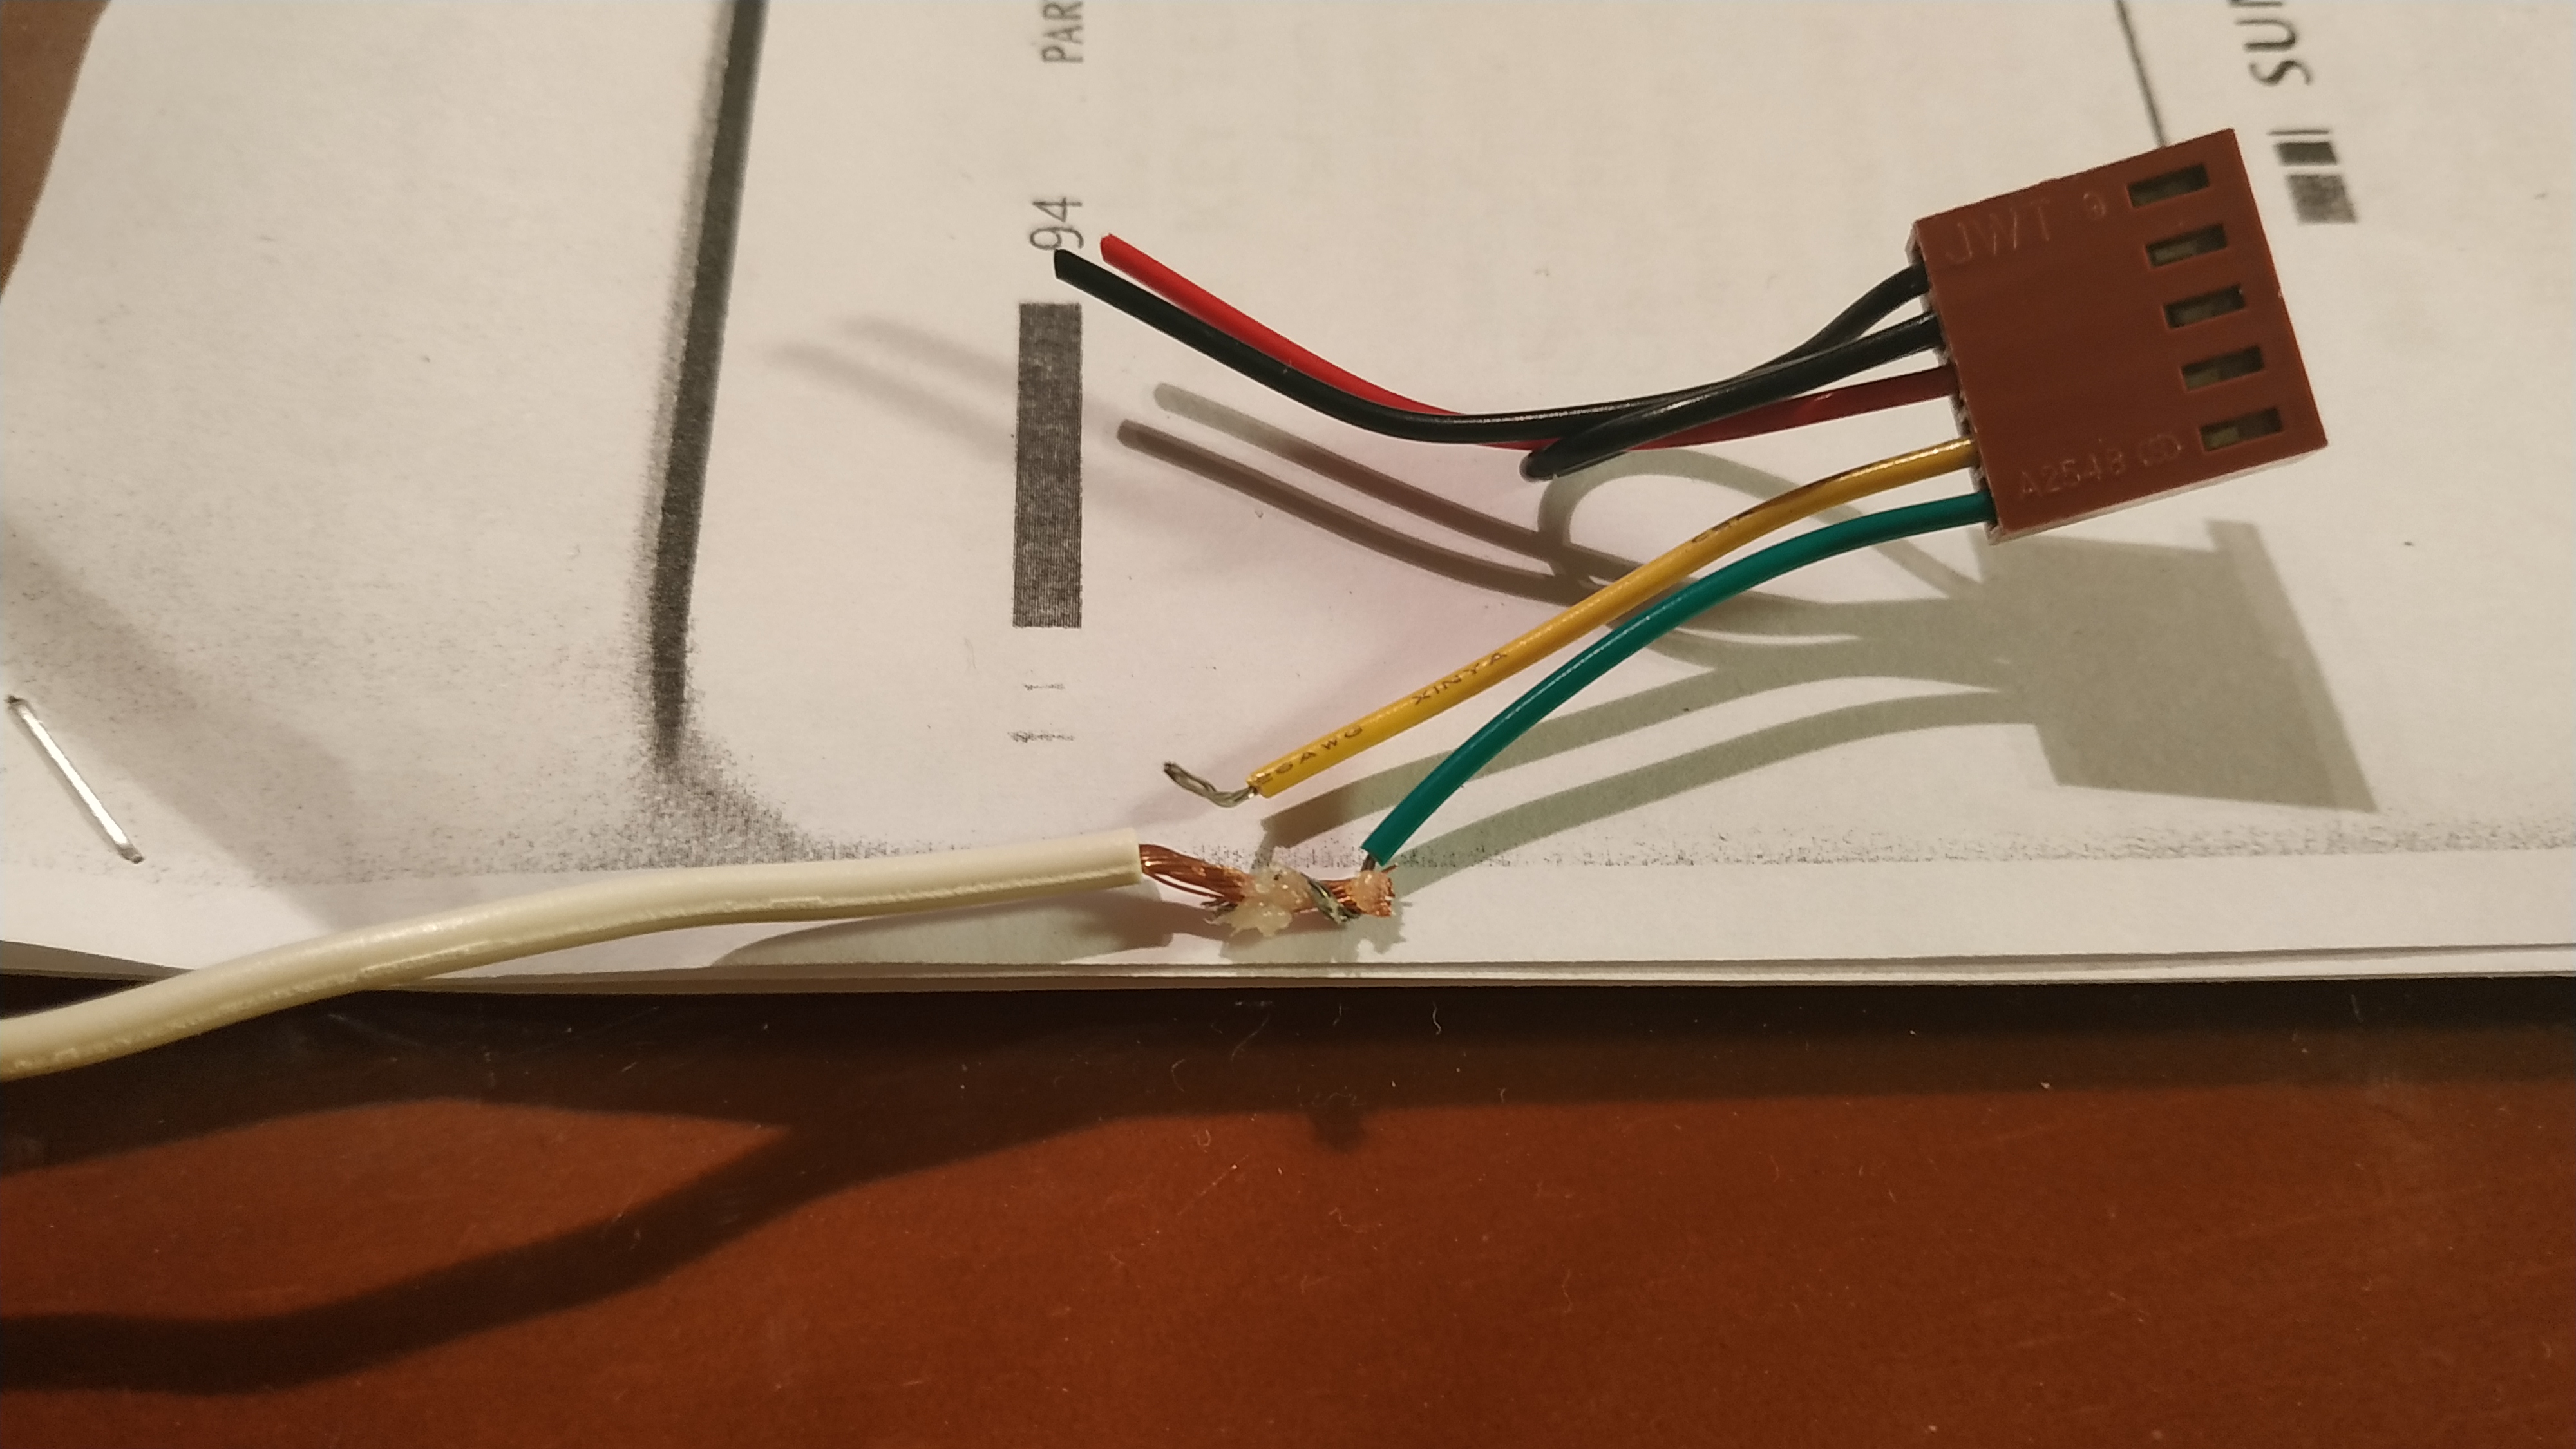
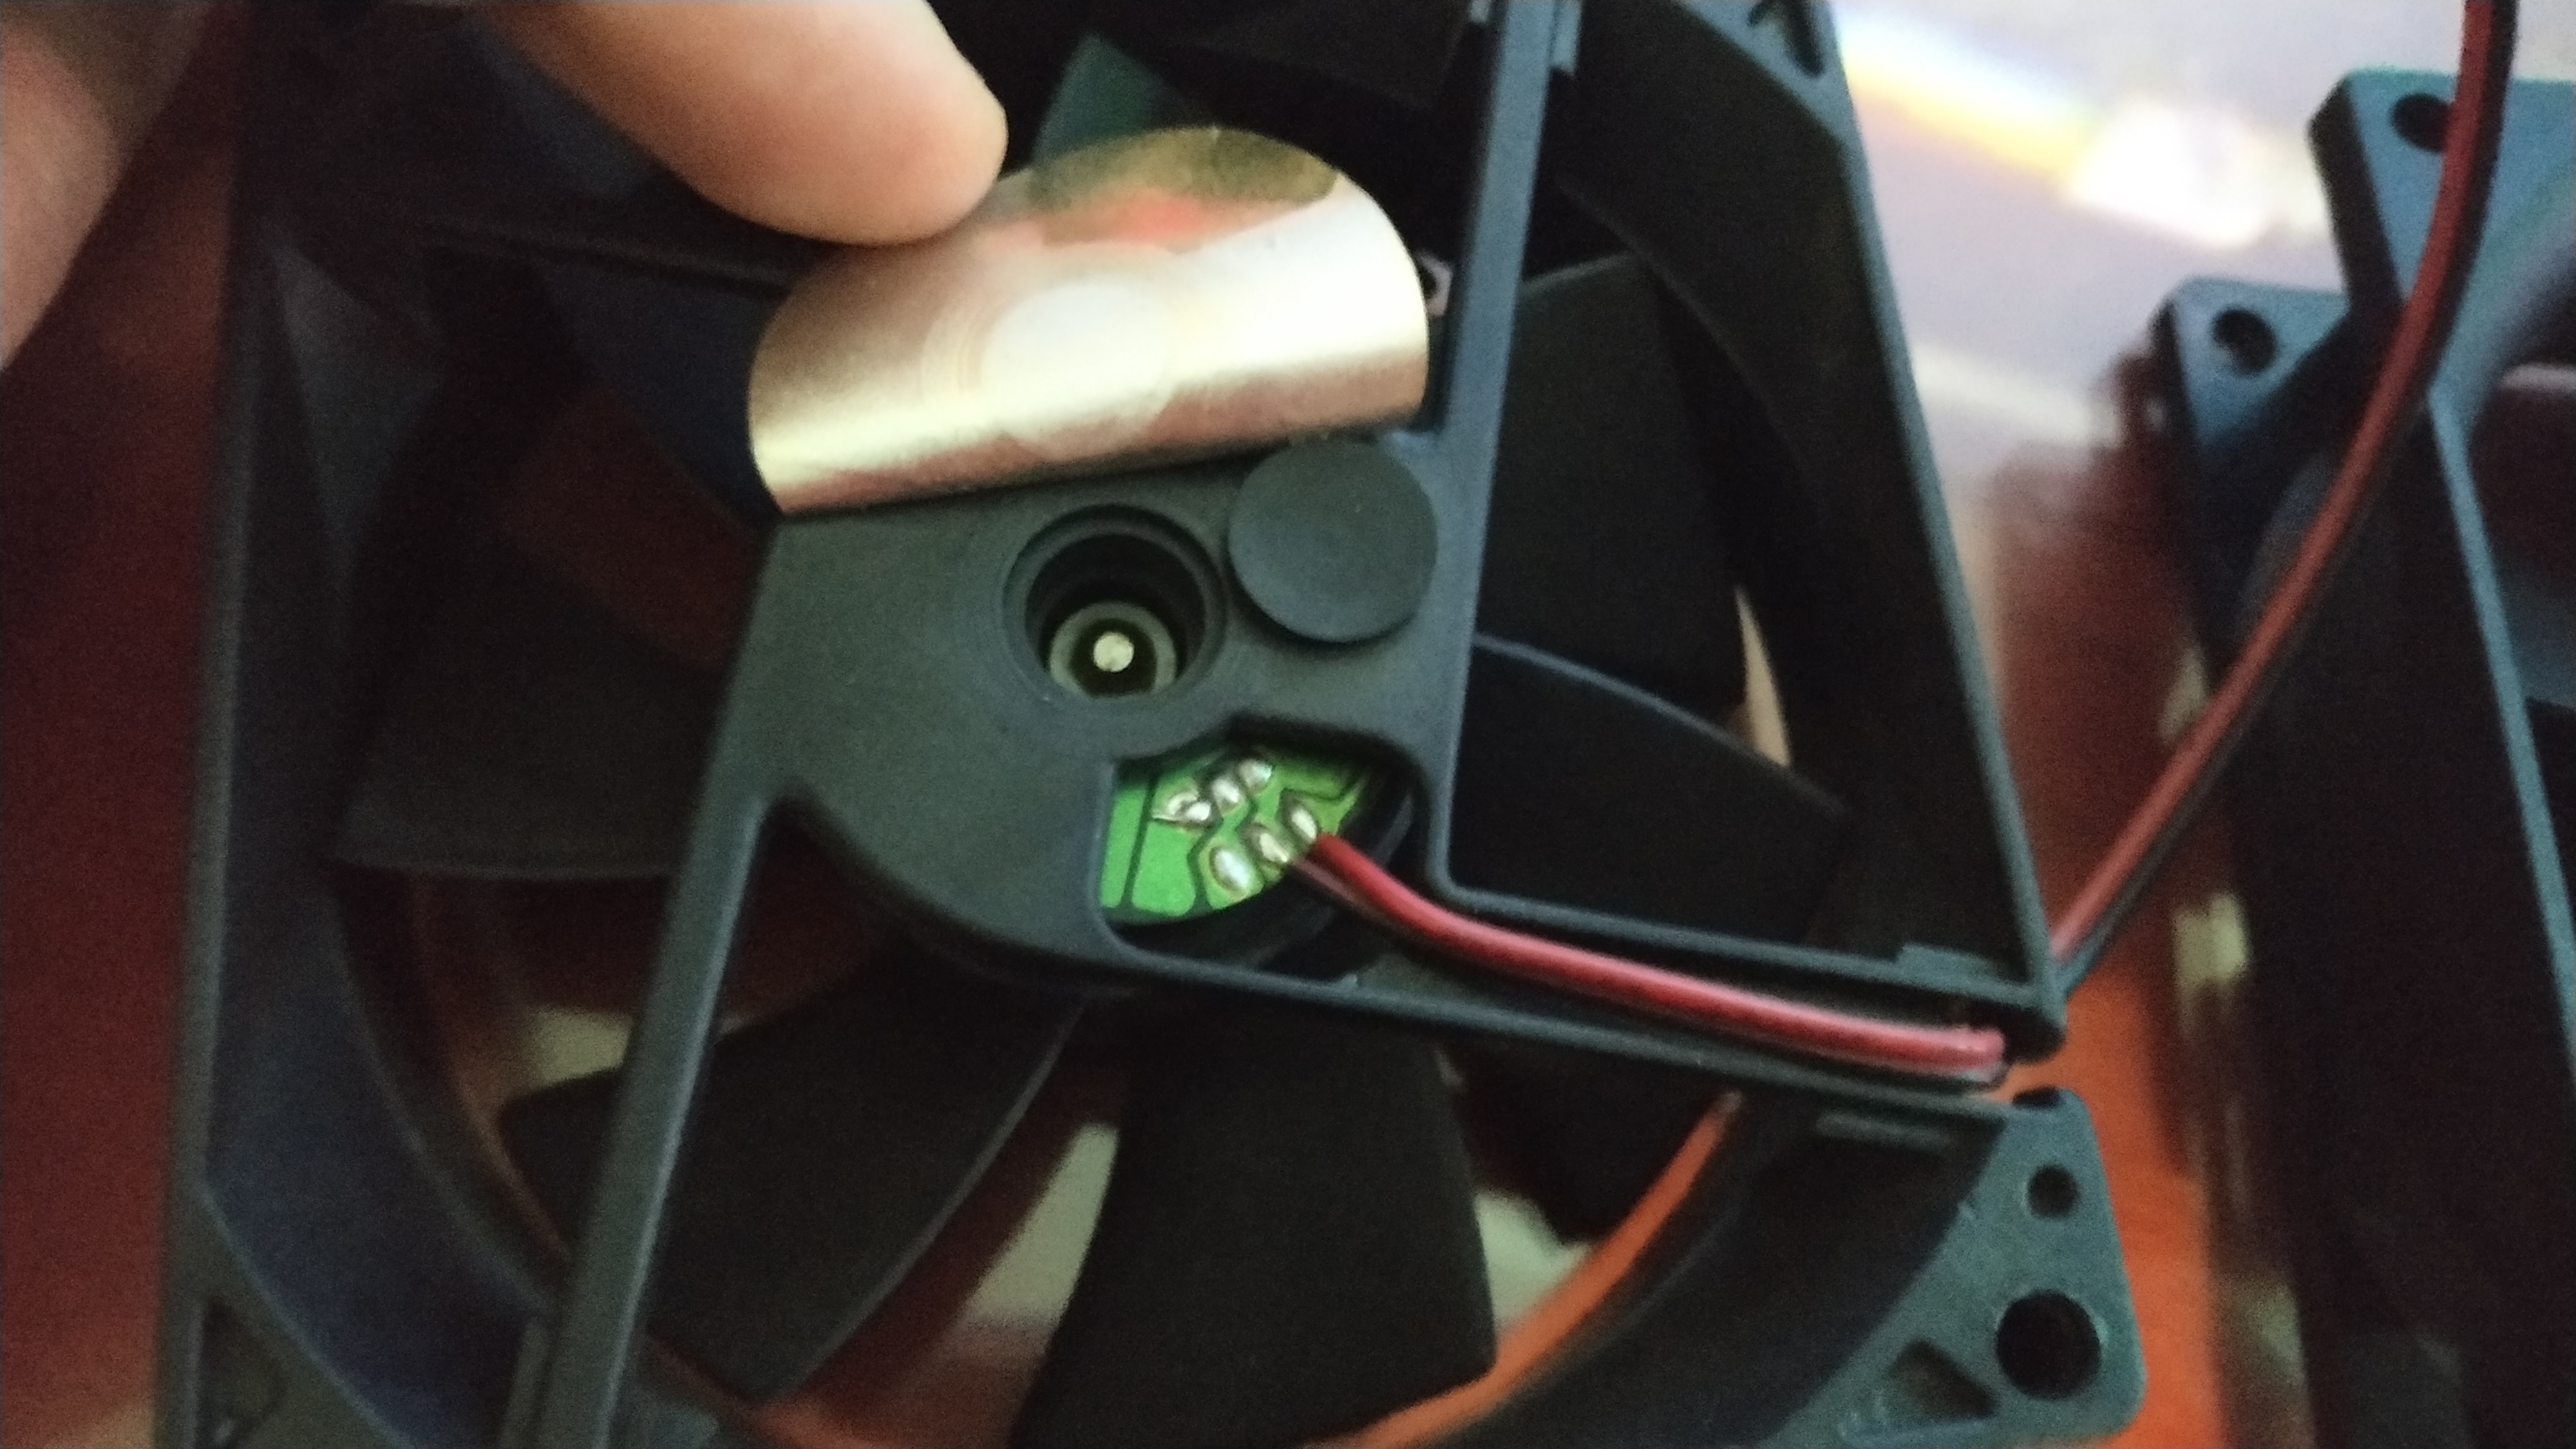
I had to make the fan cable longer since it wasn’t long enough to reach the 3 pin molex fan connector. First I prepared the working area and cut the cable.
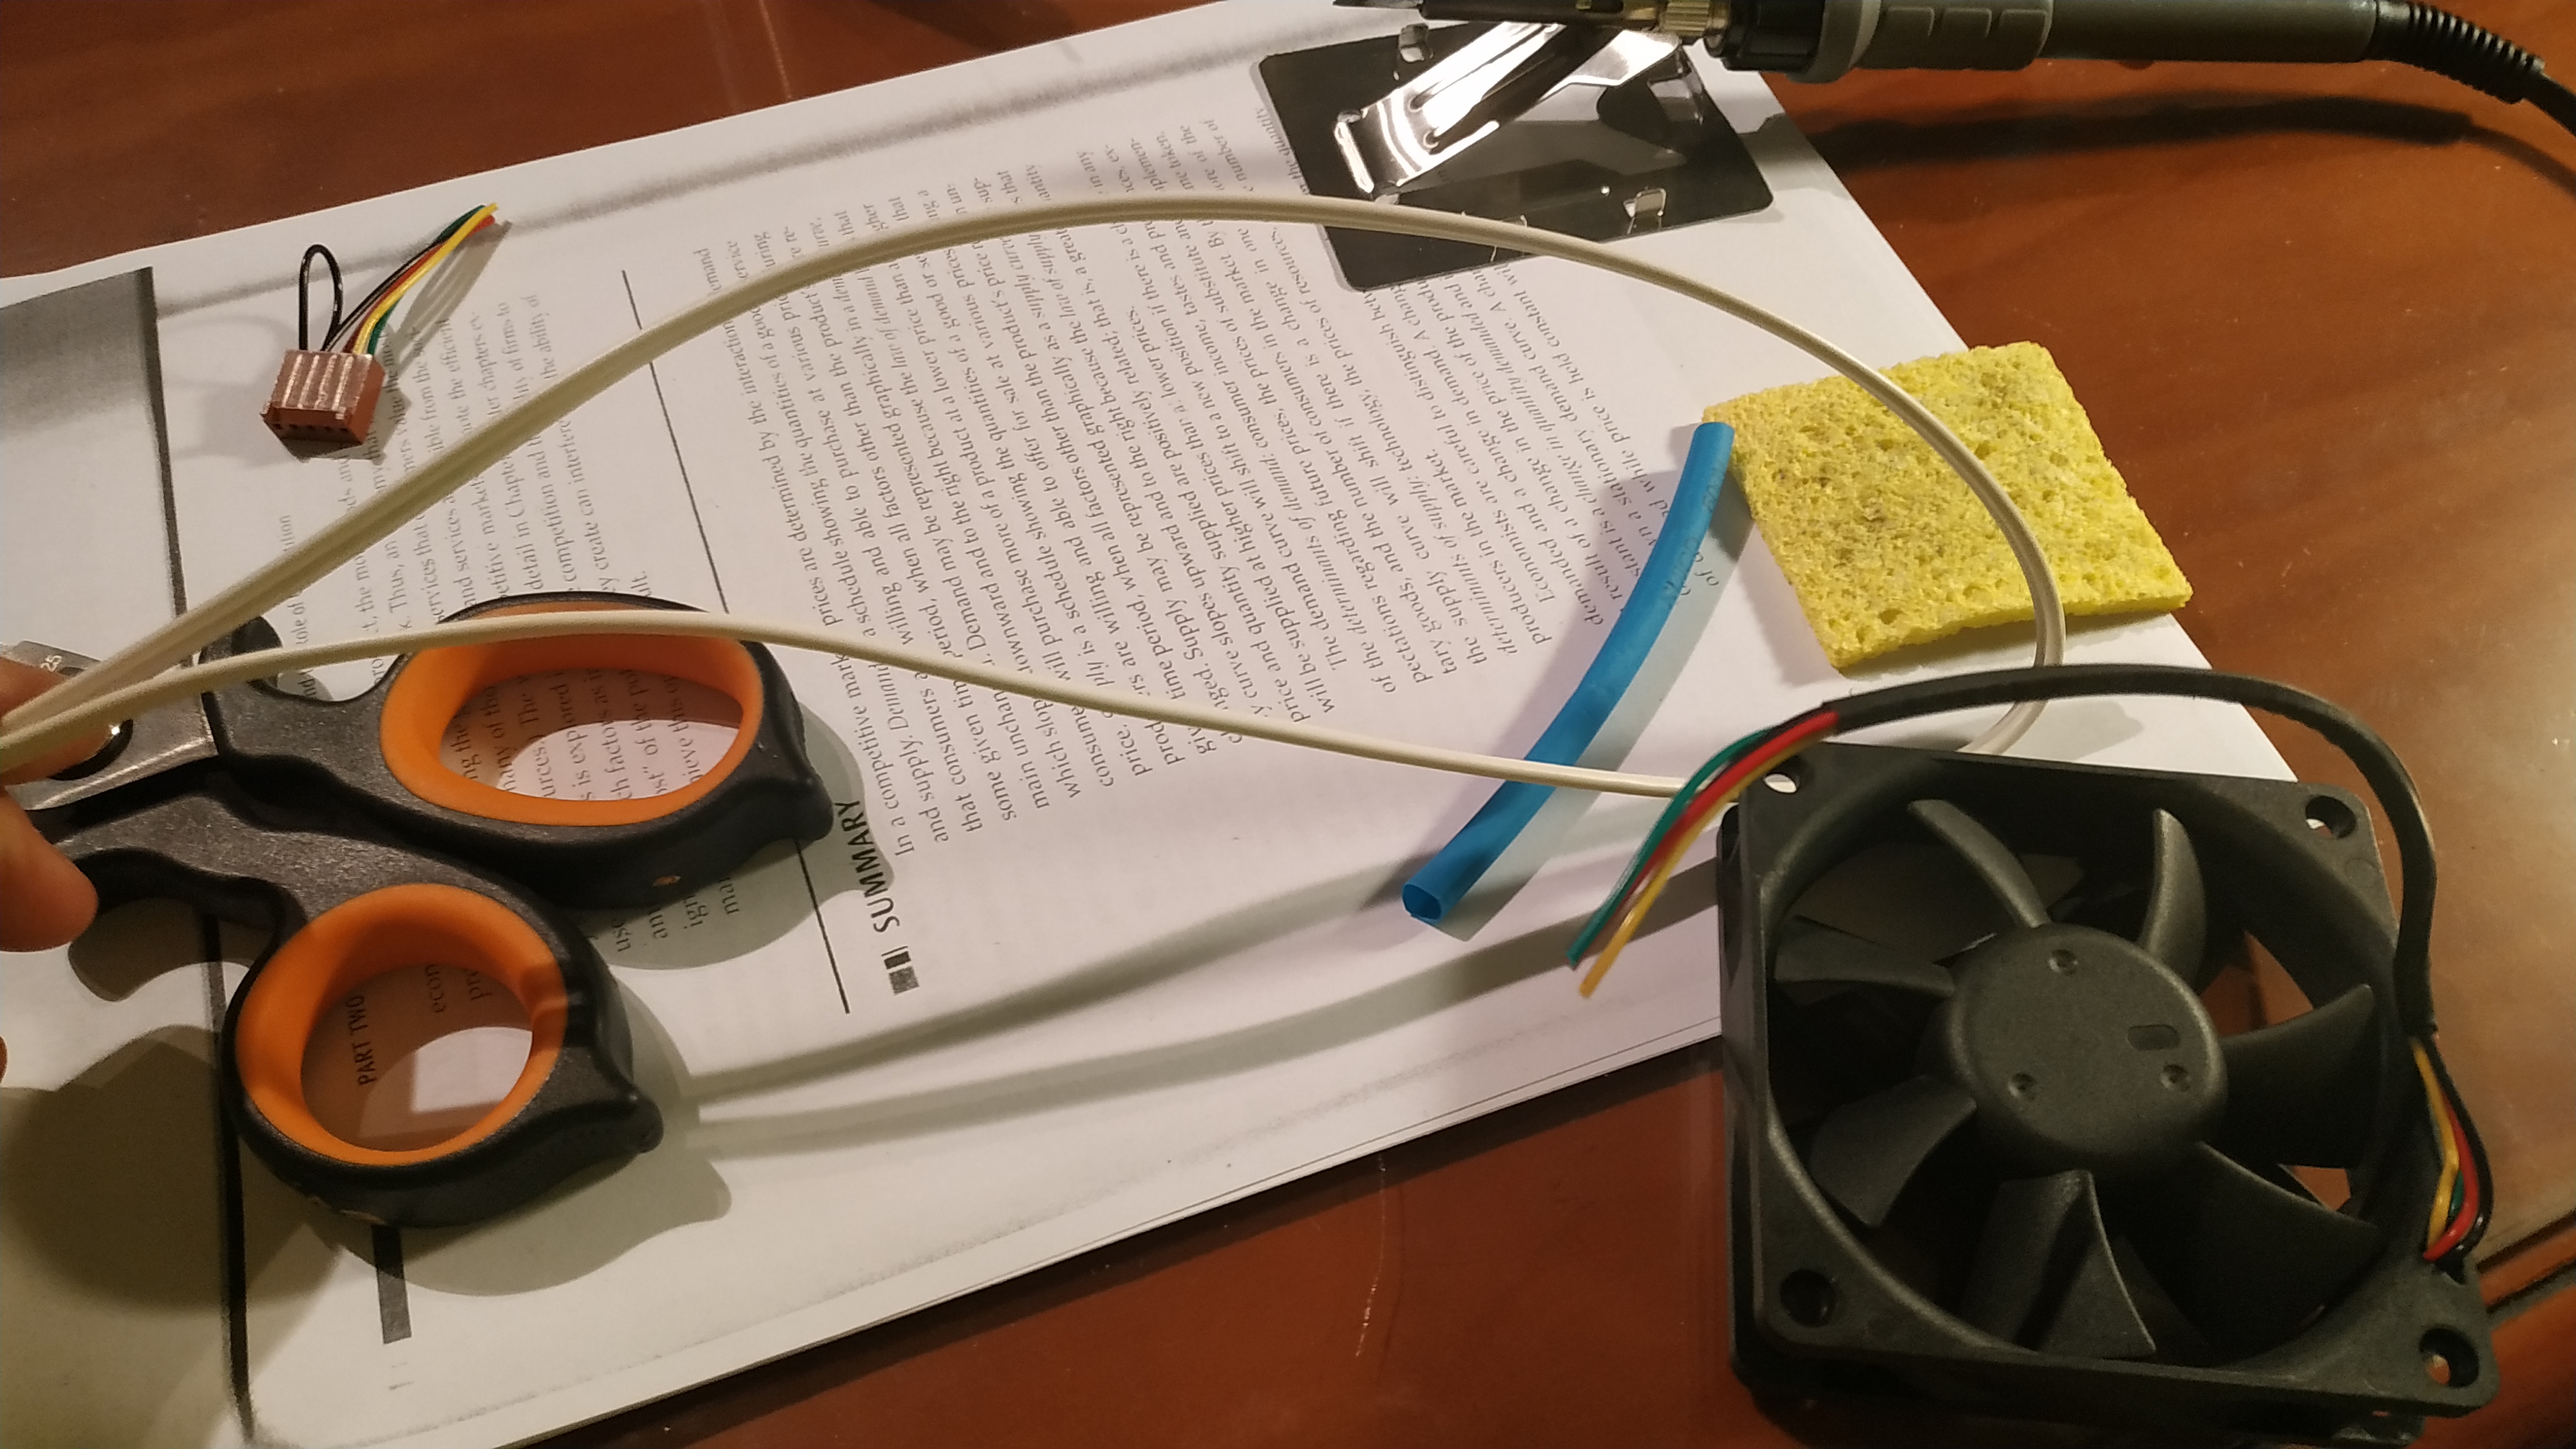
Then, cable by cable I did the same steps
- Put a piece of heat shrink tube through it.
- Peel the insulation of each cable
- Join them according to the NASA standard; Making a 90º fold and then roll them with each others.
- Apply the flux so the joint is clean and the tin attaches properly to the copper and it doesn’t rust
Mounting
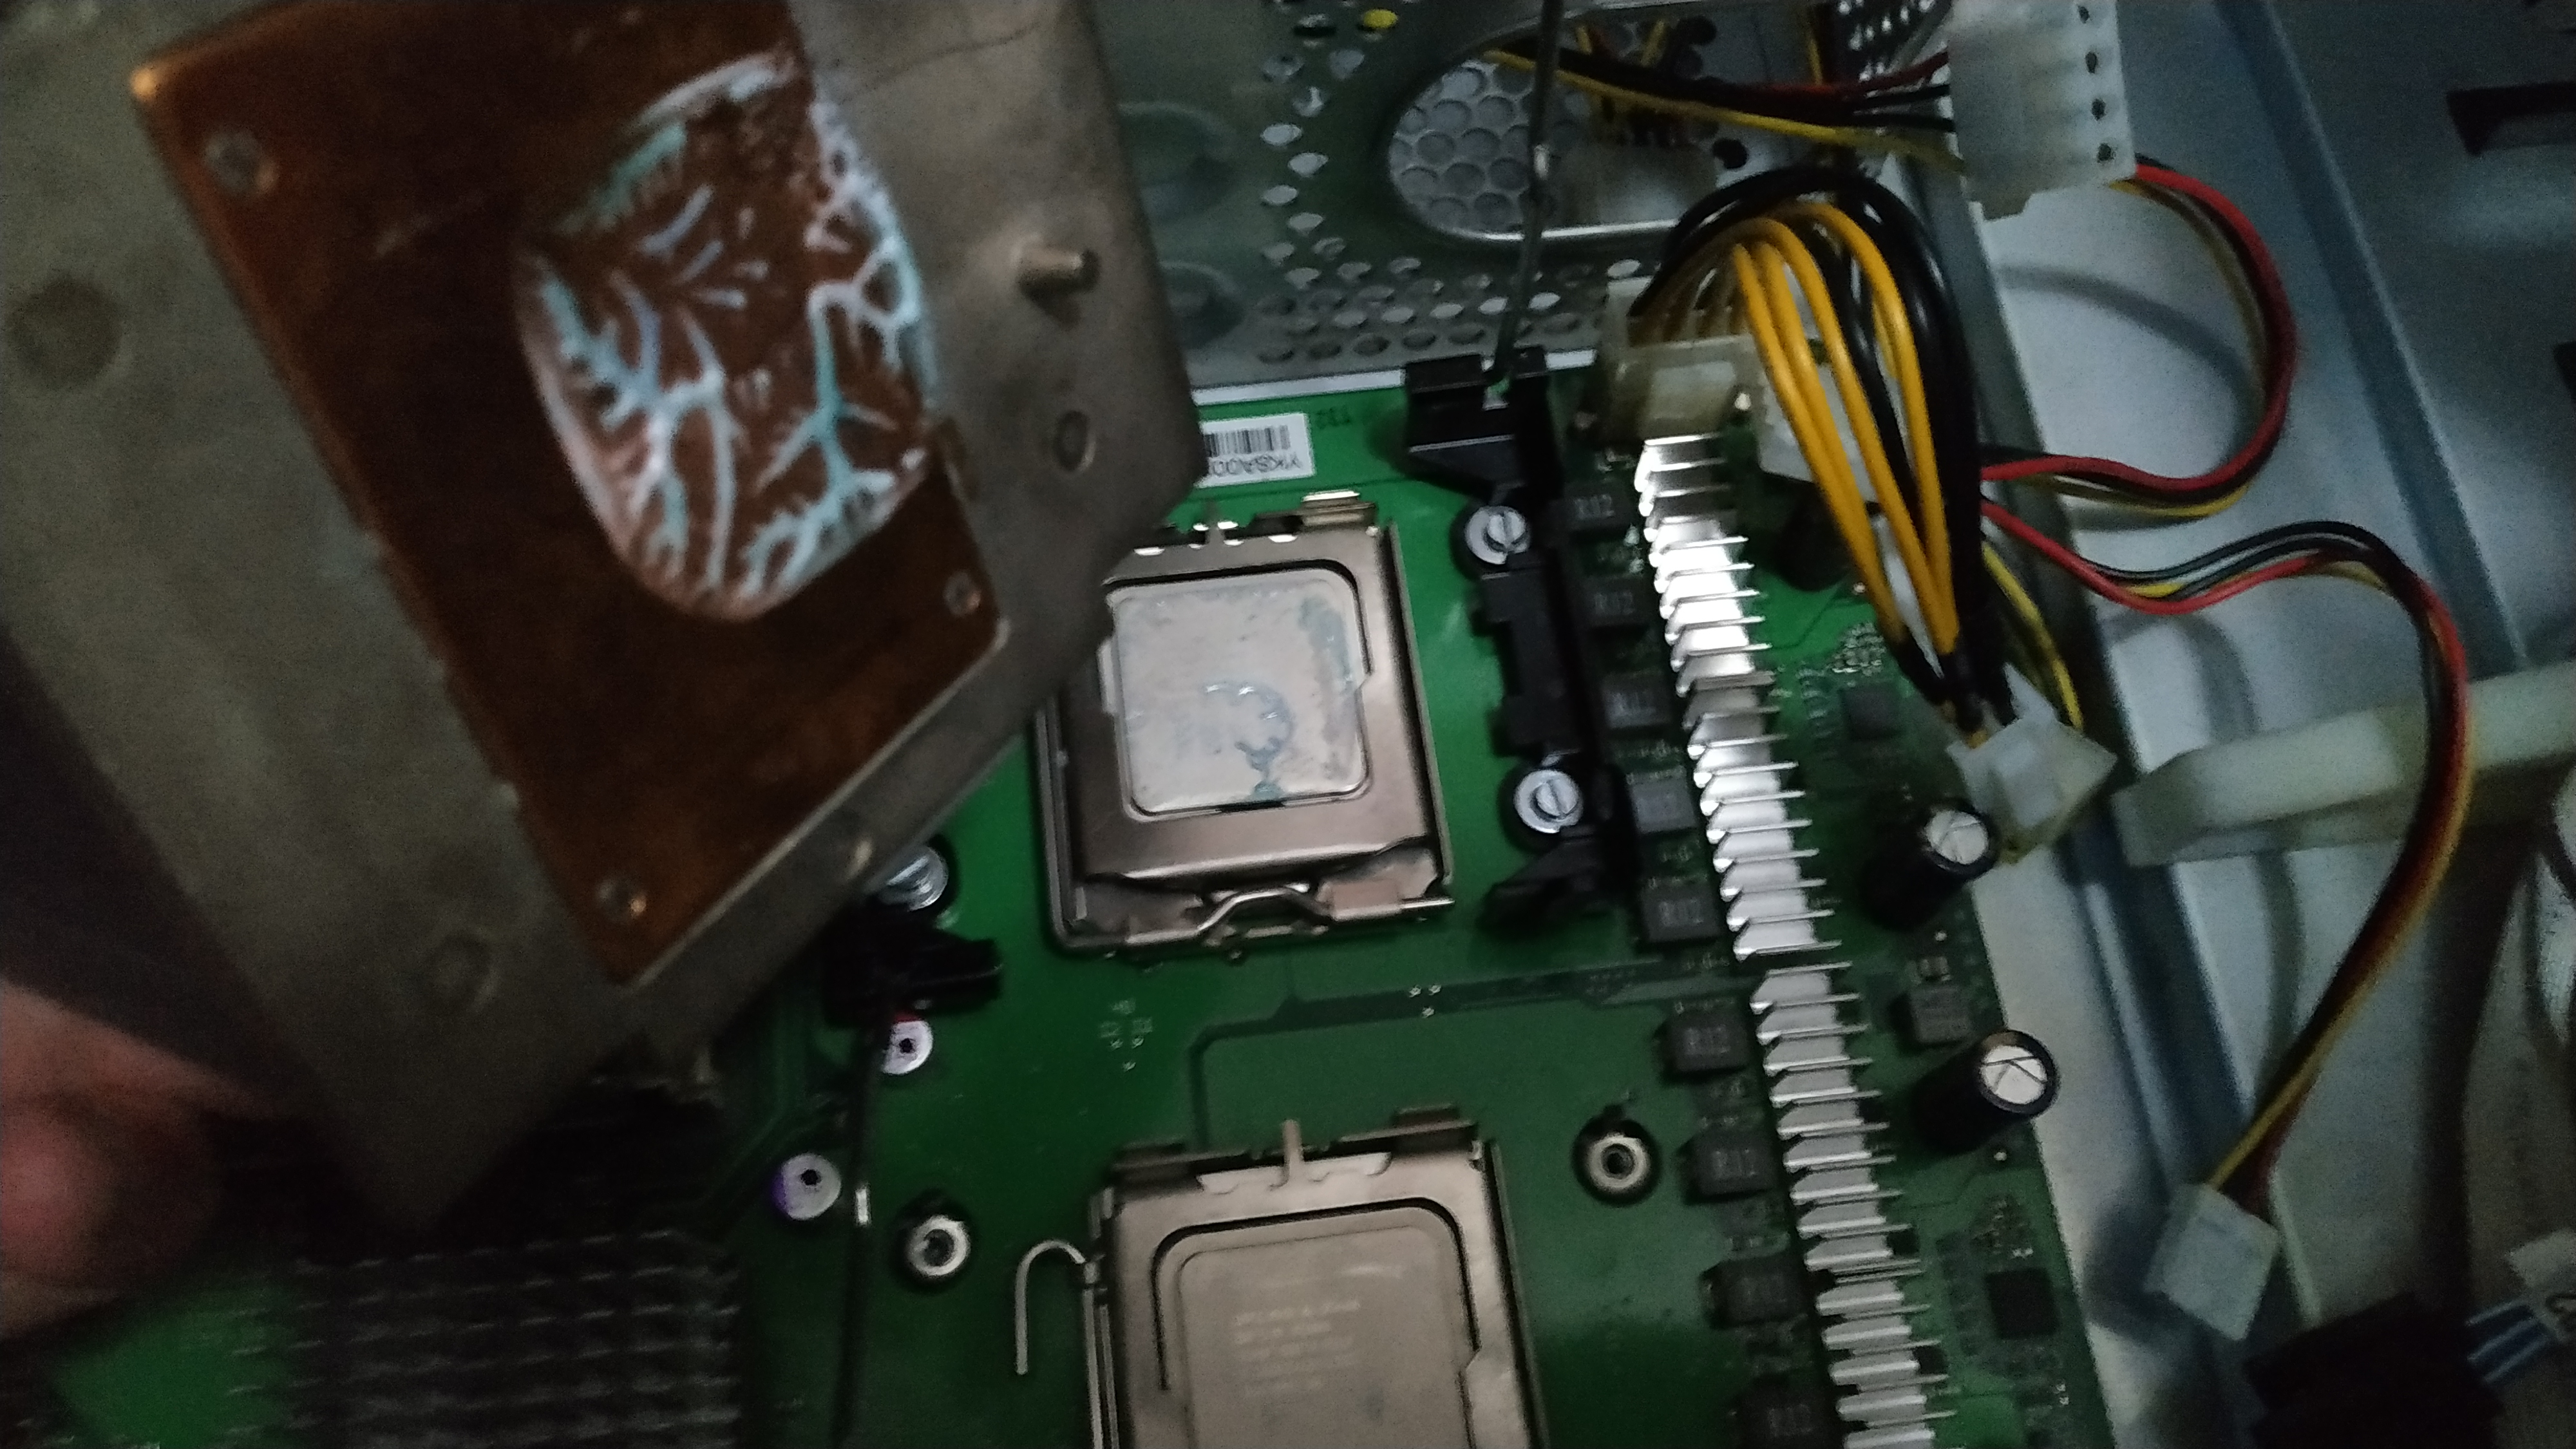
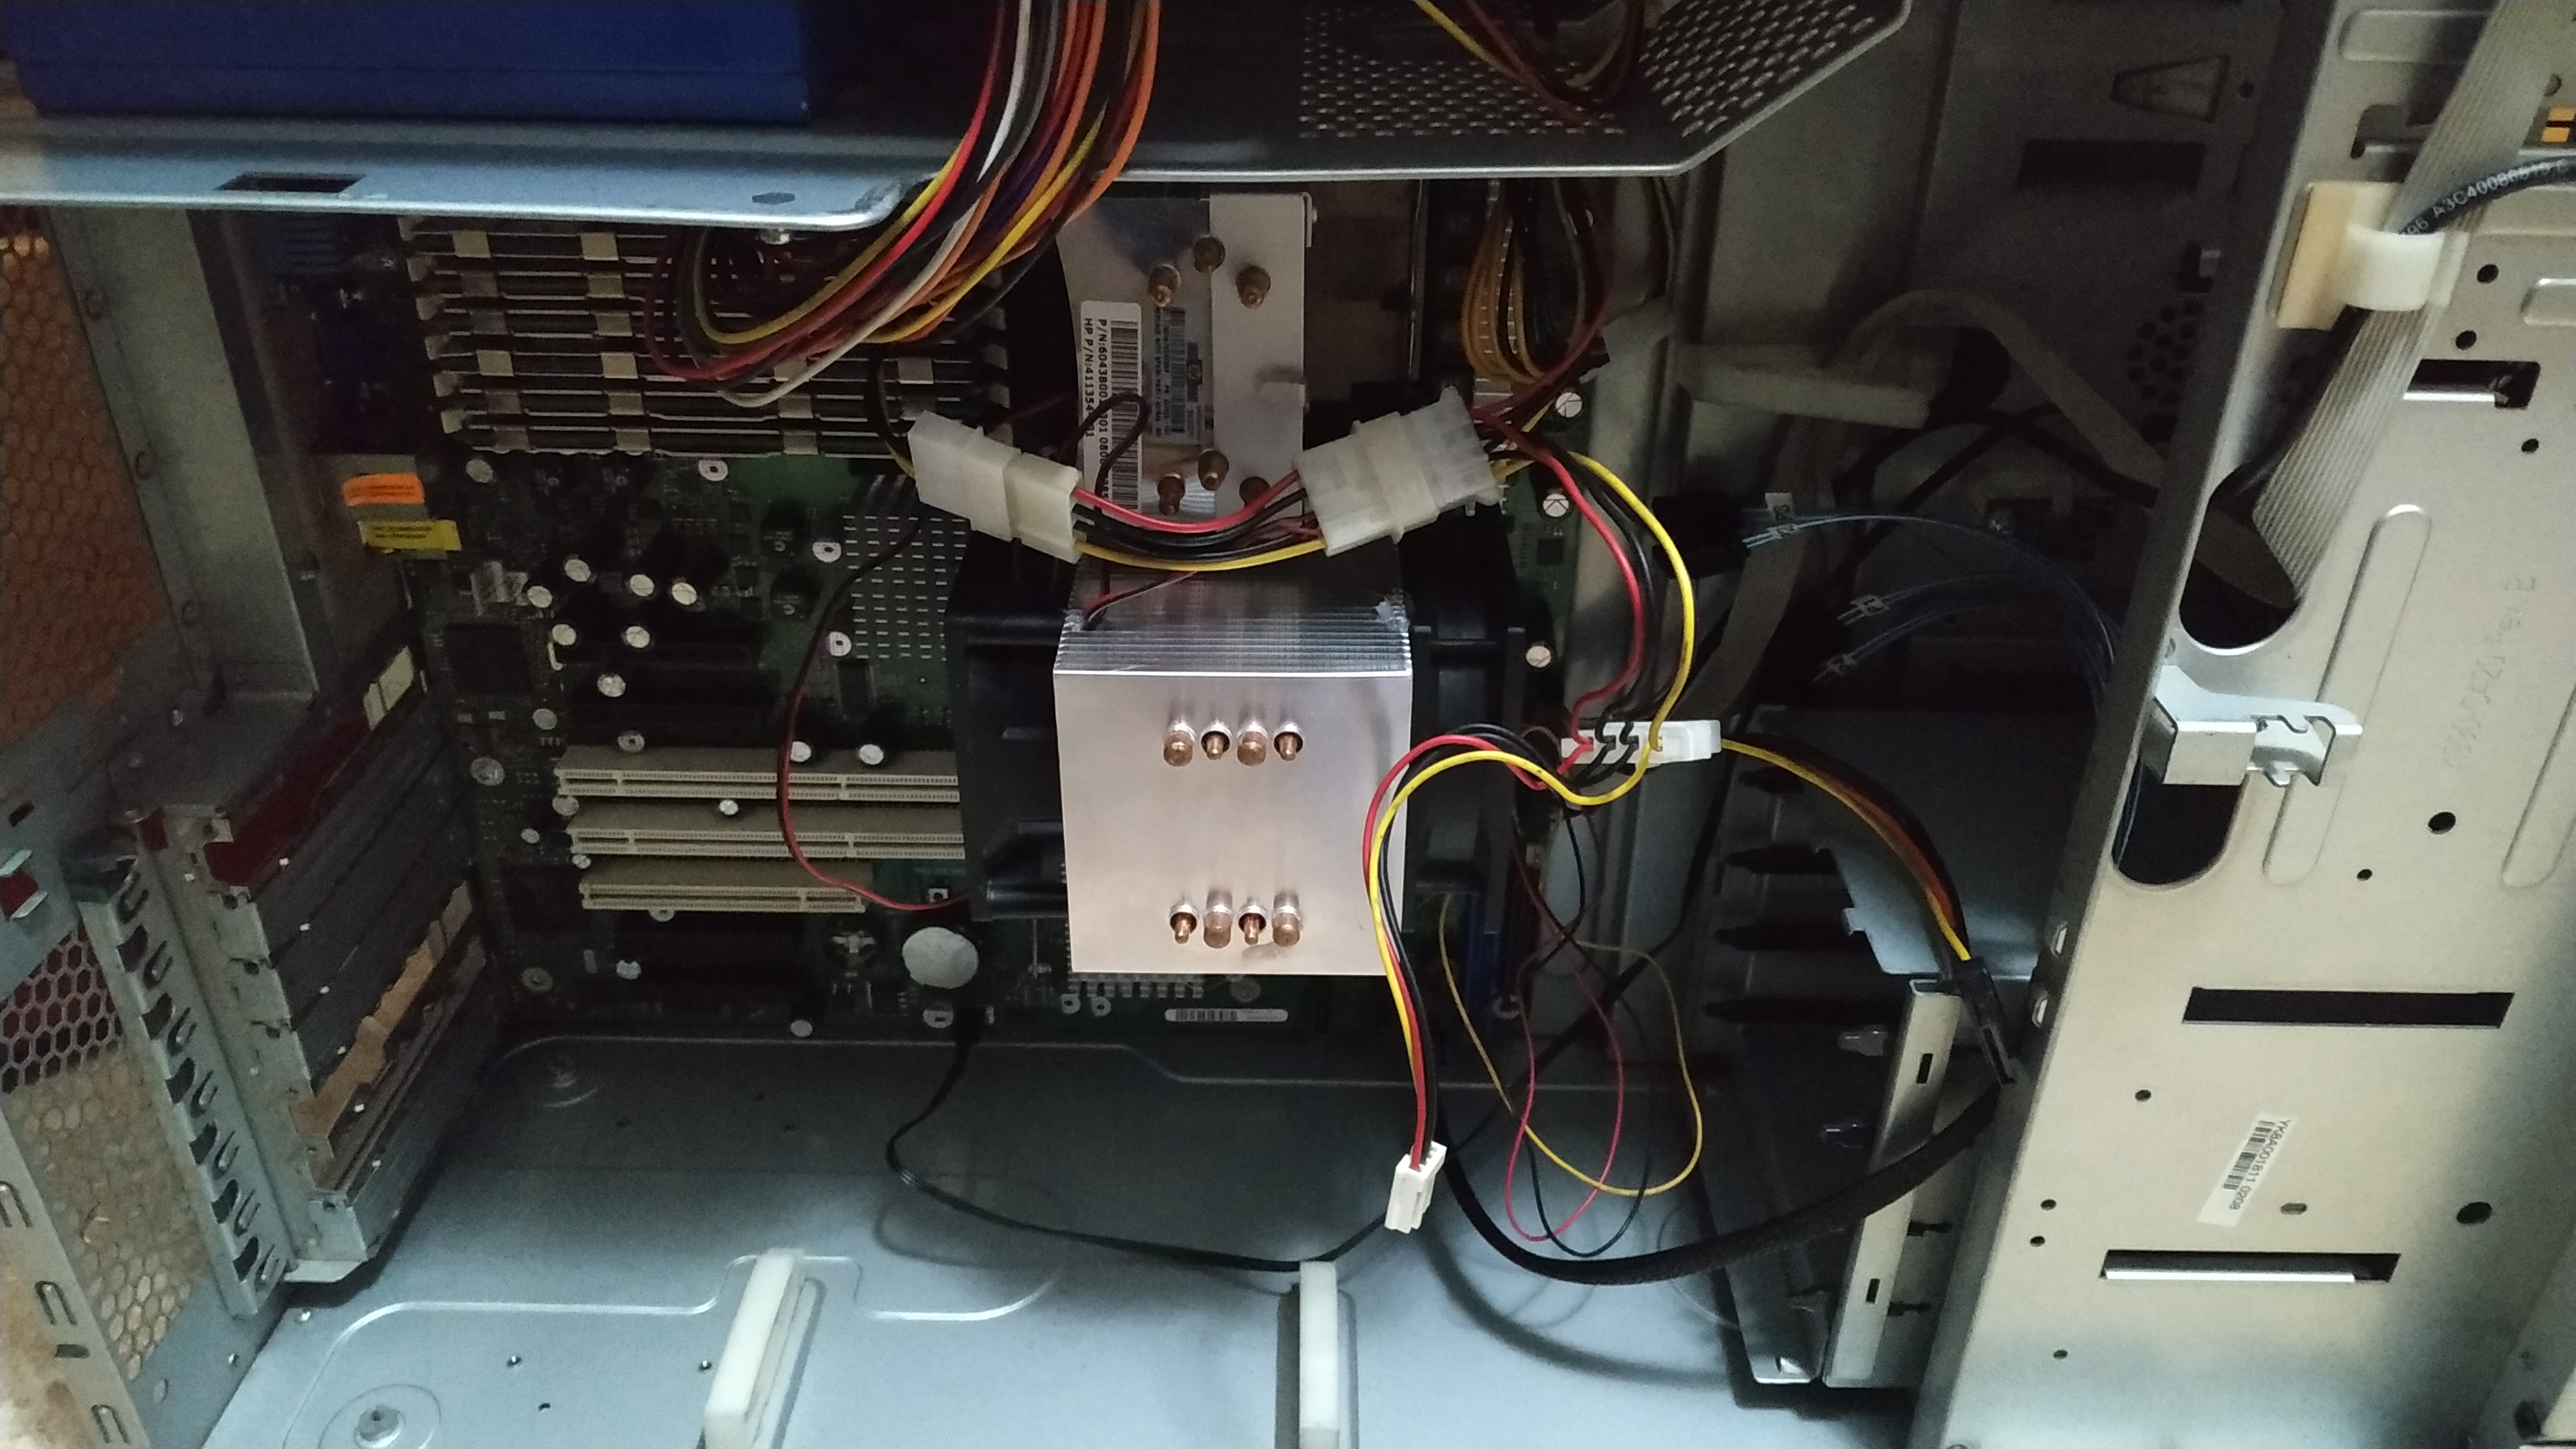
The HP server fan came with 2 plastic mounts that are attached to the motherboard, allowing both the cooler and CPU to be hot swapped.
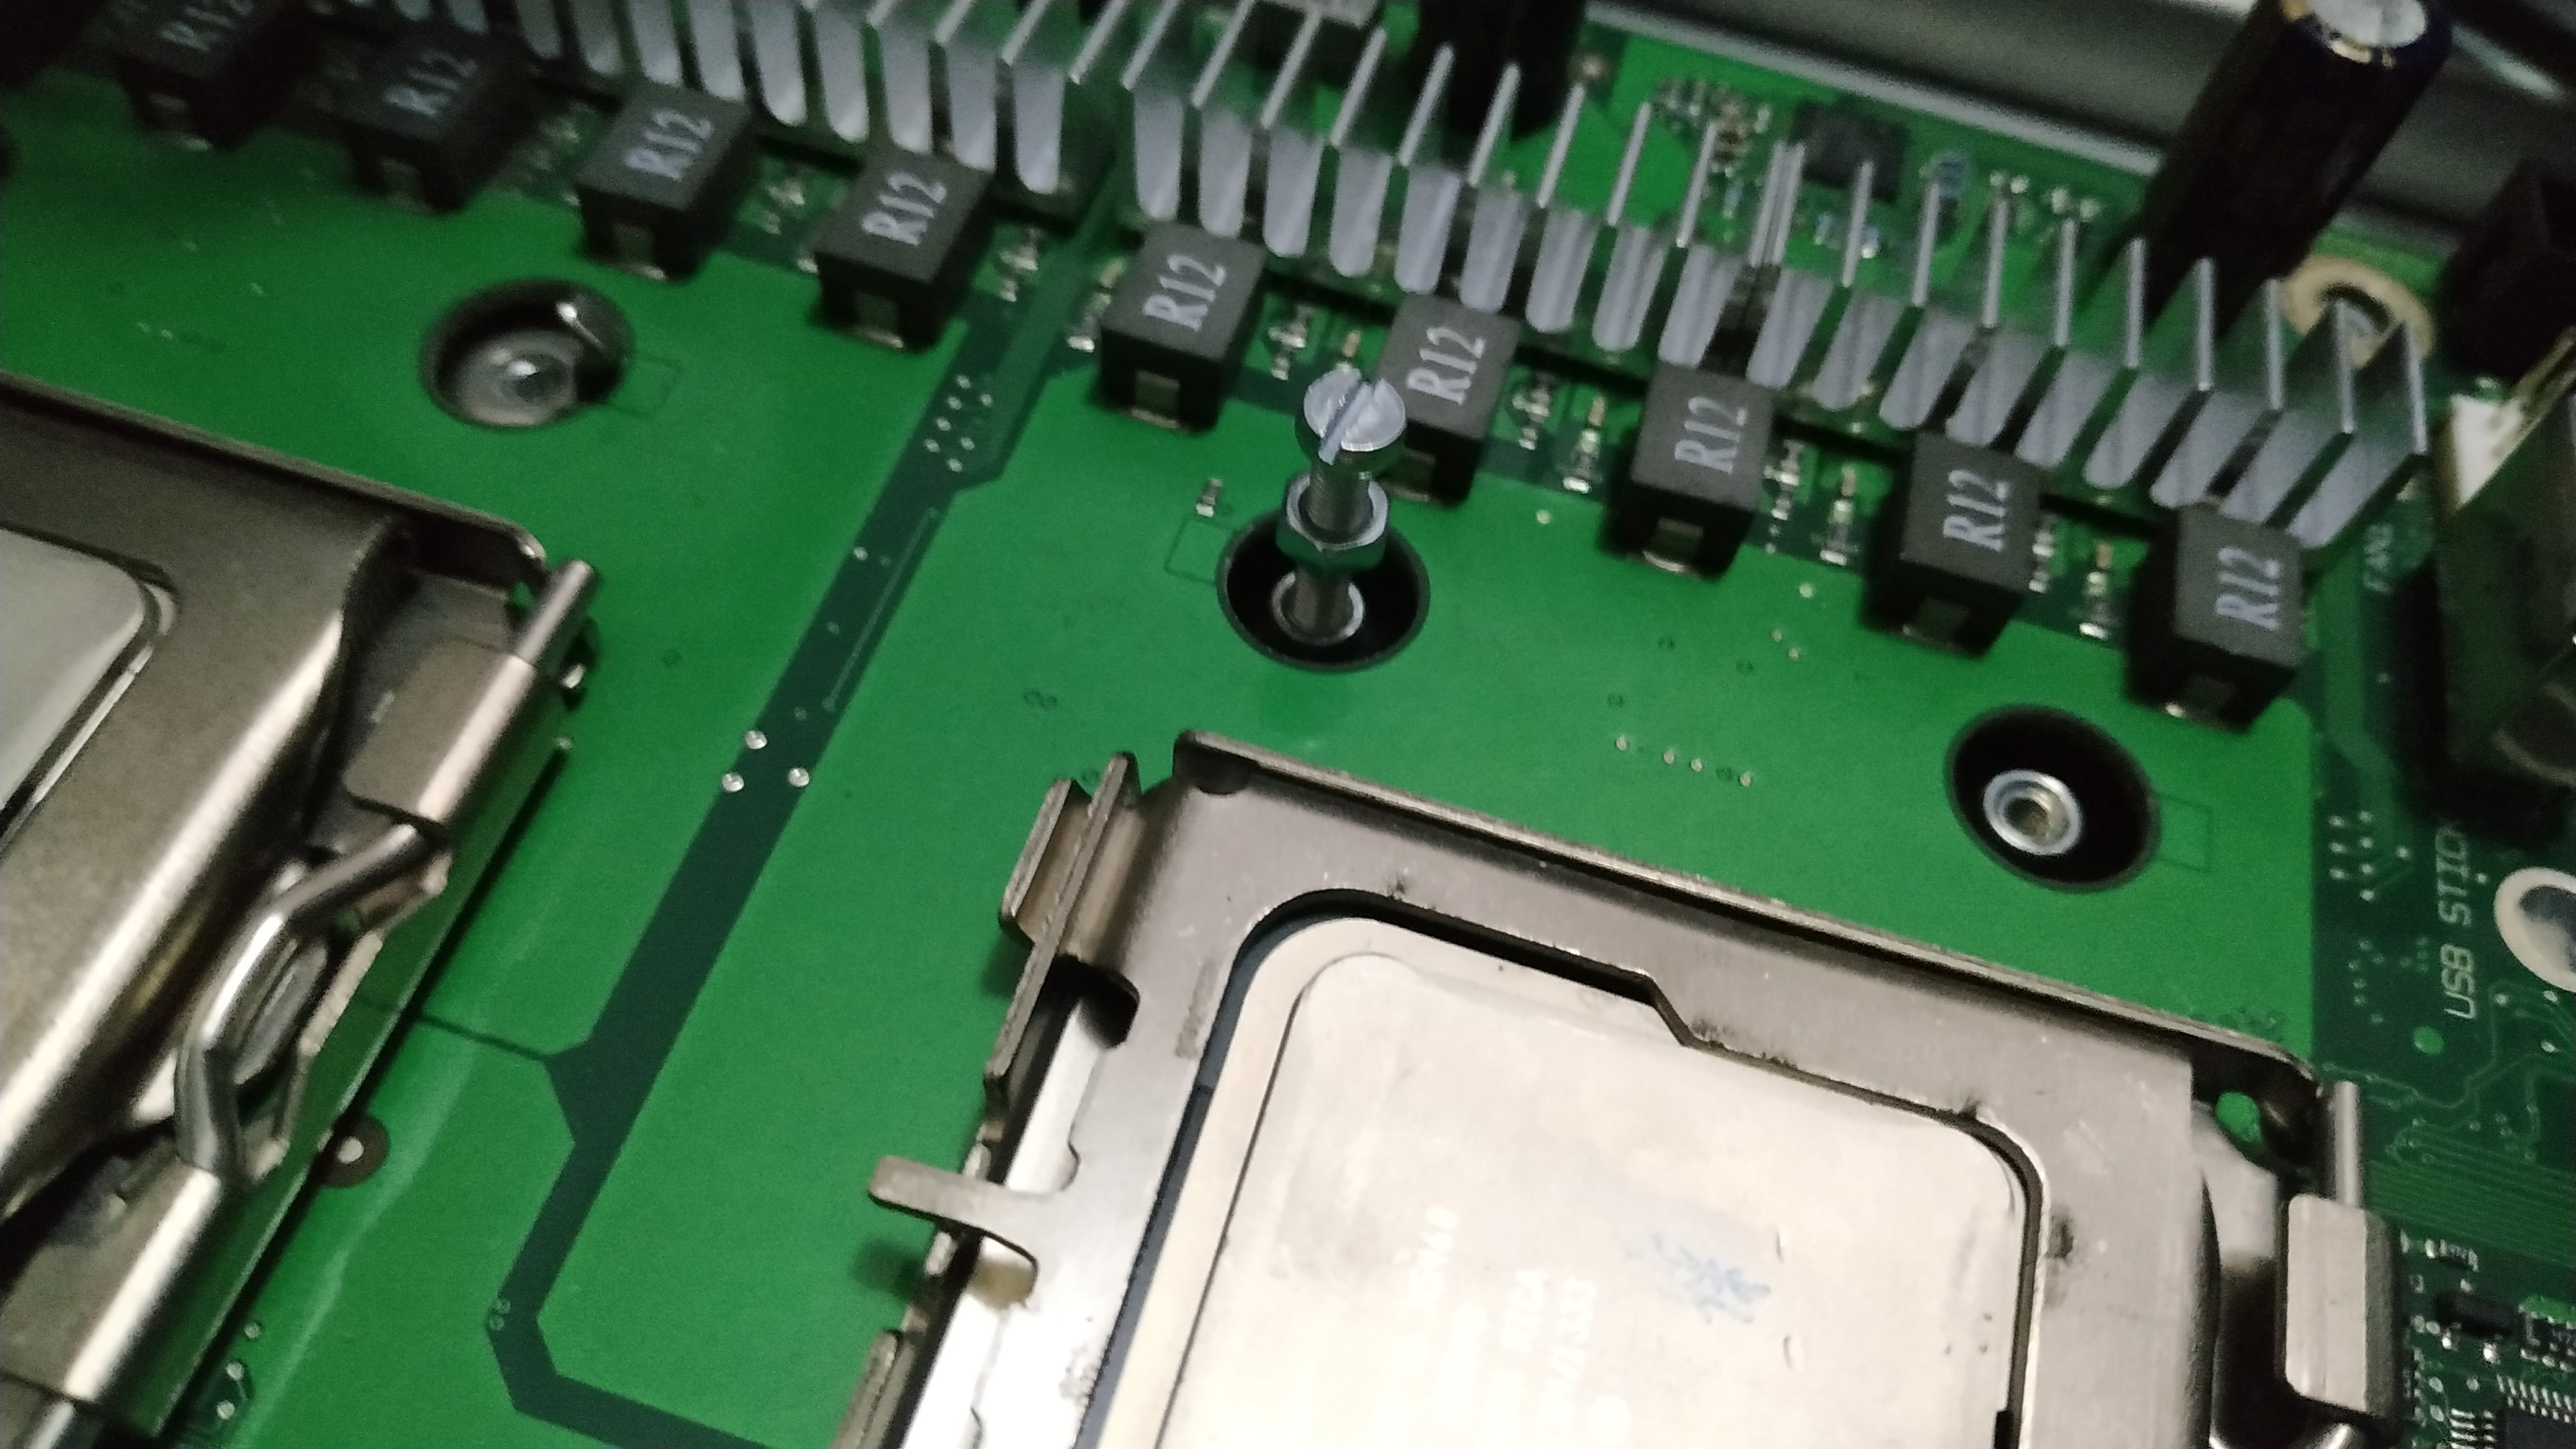
First of all I had to remove the backplate from the MoBo since it was designed for the Fujitsu stock cooler.

The next step was finding a way to screw the plastic mounts to the motherboard. No, the original screws didn’t fit because they were designed for the HP server.
I bought 4 screws and nuts at the hardware store. It was time to apply math.
The screws must apply enough pressure to the plastic mounts so the cooler will be firmly attached to them. The screws were obviously too long.
To measure how long should the screws be, I put a nut in one of them and then screwed it through the plastic mount to the motherboard. While the bolt was screwed all the way in, I unscrewed the nut until it sat on the plastic mount.
Then I removed the bolt without moving the nut from that position.
With a classic analogic caliper I measured from the top part of the nut to the bottom of the bolt. That was the final measure for the bolts.
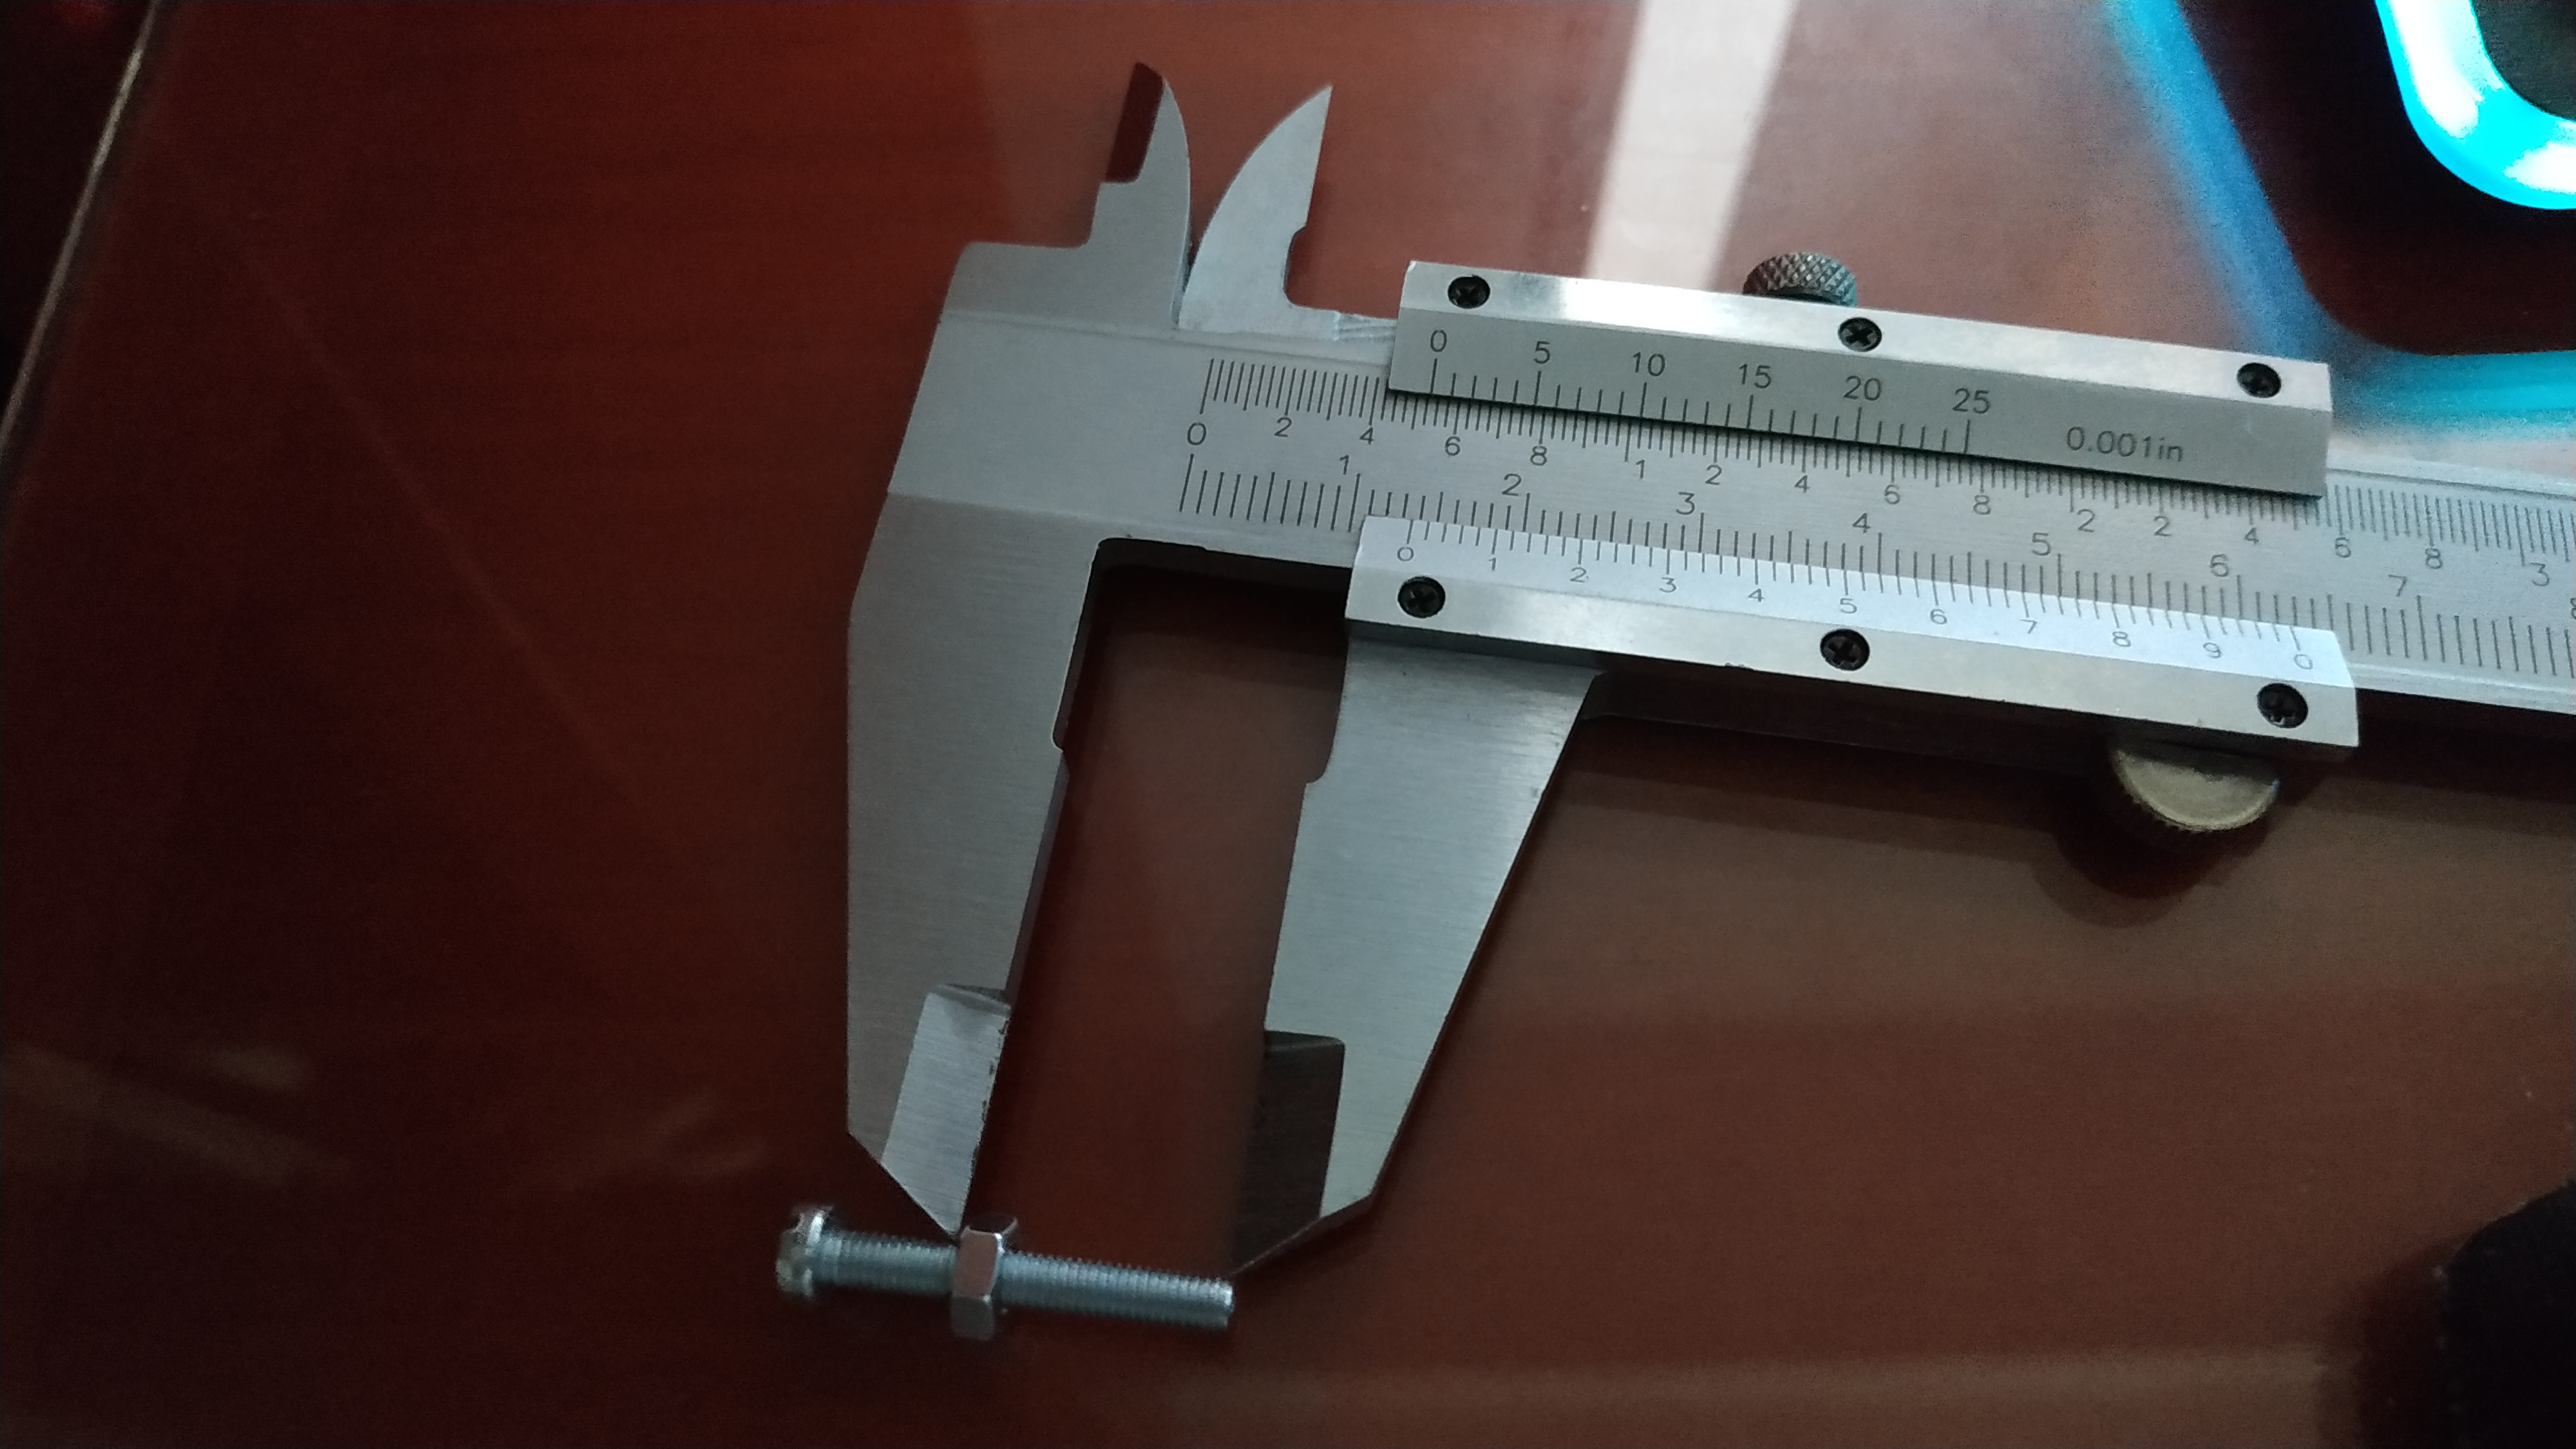
I moved that measure to each bolt, measuring from the top of the bolt head and cutting them.
The result was great but I still had to check that the cooler was applying enough pressure.
How did I check the pressure? Well, I applied a drop of toothpaste on the CPU, placed the cooler and attached it with the sticks on the plastic mount sides.
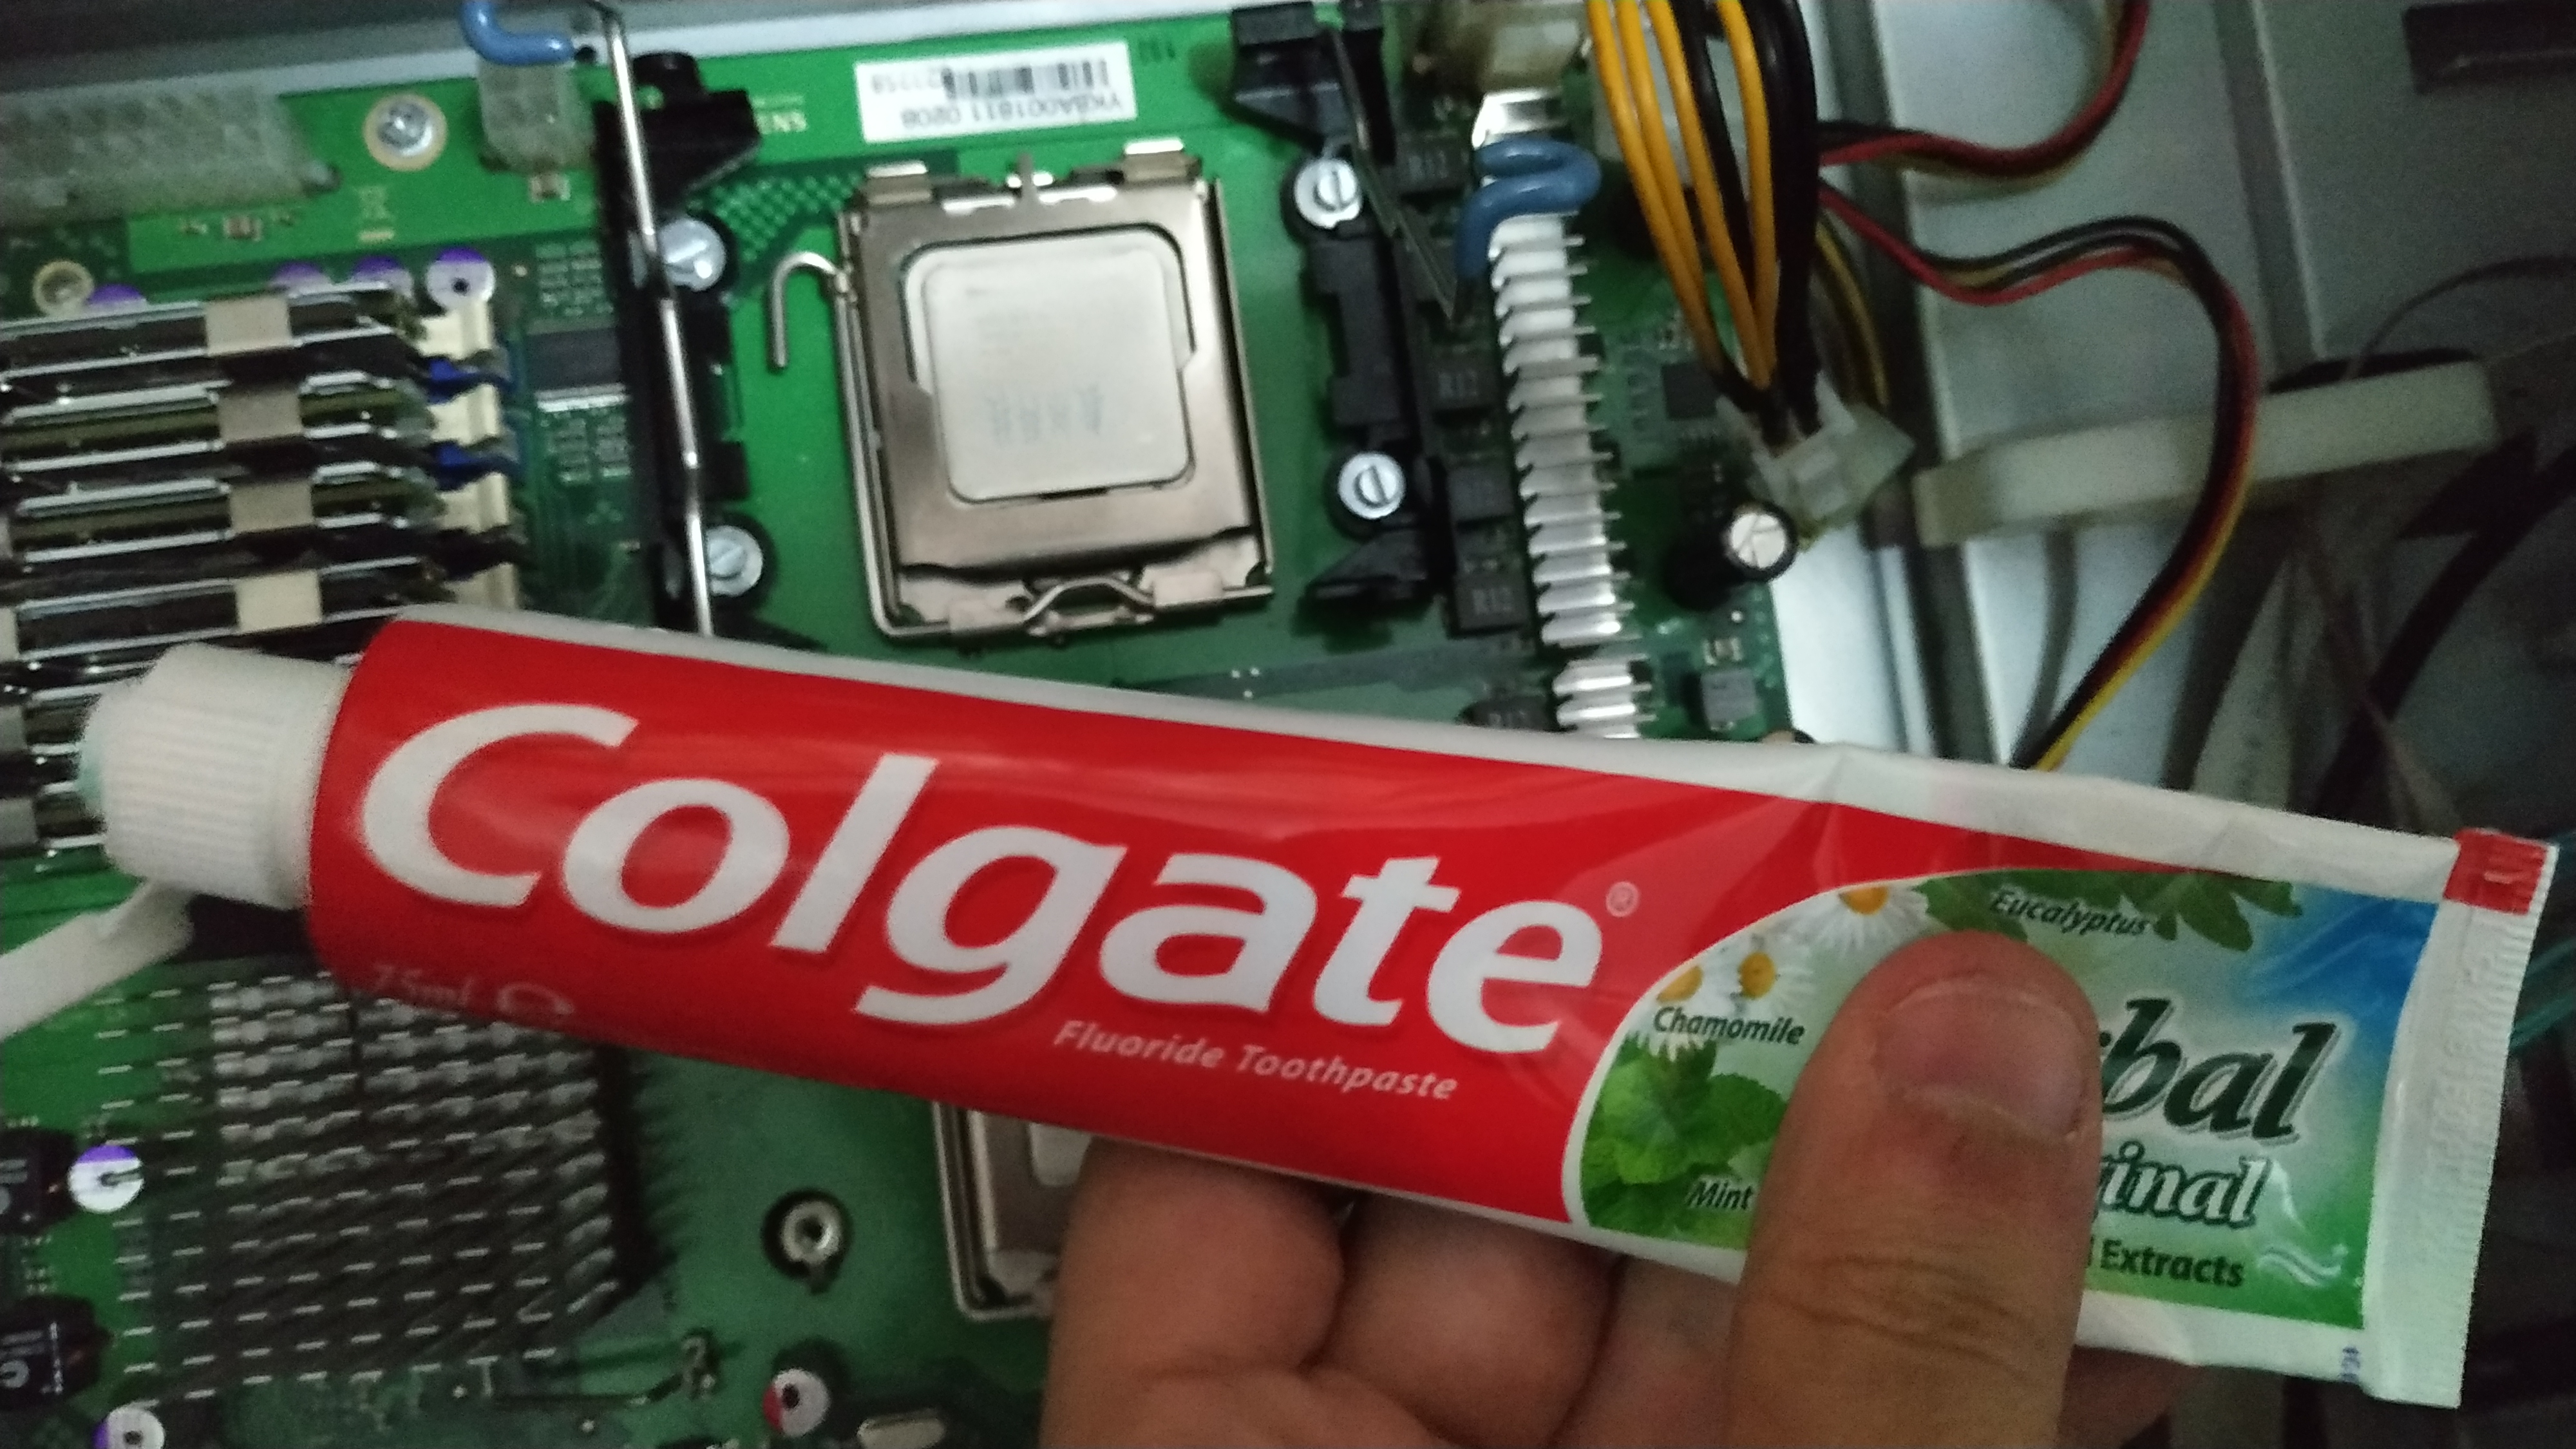
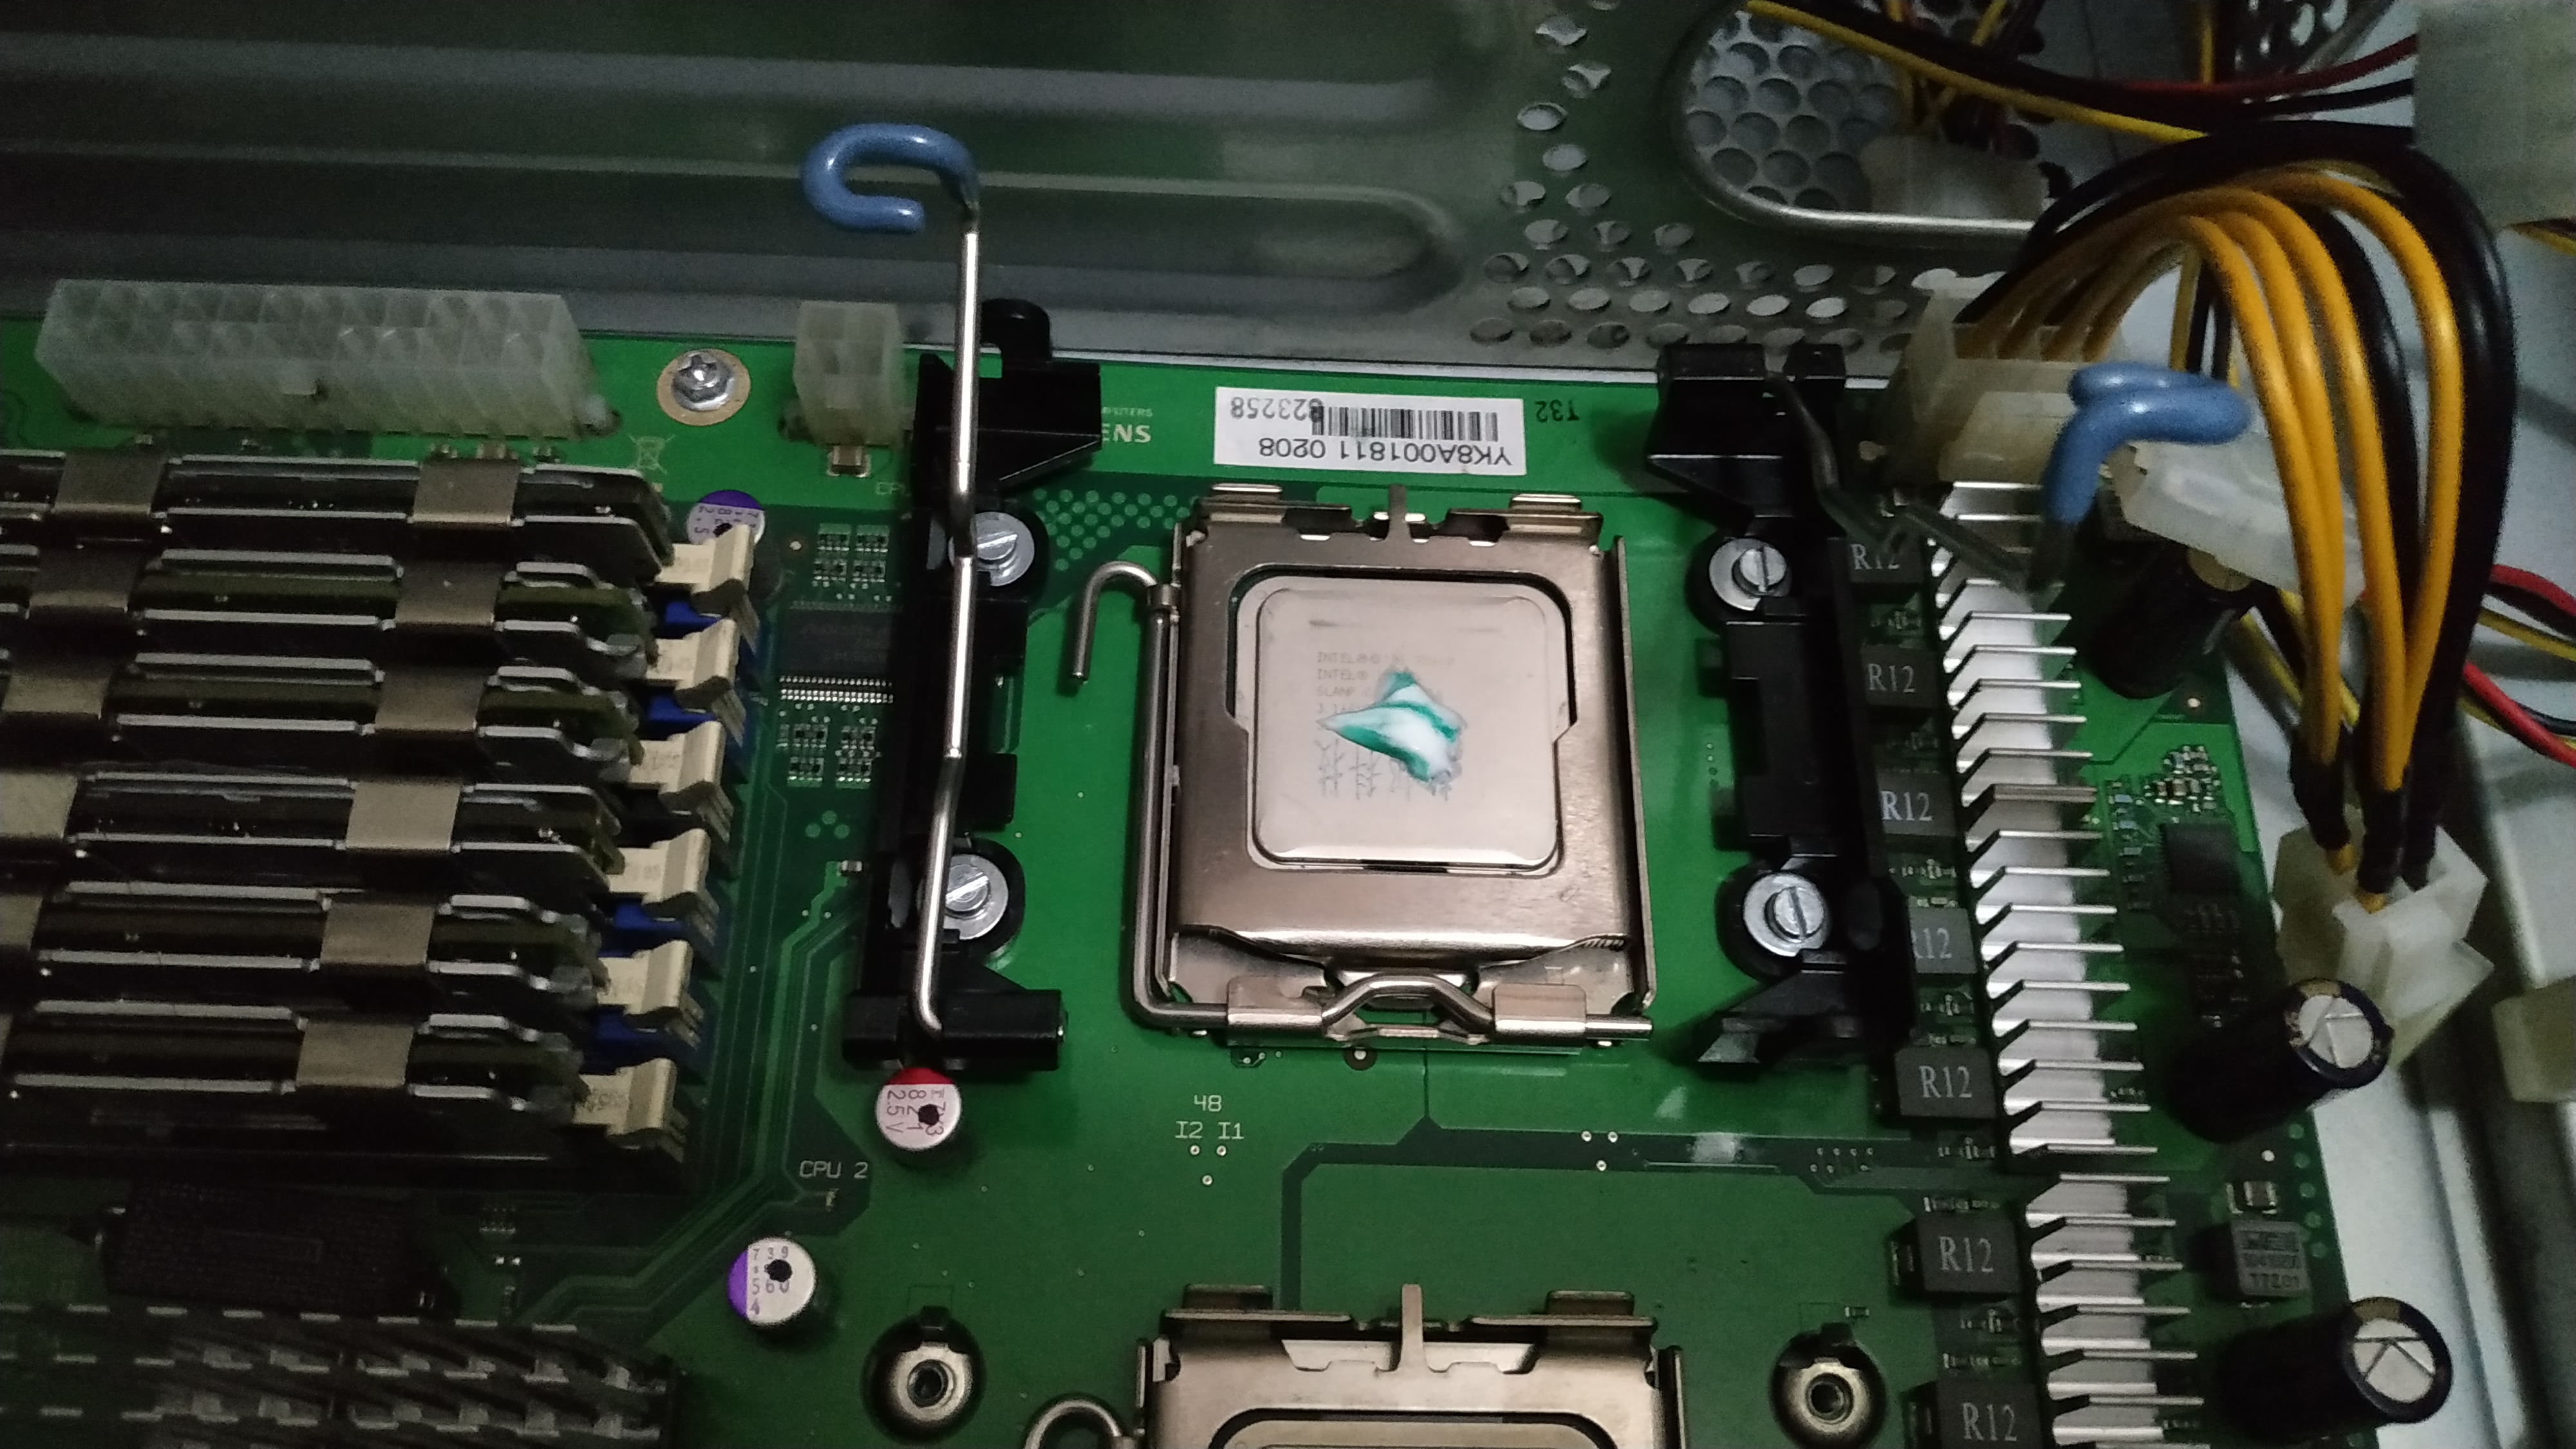
The result was a success! The toothpaste spreaded correctly. I could check that based on the squared shape left on the base of the cooler.
Even tho it was a little off from the middle of the copper base, it turned out awesome.
Passive Into Active Cooler
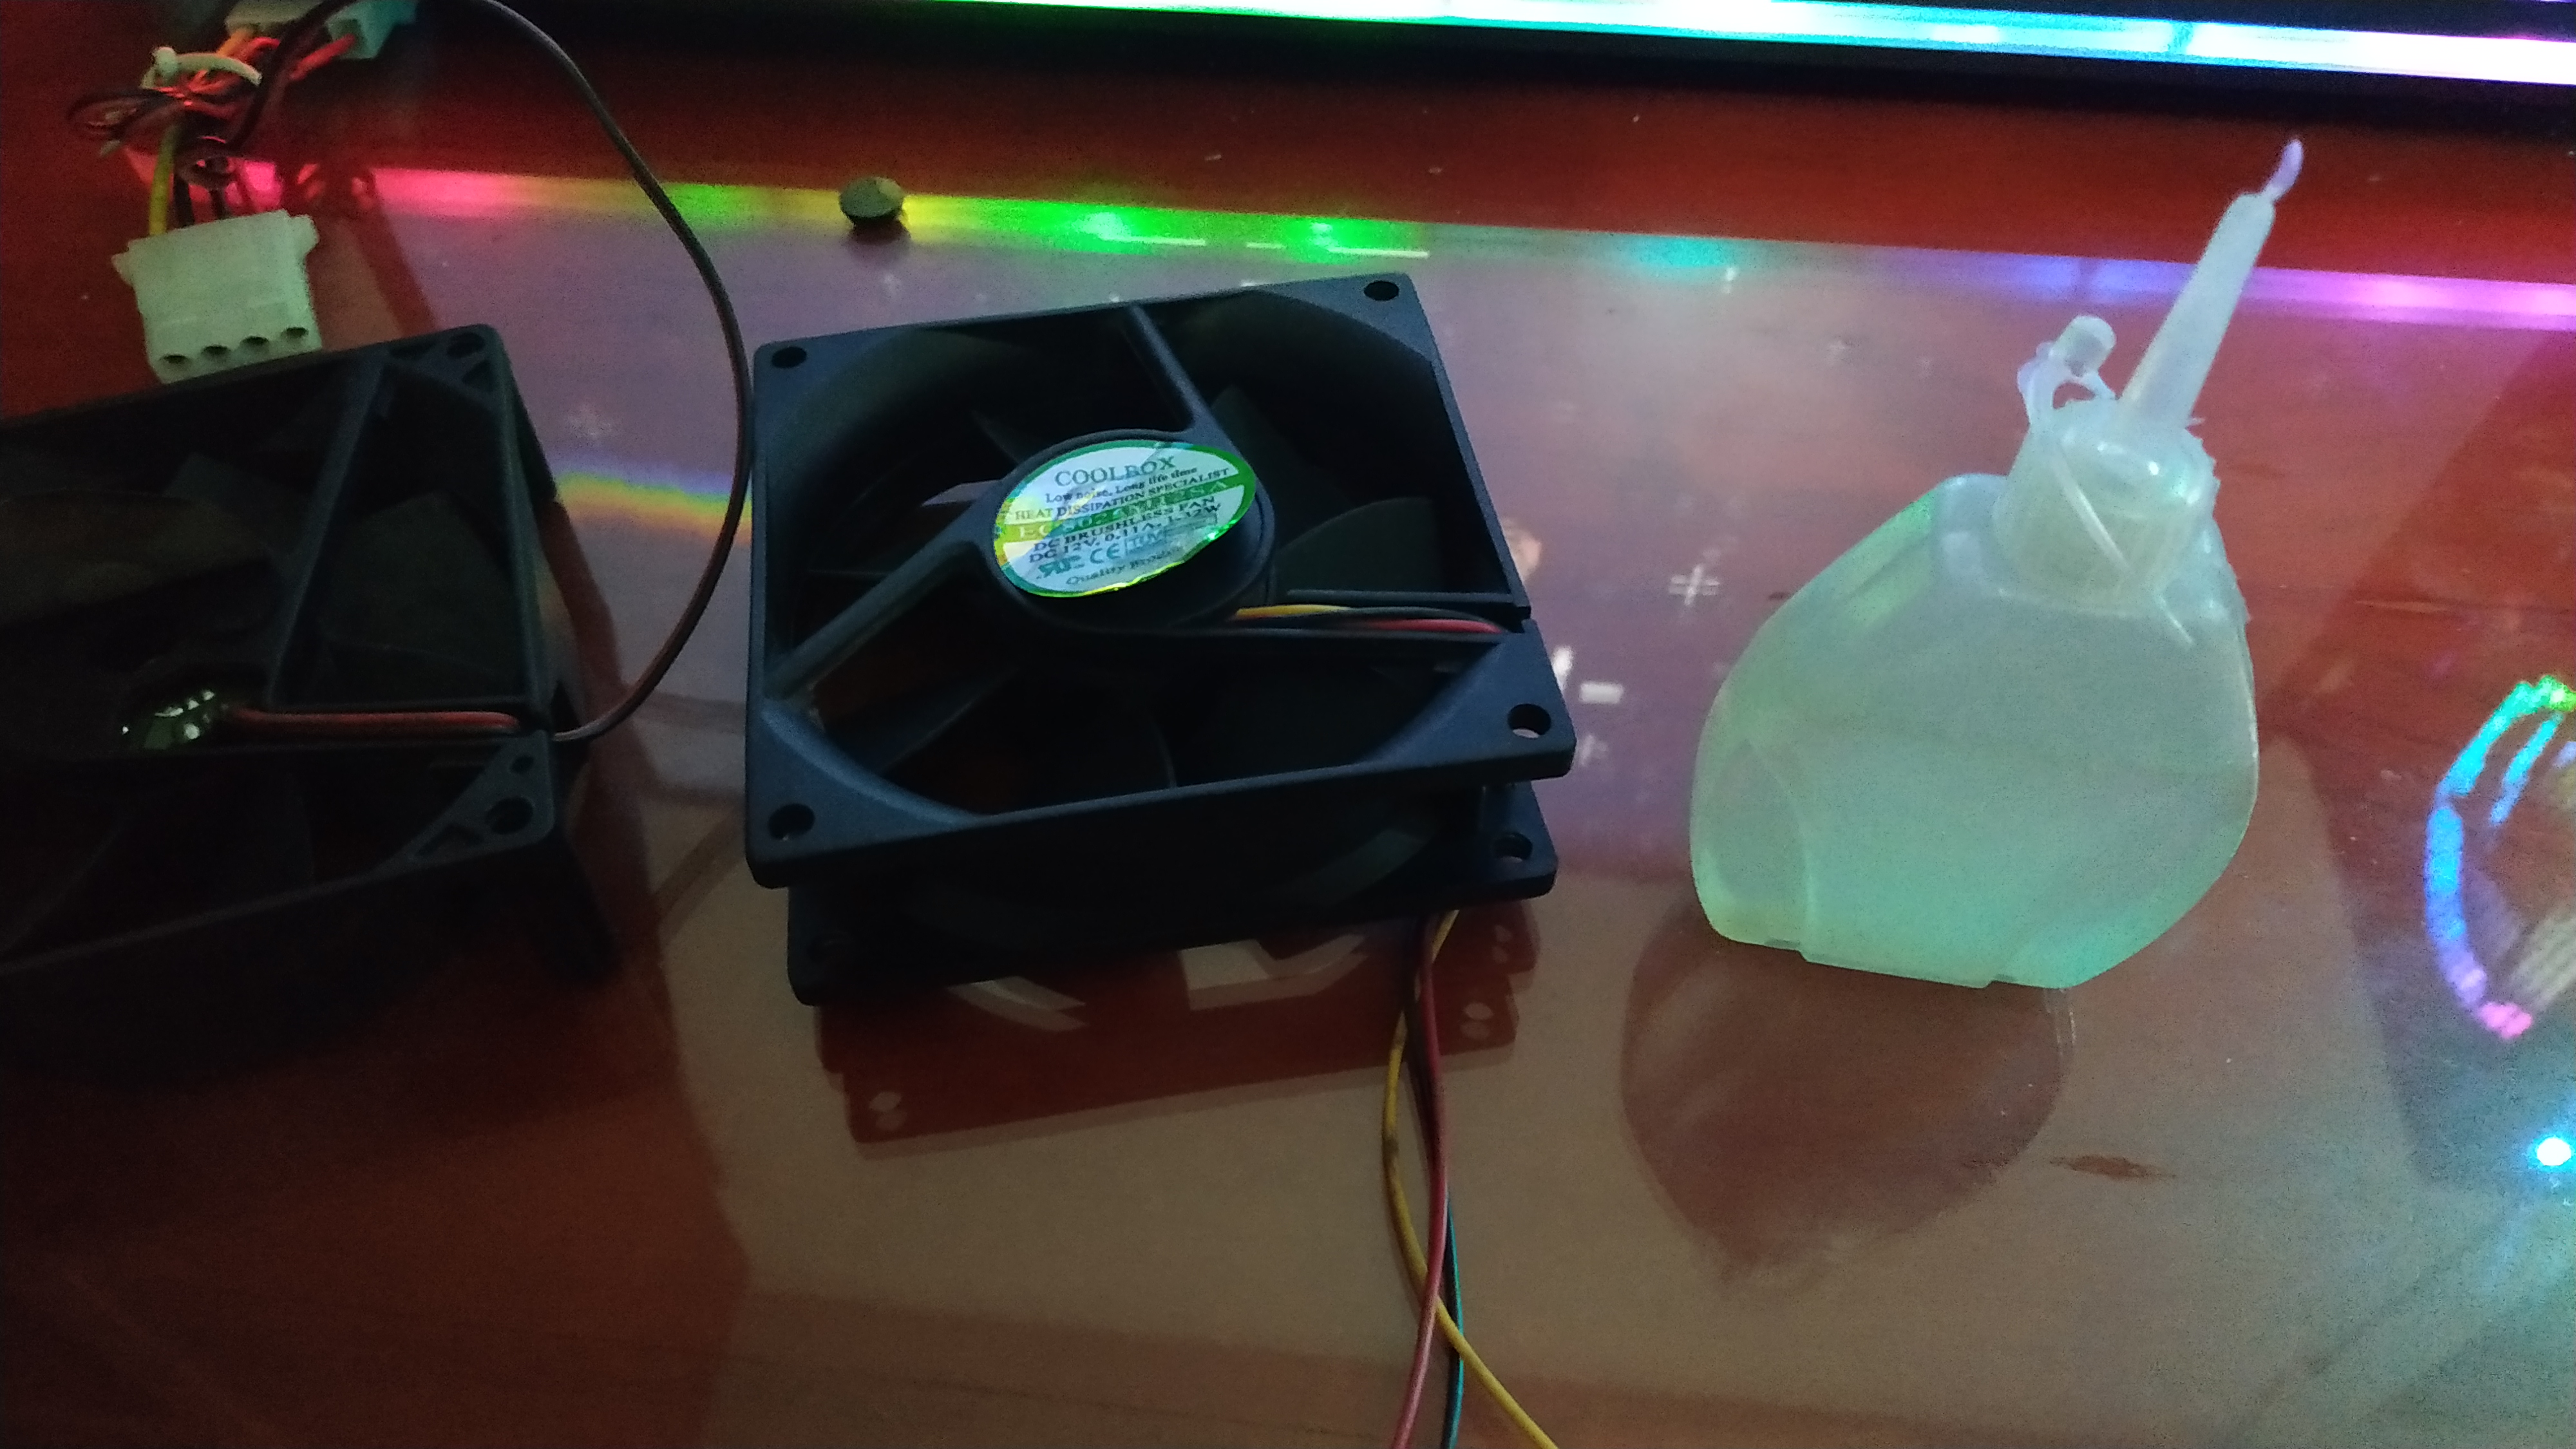
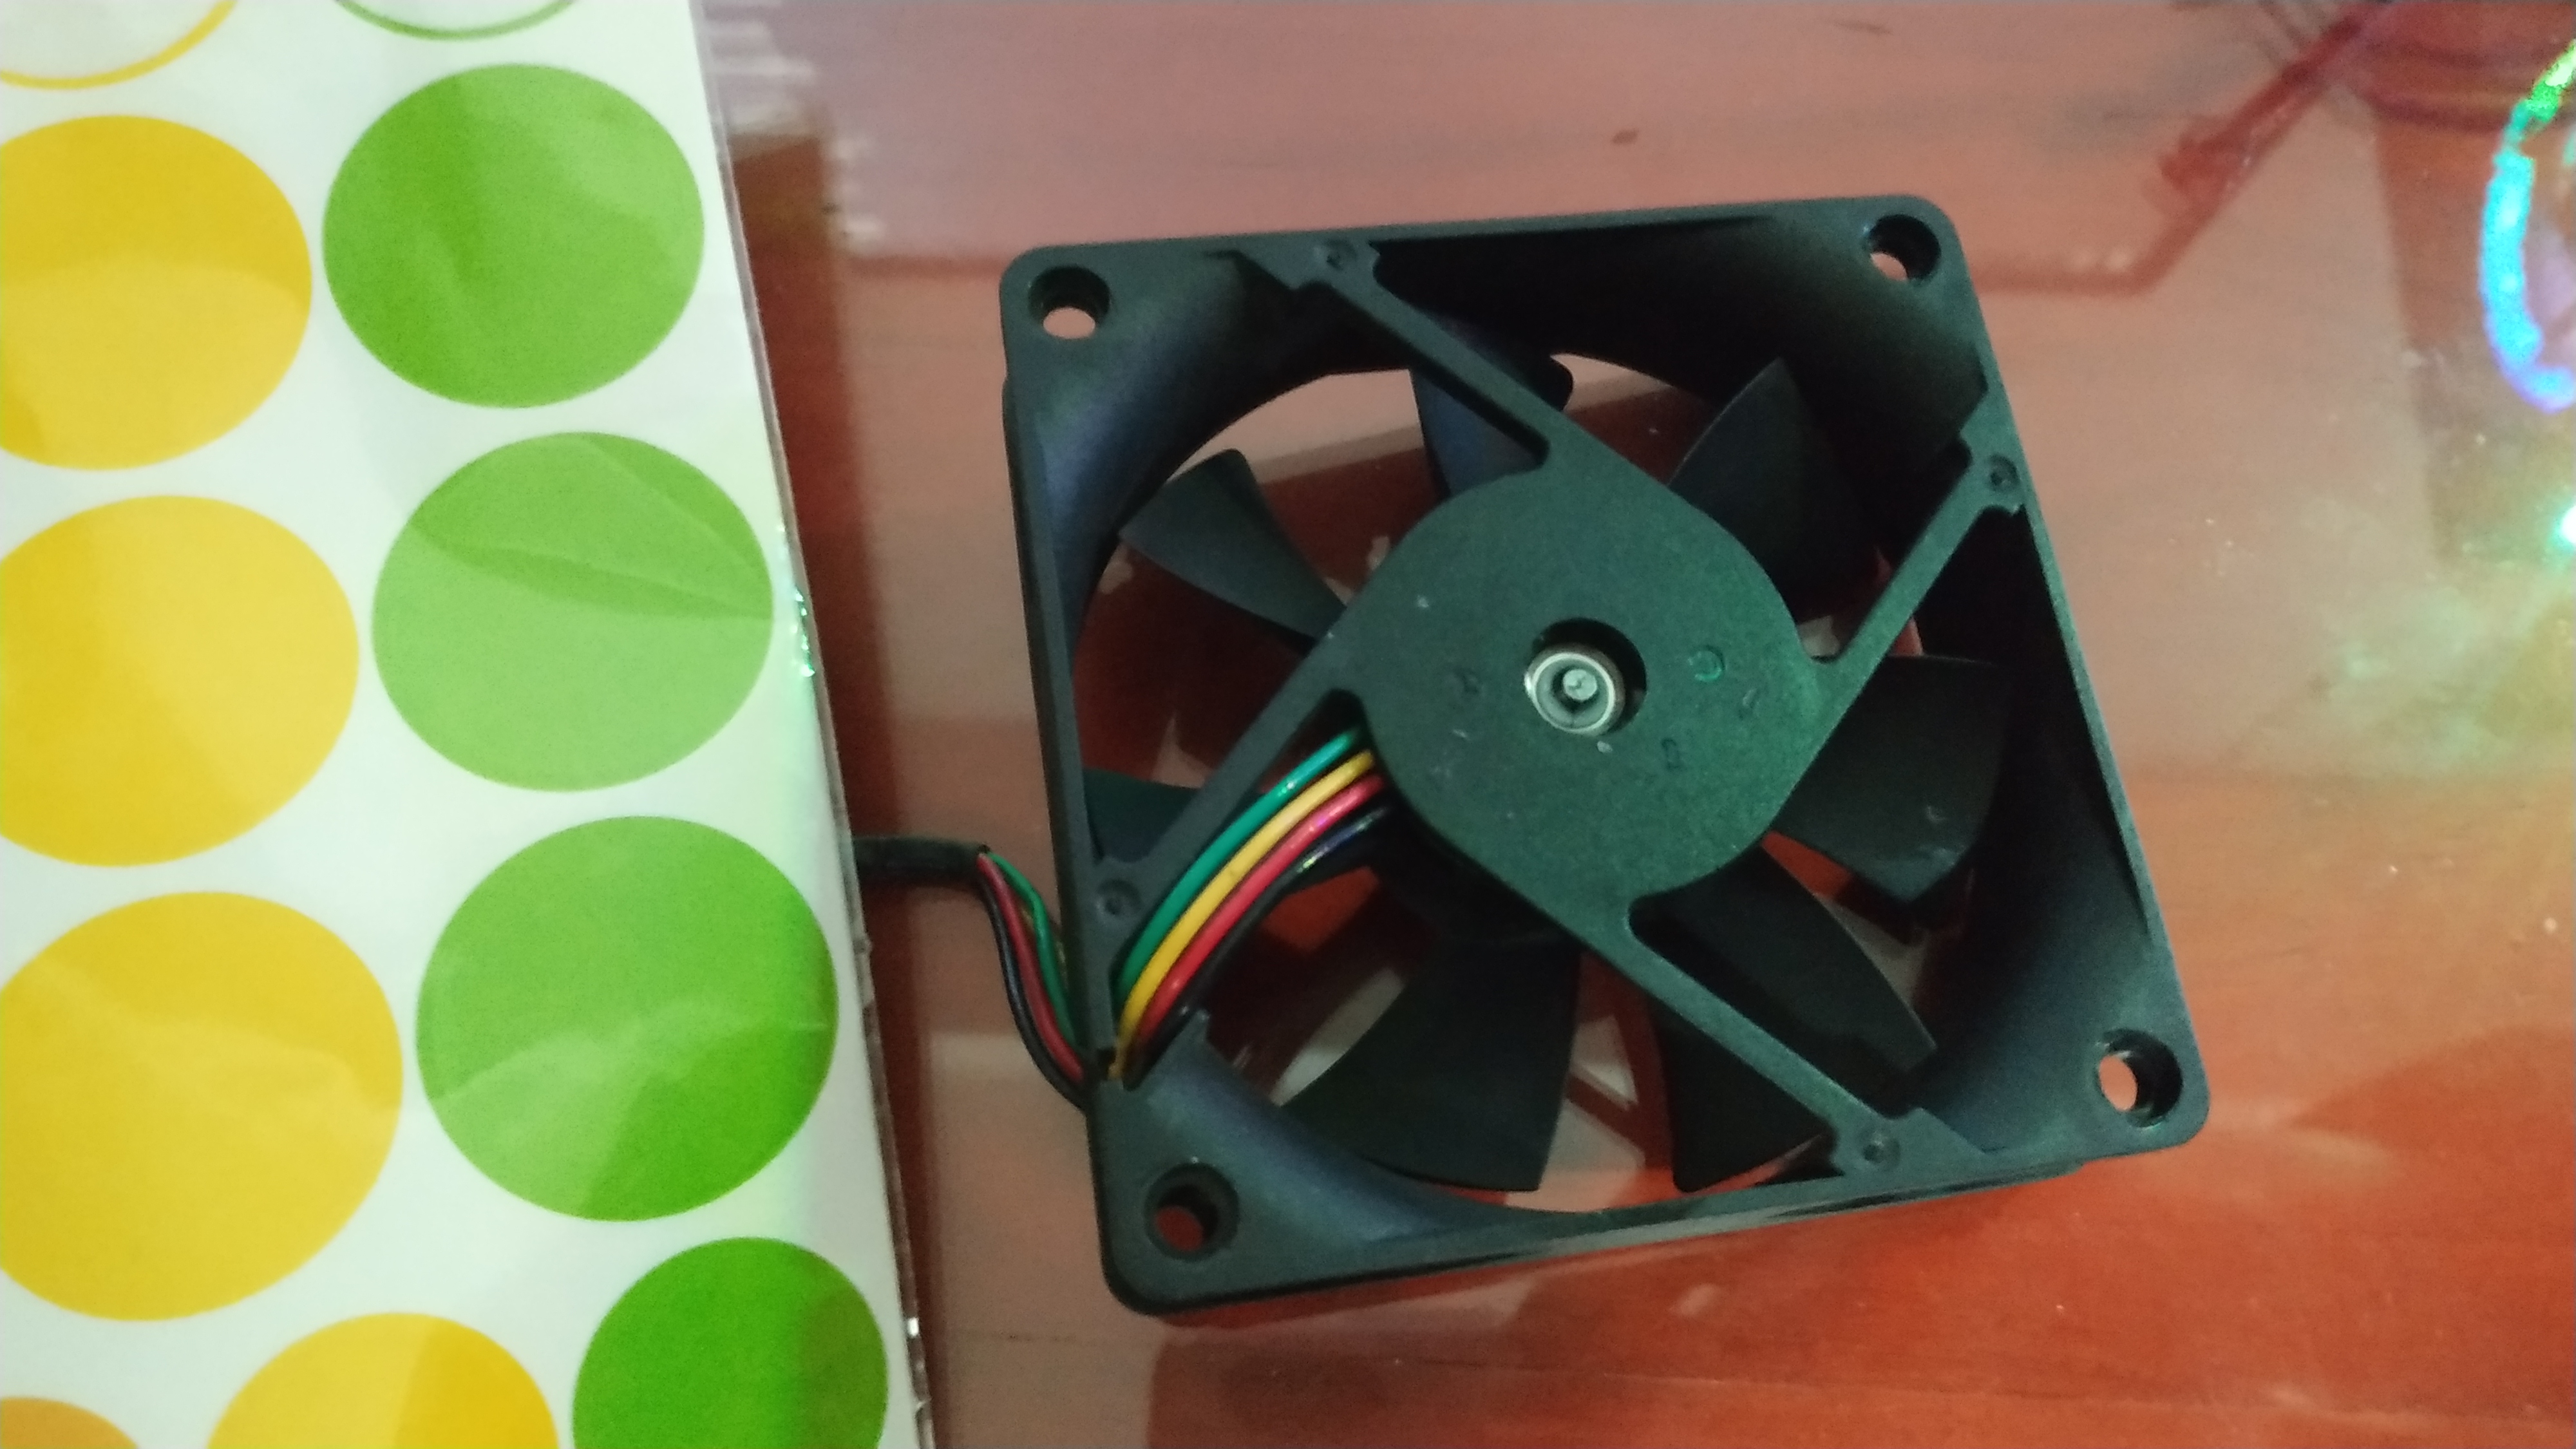
The stock cooler was passive and I had 2 80mm fans from other faulty computers or PSUs, so I decided to attach both of them to the cooler in a pull and push configuration.
First of all, I cleaned the fans and lubricated them since they were pretty old-
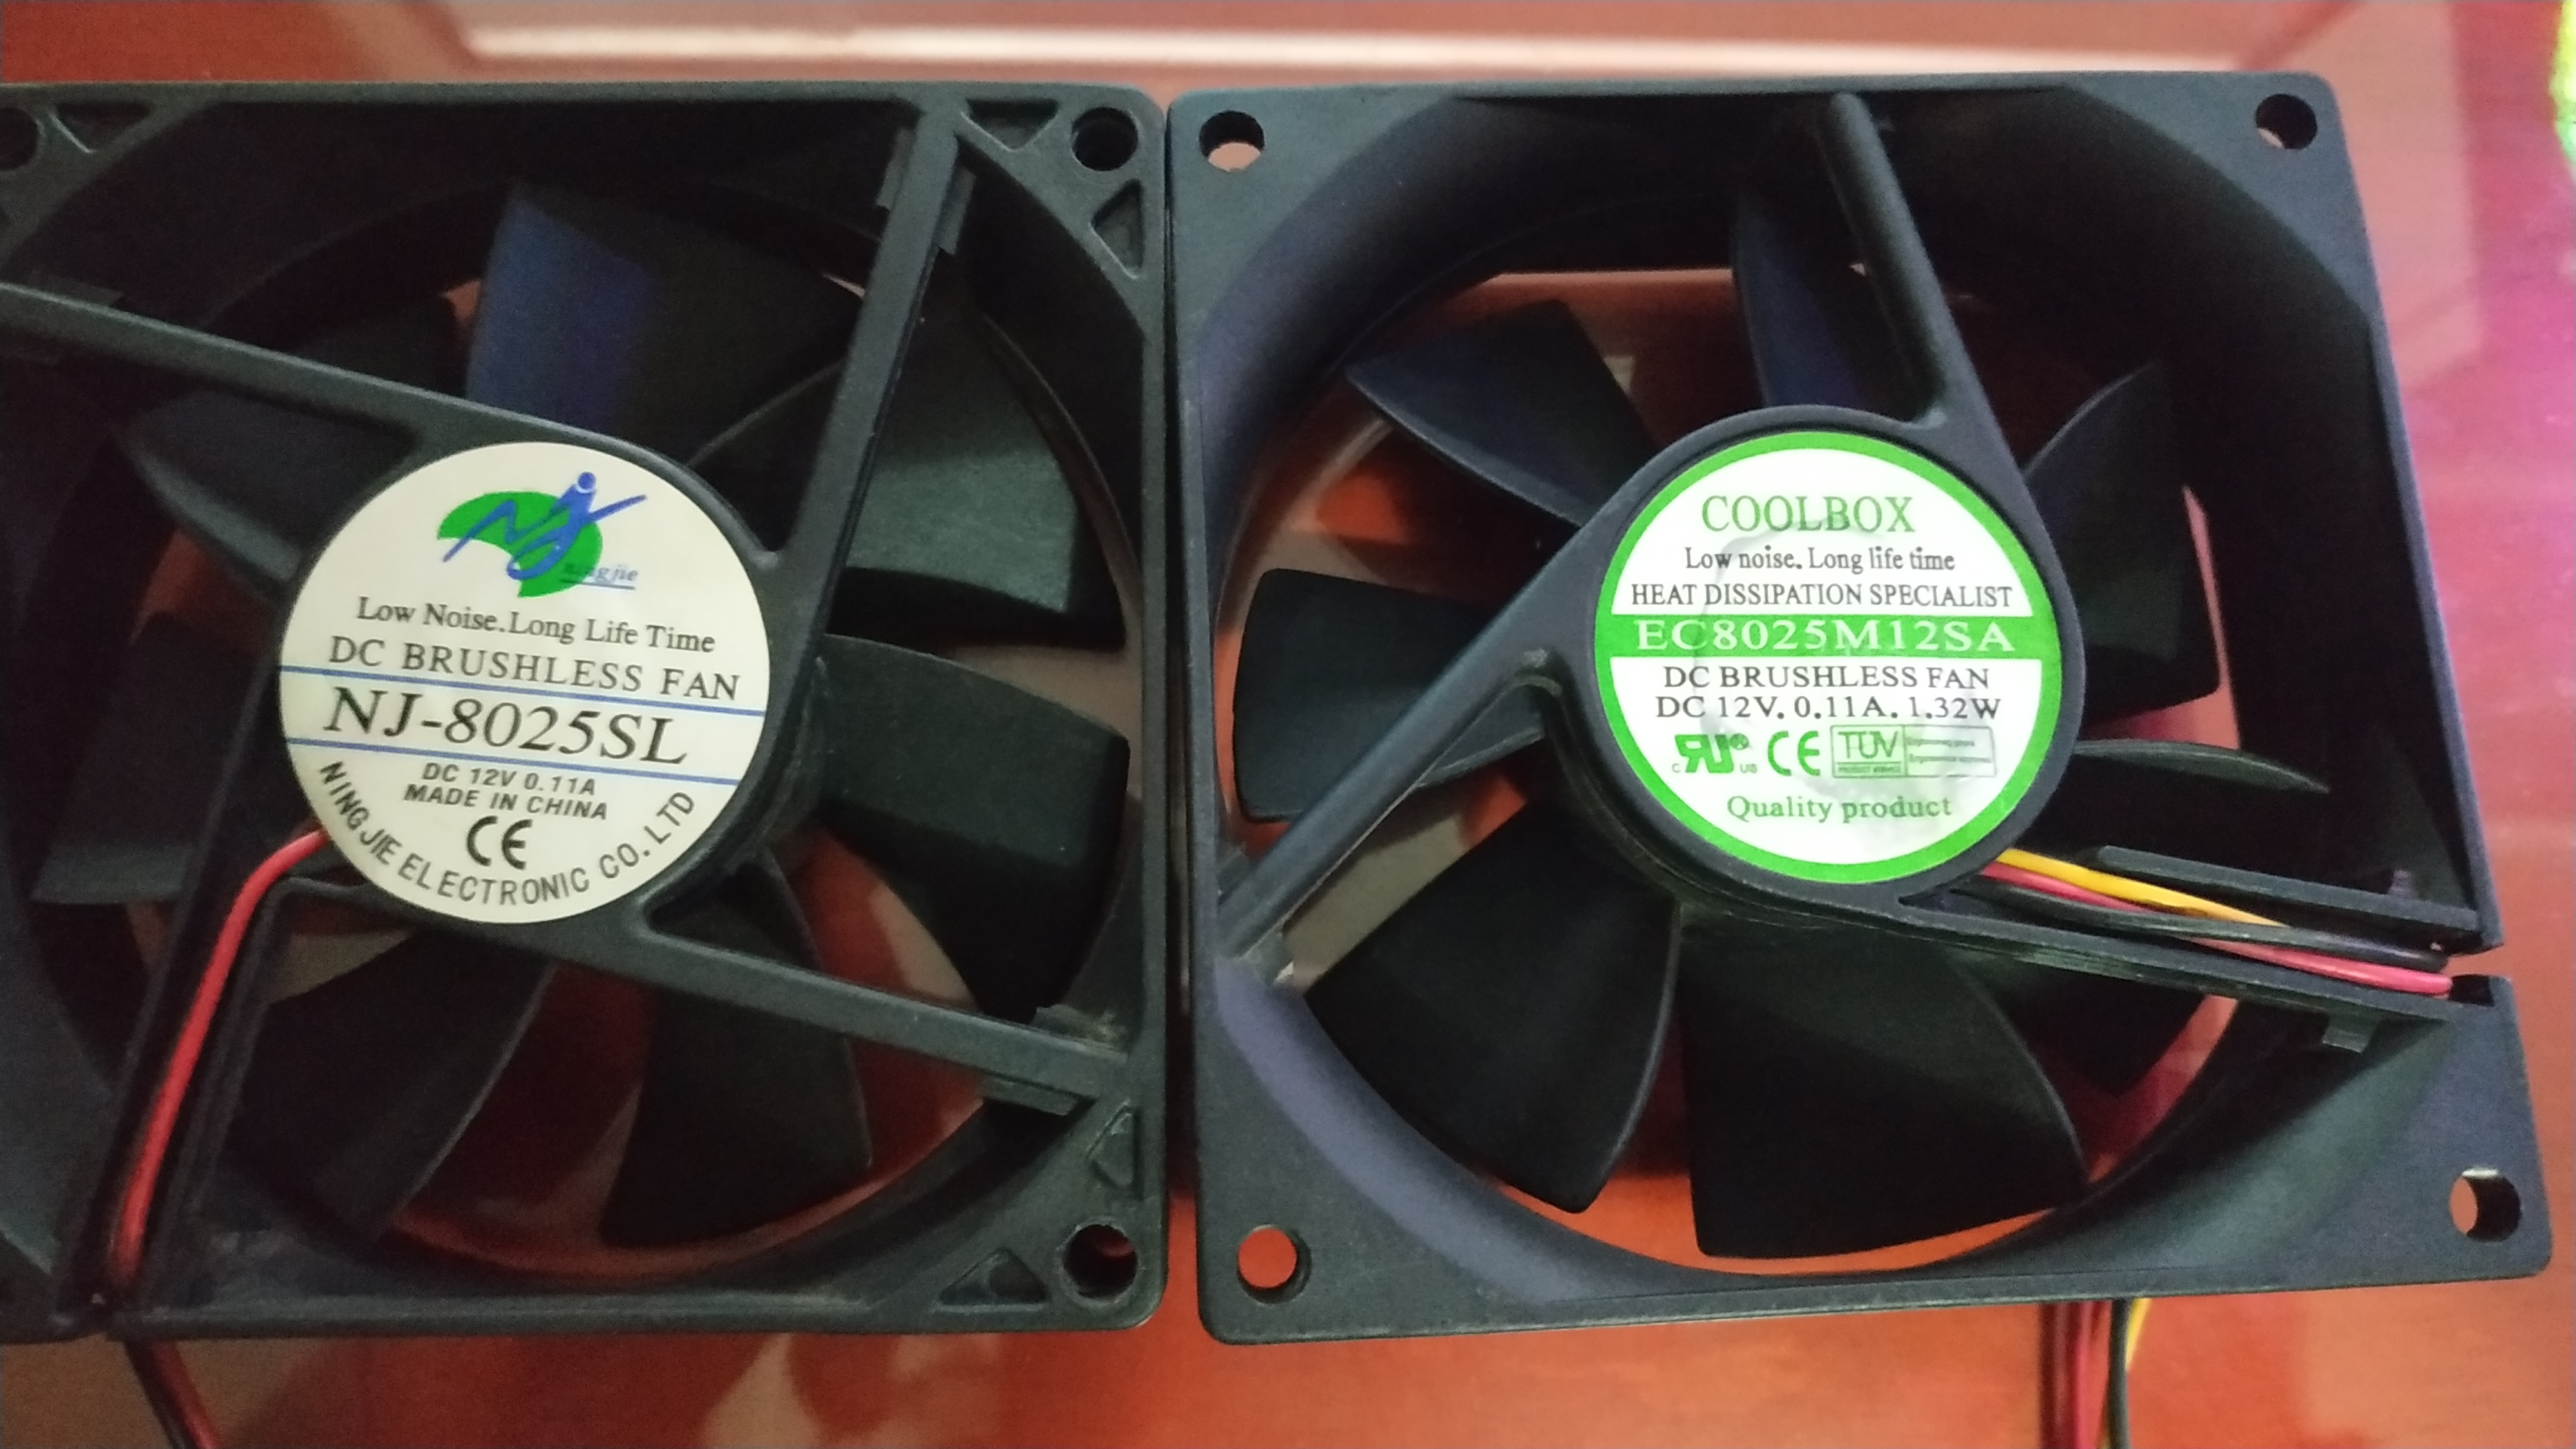
Gently, pulled out the sticker and put 2 drops of sewing machine oil.
It works wonders and the fans won’t make any kind of rusty sound.
The sticker in one of them was loose so I replaced it. I had to use one of those circle stickers that kids play around with at kindergarten.
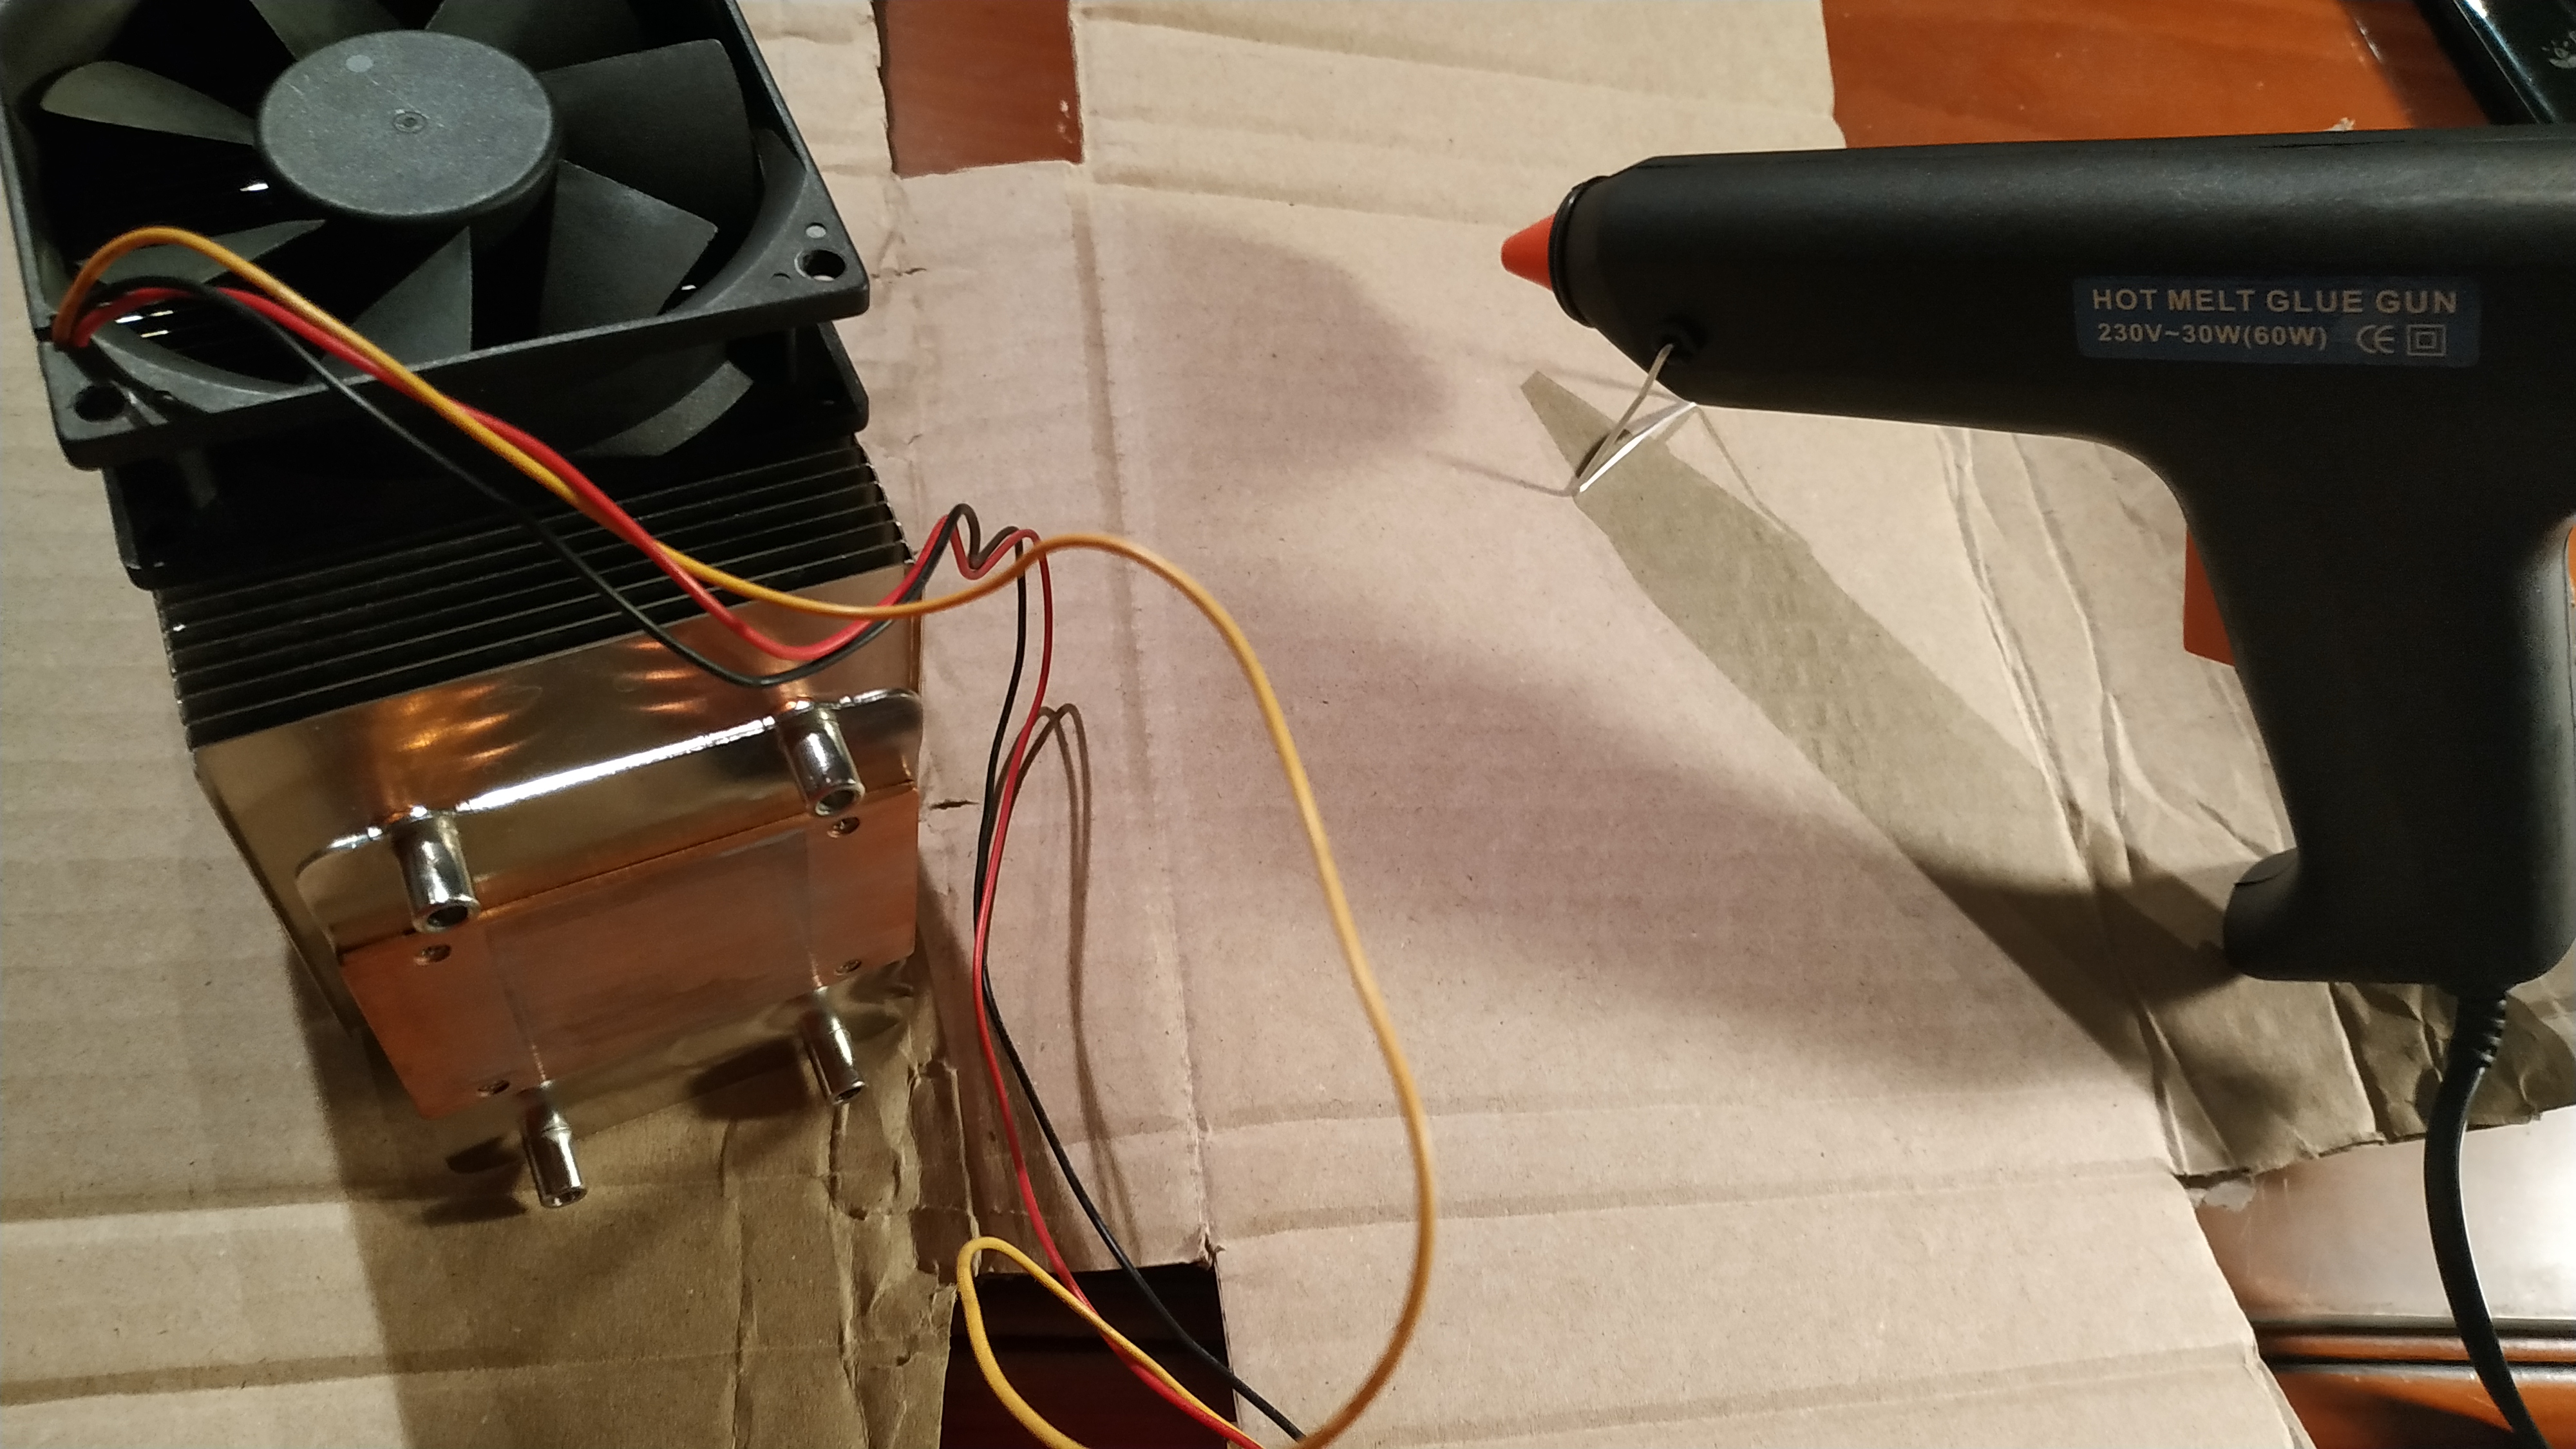
The real problem was how to attach the fans.
I tried with a ziptie but they were not long enough, plus screws was an impossible way.
Finally I decided to hot glue them and it turned out great. Thats what we call ghetto mounting in the modding community.
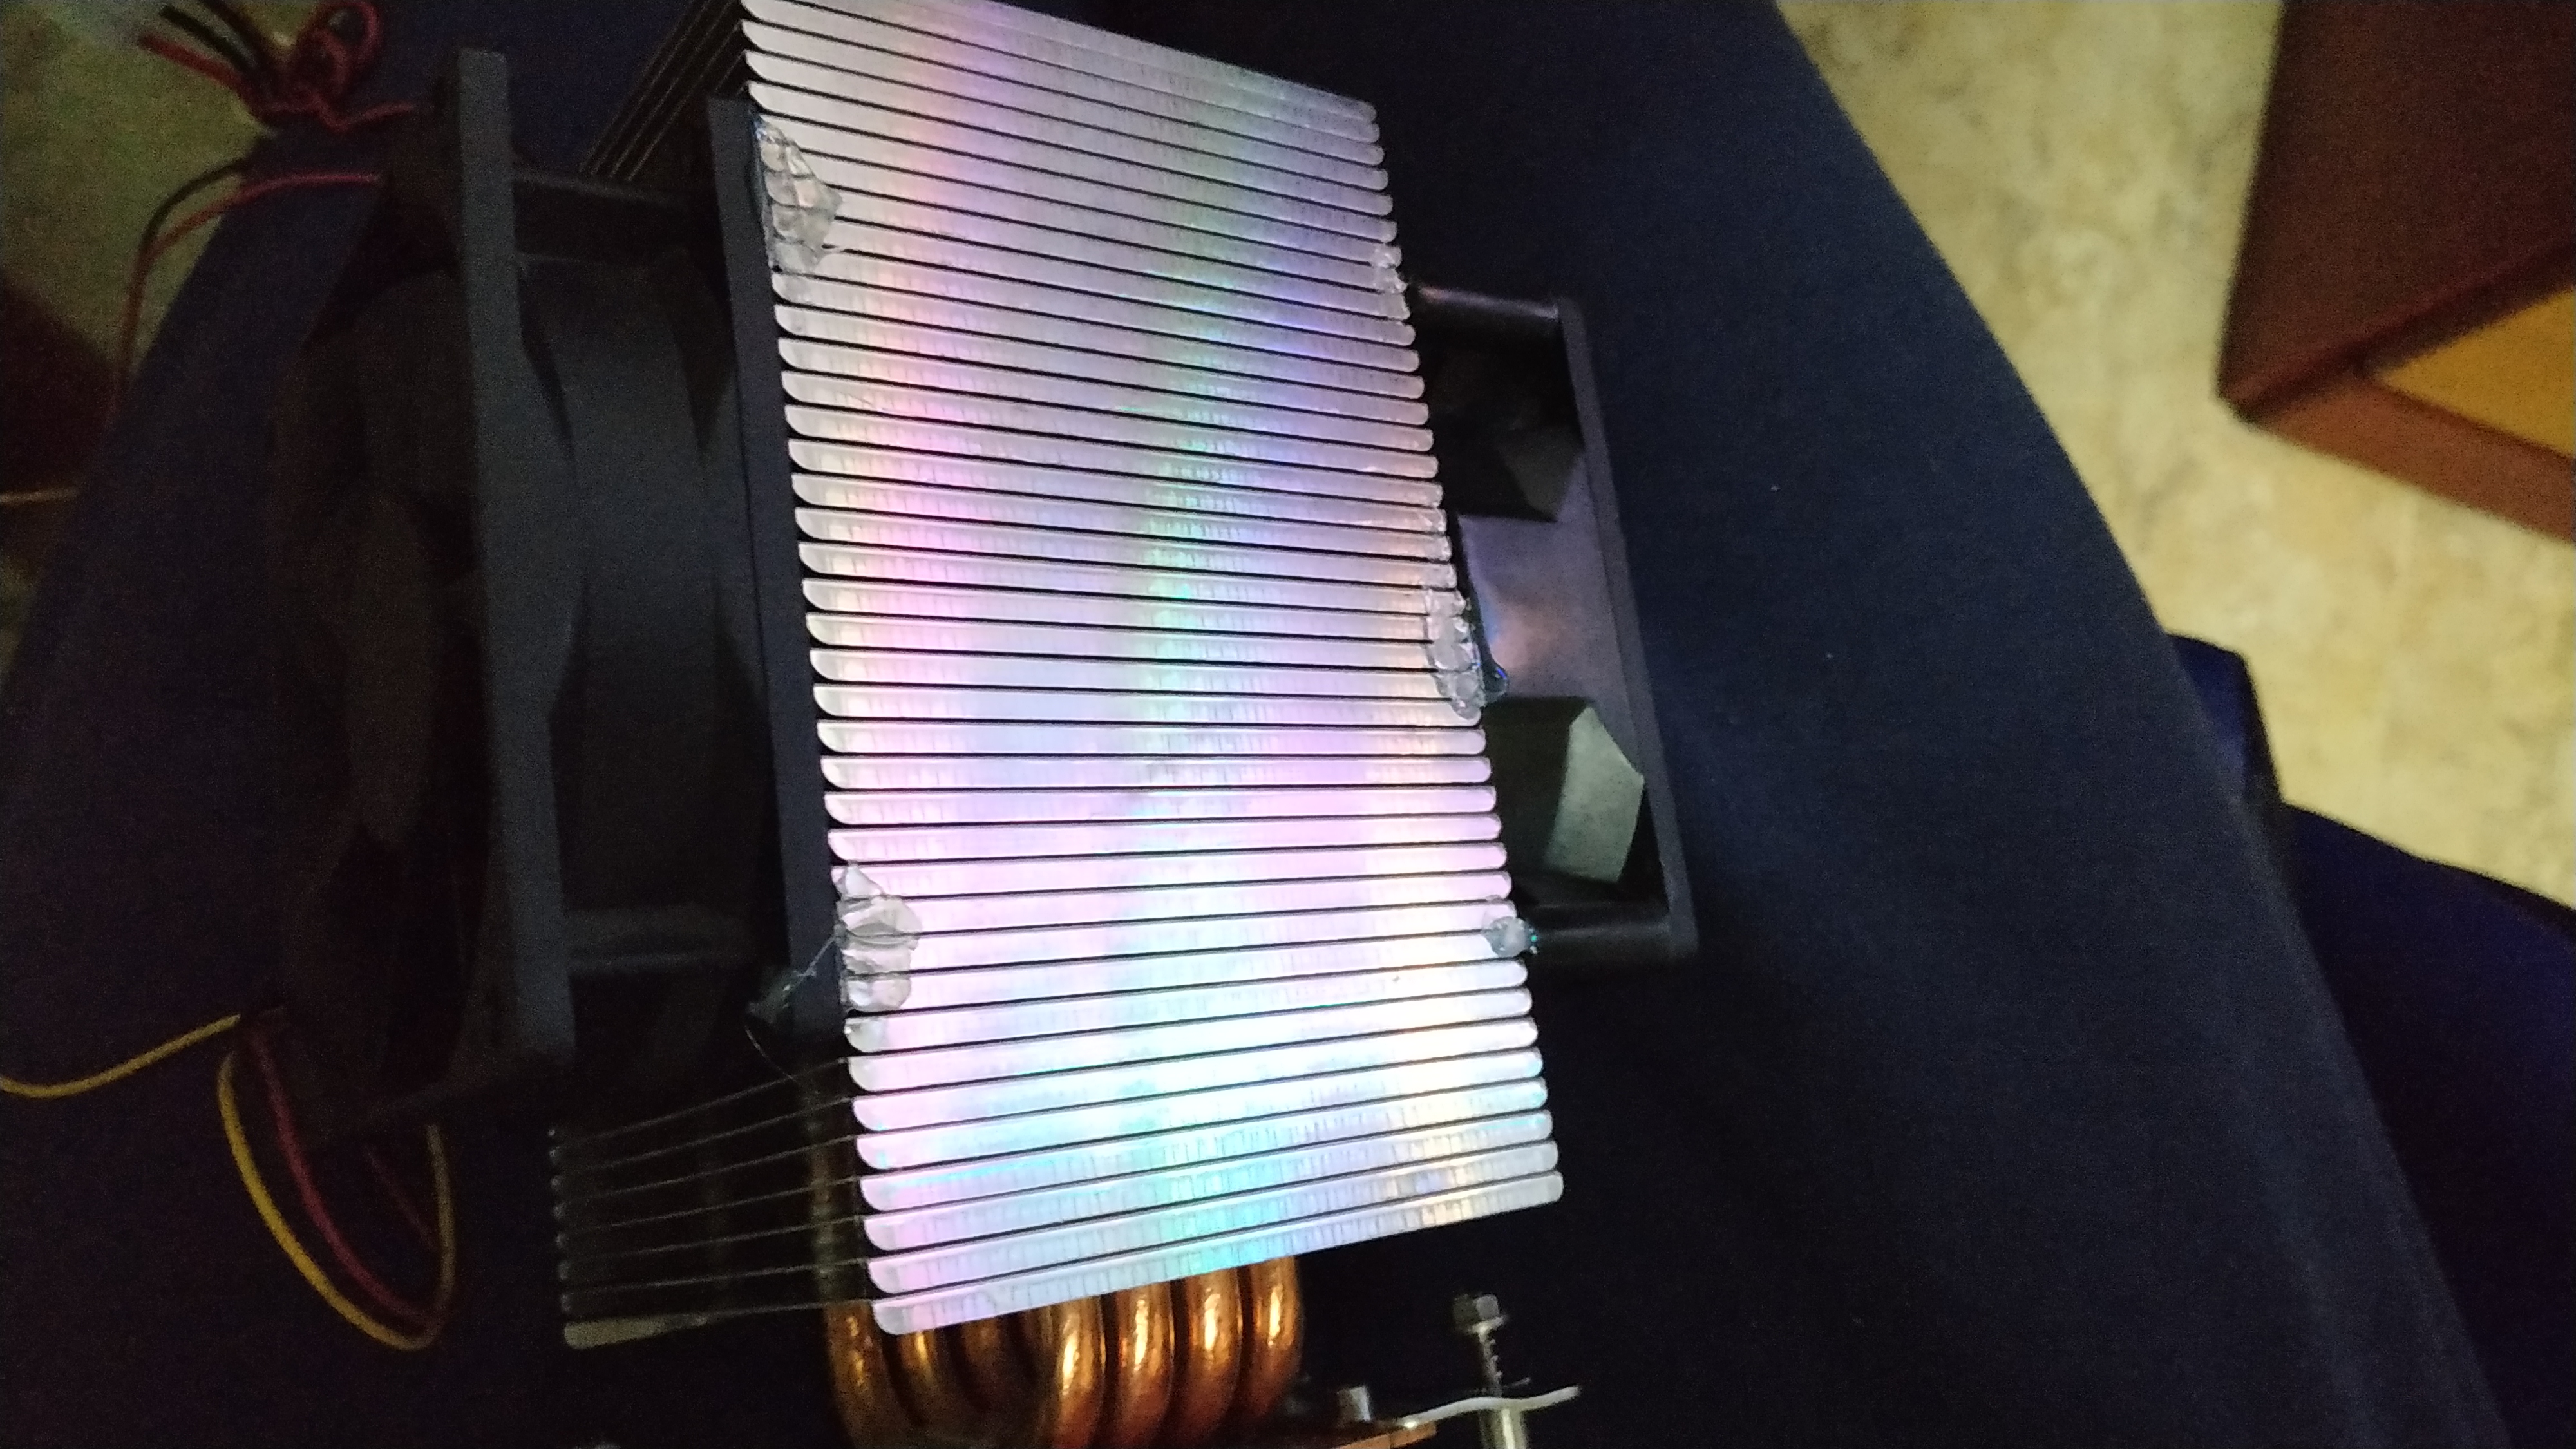
The final result, beautiful.
Footnotes
| [1] | Metal-Oxide-Semiconductor Field-Effect Transistor |